How to Reprint Checks in QuickBooks: A Step-By-Step Guide
Sometimes, you may need to reprint a check or a sales form already created in QuickBooks. It could be because the original check was lost, damaged, or printed incorrectly. This article will show you how to find and reprint any check or sales form in QuickBooks Online.
Reprint Checks in QuickBooks Online
Find the Check or Sales Form
You can use the search feature in QuickBooks Online to find the check or sales form you want to reprint. Here are the steps to do that:
You can use the search function to search for the check by transaction number or other relevant detail.
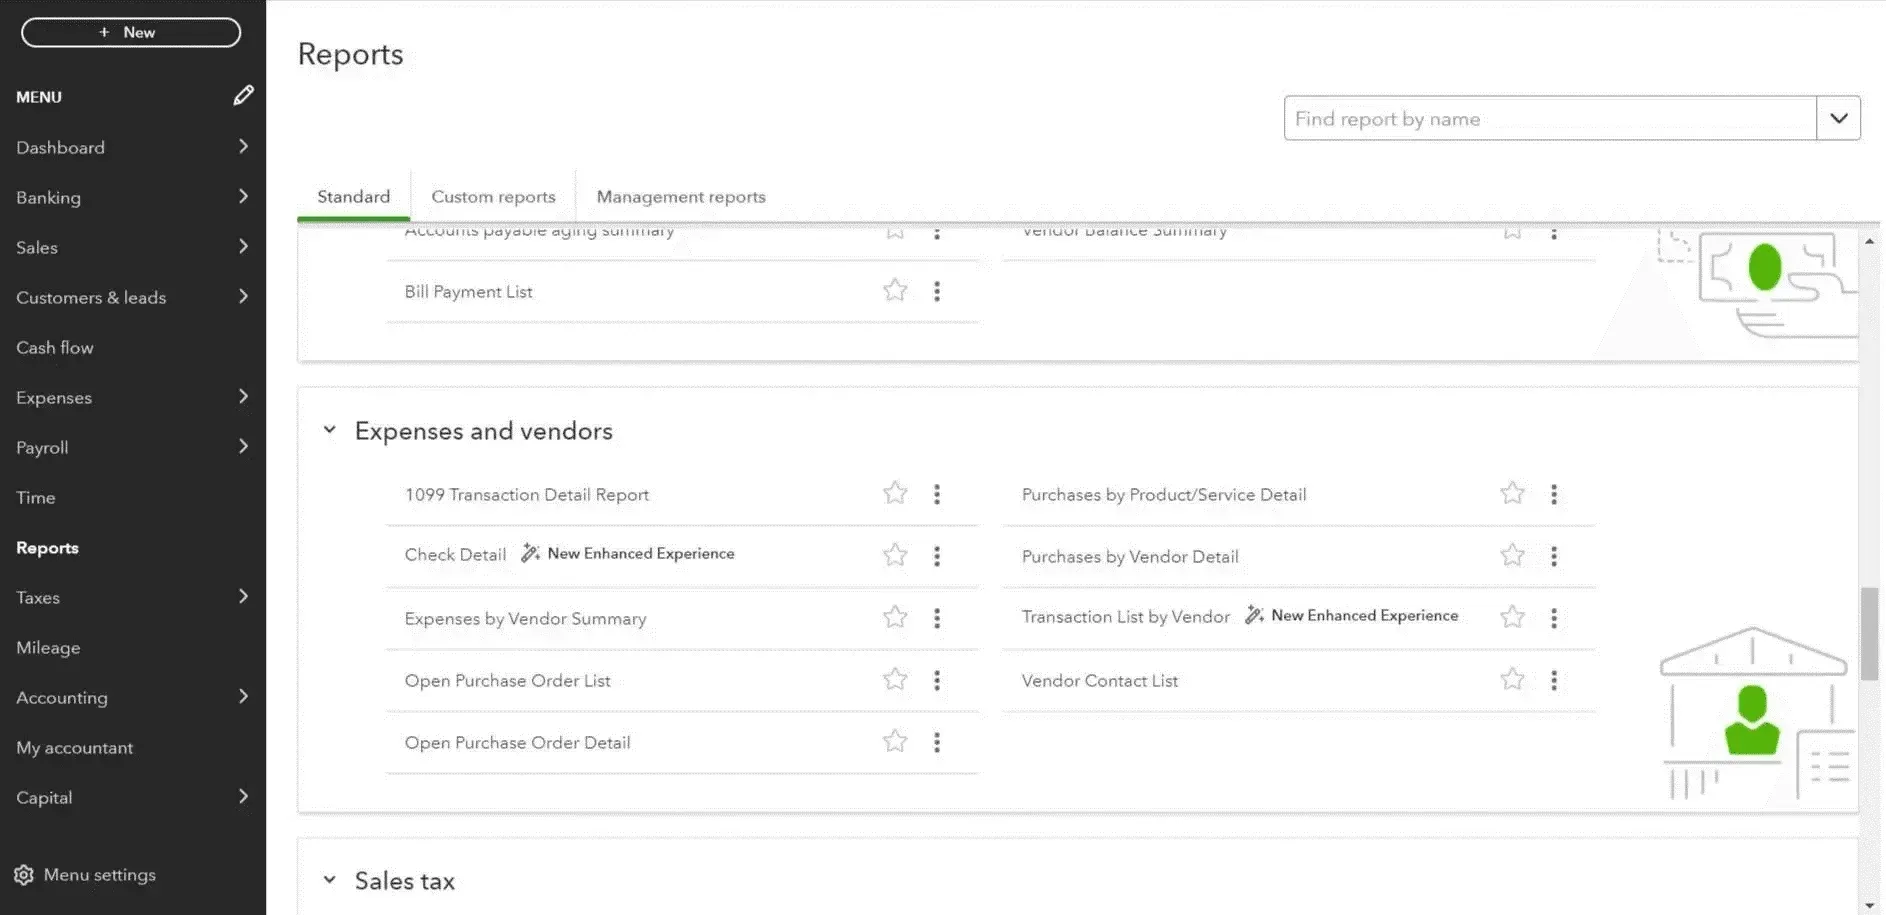
You can also go to Reports - Check Details, which gives you a list.
Select the check transaction you want to reprint. Then, select a period from the check detail report drop-down to find the transaction you need.
Reprint the Check or Sales Form
Once you have found the check or sales form you want to reprint, you can either print it individually or add it to the print queue to print it in batches. Here are the steps for both options:
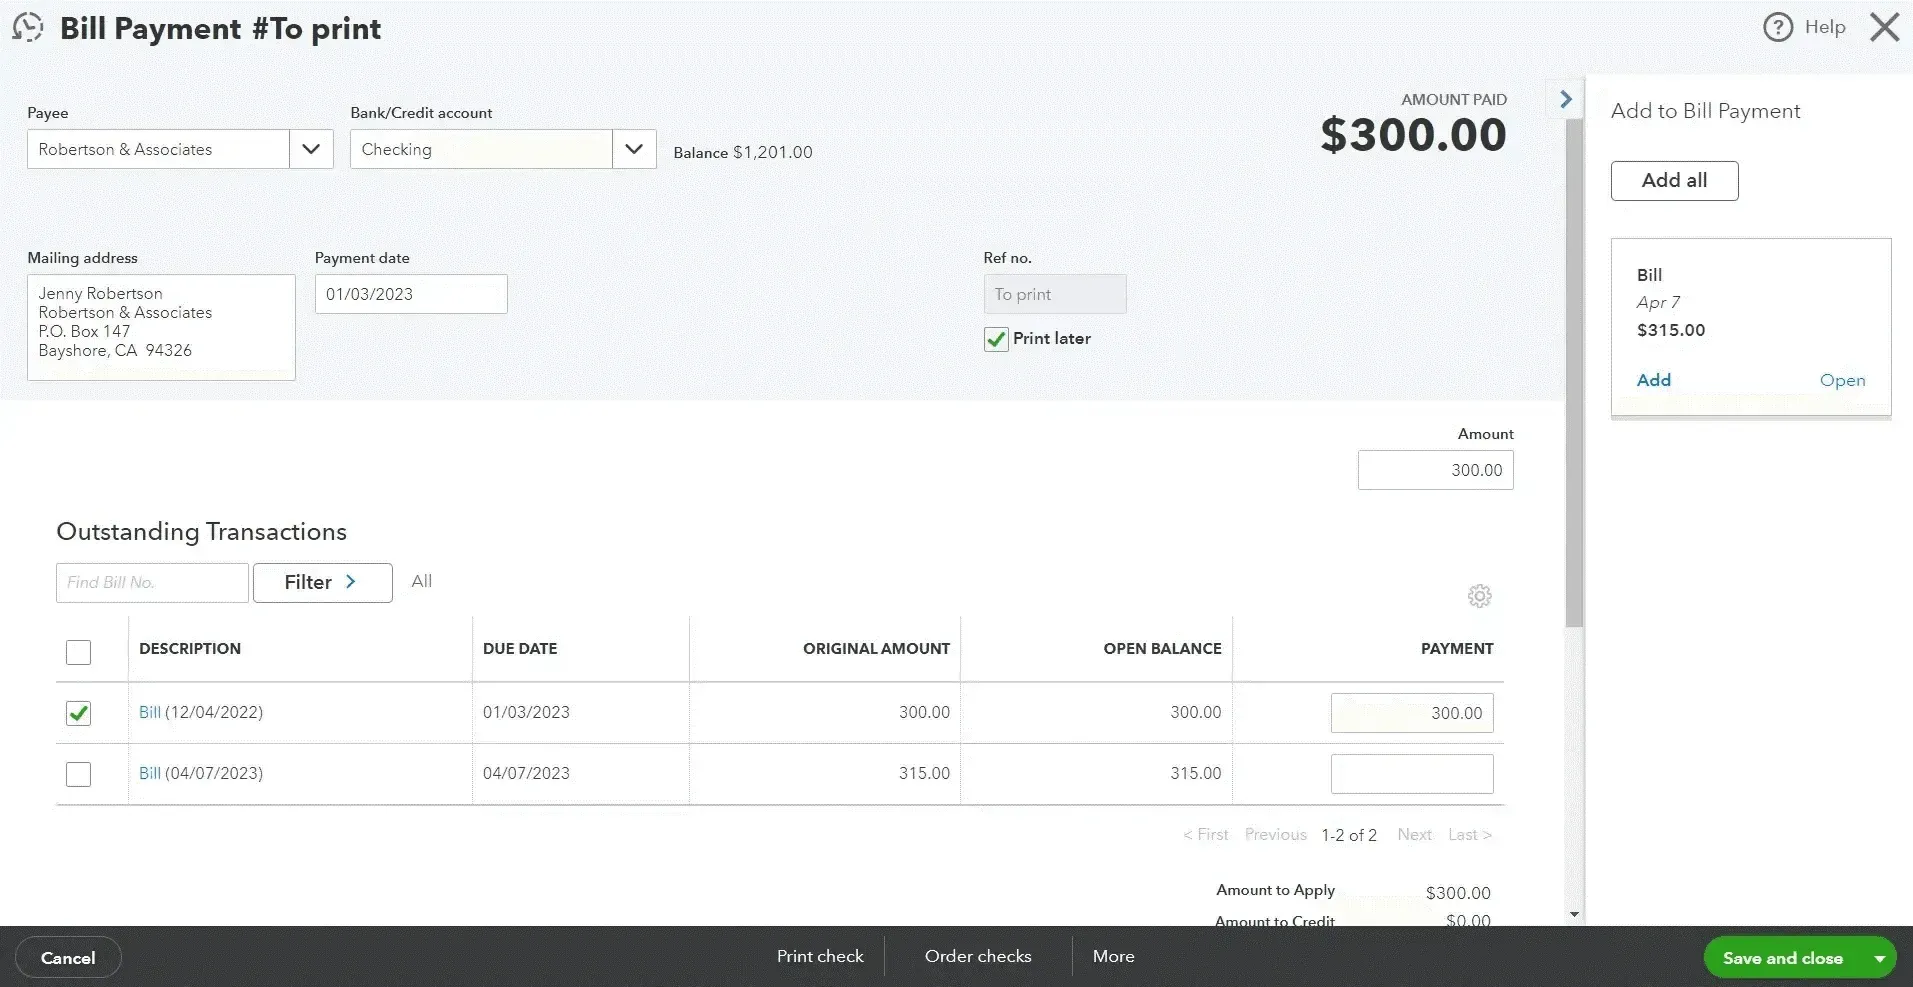
Click on the check or sales form you want to print from the search results.
Click on Print check or Print sales form at the bottom of the transaction page.
Print Multiple Checks
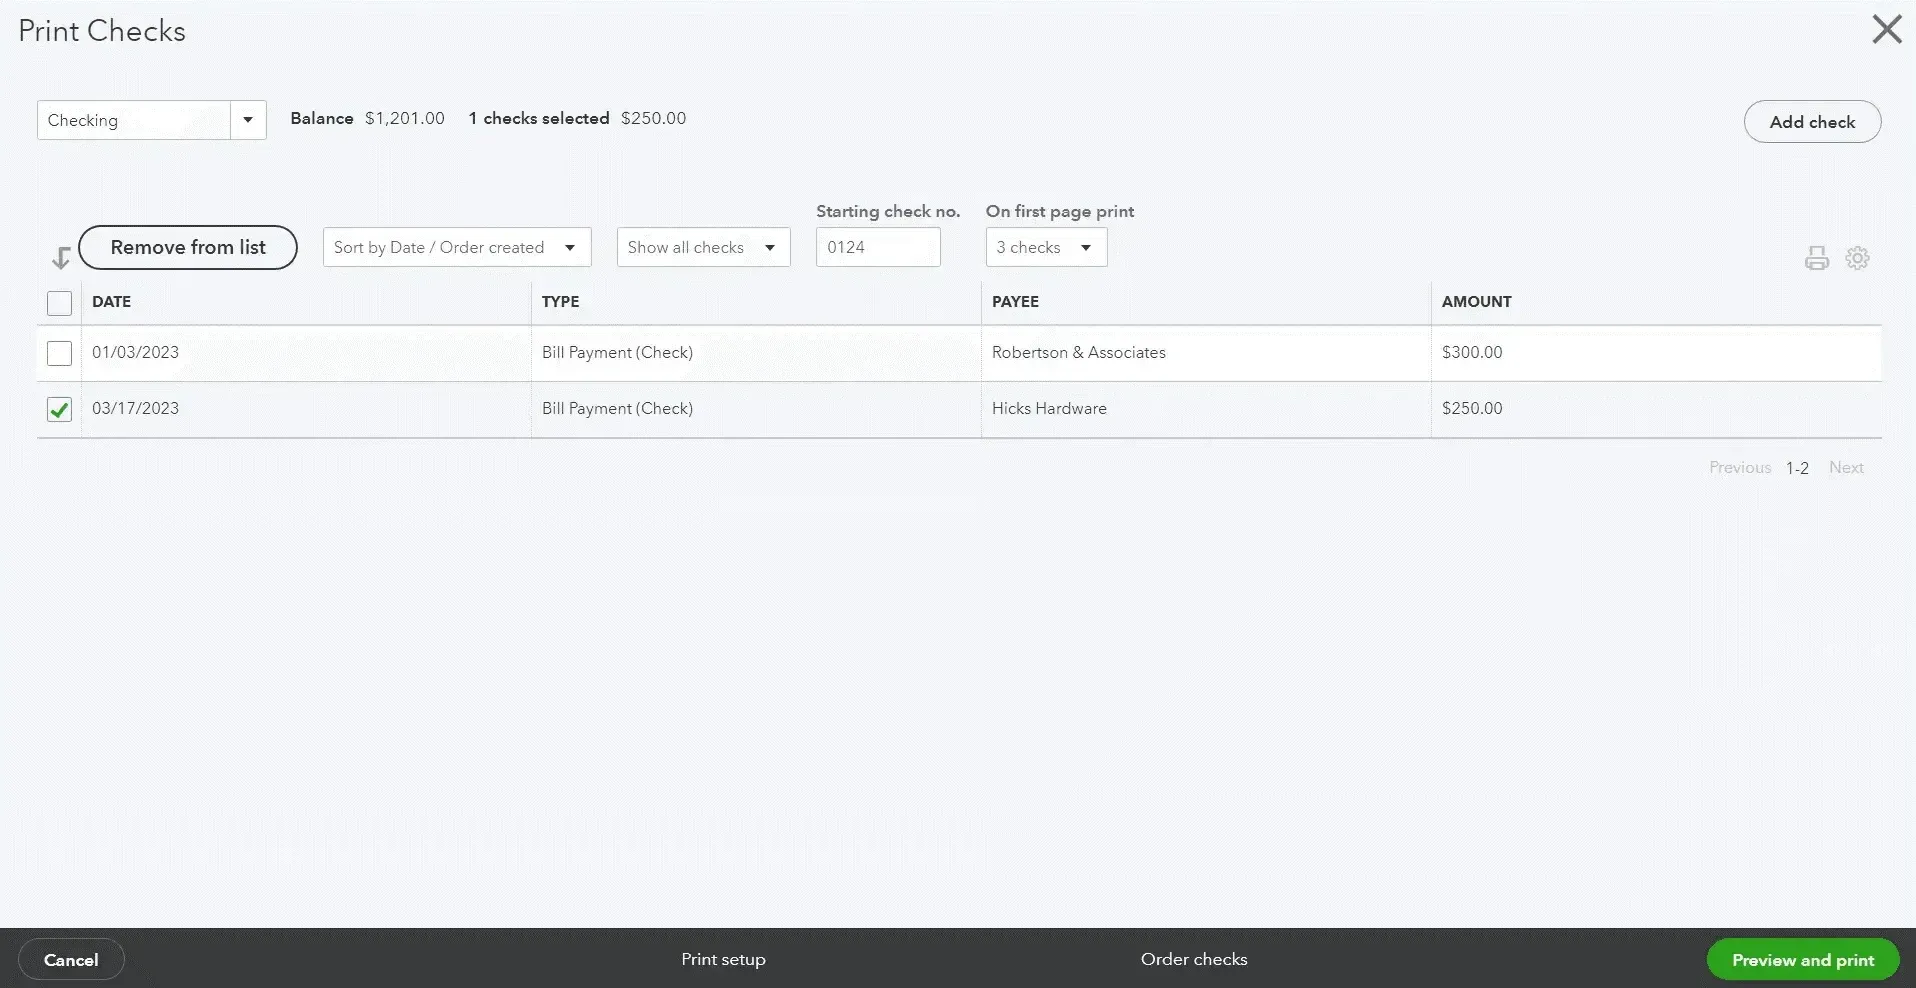
You will see the options to Print setup, Order Check, and Print in the print queue.
You can ‘Add check’ if you need to print more checks.
You can also uncheck the Print Later option before printing to skip the queue.
Click on Preview and Print, then Print. Follow the on-screen instructions to select your printer settings and print the checks.
That’s it! You have successfully reprinted your checks or sales forms in QuickBooks Online.
Managing Checks in QuickBooks Online
Connect & Setup:
Log in to your SaasAnt Transactions account and connect it to your QuickBooks Online company.
Import Checks:
New Import: Click “New Import” and select “Checks” as the transaction type.
Upload File: Upload your check data file (CSV, Excel, or IIF).
Map Fields: Align your file’s columns with the corresponding QuickBooks fields using the mapping tool.
Preview & Import: Preview the mapping for accuracy, then click “Import” to add the checks into QuickBooks.
Rollback (Optional): If errors occur, use the rollback feature to undo the import and correct any issues.
Export Checks:
Initiate Export: Navigate to the “Export” section in SaasAnt Transactions.
Select Transaction Type: Choose “Checks” as the transaction type.
Apply Filters & Format: Set any desired filters (e.g., date range) and select your preferred export format (CSV or Excel).
Download File: Execute the export and download your file for review or record-keeping.
Edit Checks:
Modify Section: Go to the “Modify” (or “Edit”) section in SaasAnt Transactions.
Upload Updated Data: Upload a file containing the updated check details (ensure each check’s reference number is included for accurate matching).
Map & Preview: Map the updated fields to QuickBooks and preview the changes.
Execute Update: Confirm and run the update to edit the checks in QuickBooks.
Delete Checks:
Access Delete Section: Open the “Delete” section in SaasAnt Transactions.
Filter & Select: Use filters to locate the specific check transactions you wish to delete.
Confirm Deletion: Verify the selection and click “Delete” to remove the checks from QuickBooks.
Using these, you can efficiently manage your check transactions in QuickBooks Online—minimizing manual data entry, reducing errors, and keeping your financial records up-to-date.
Recommended reading:
How to Reprint Checks in QuickBooks Desktop
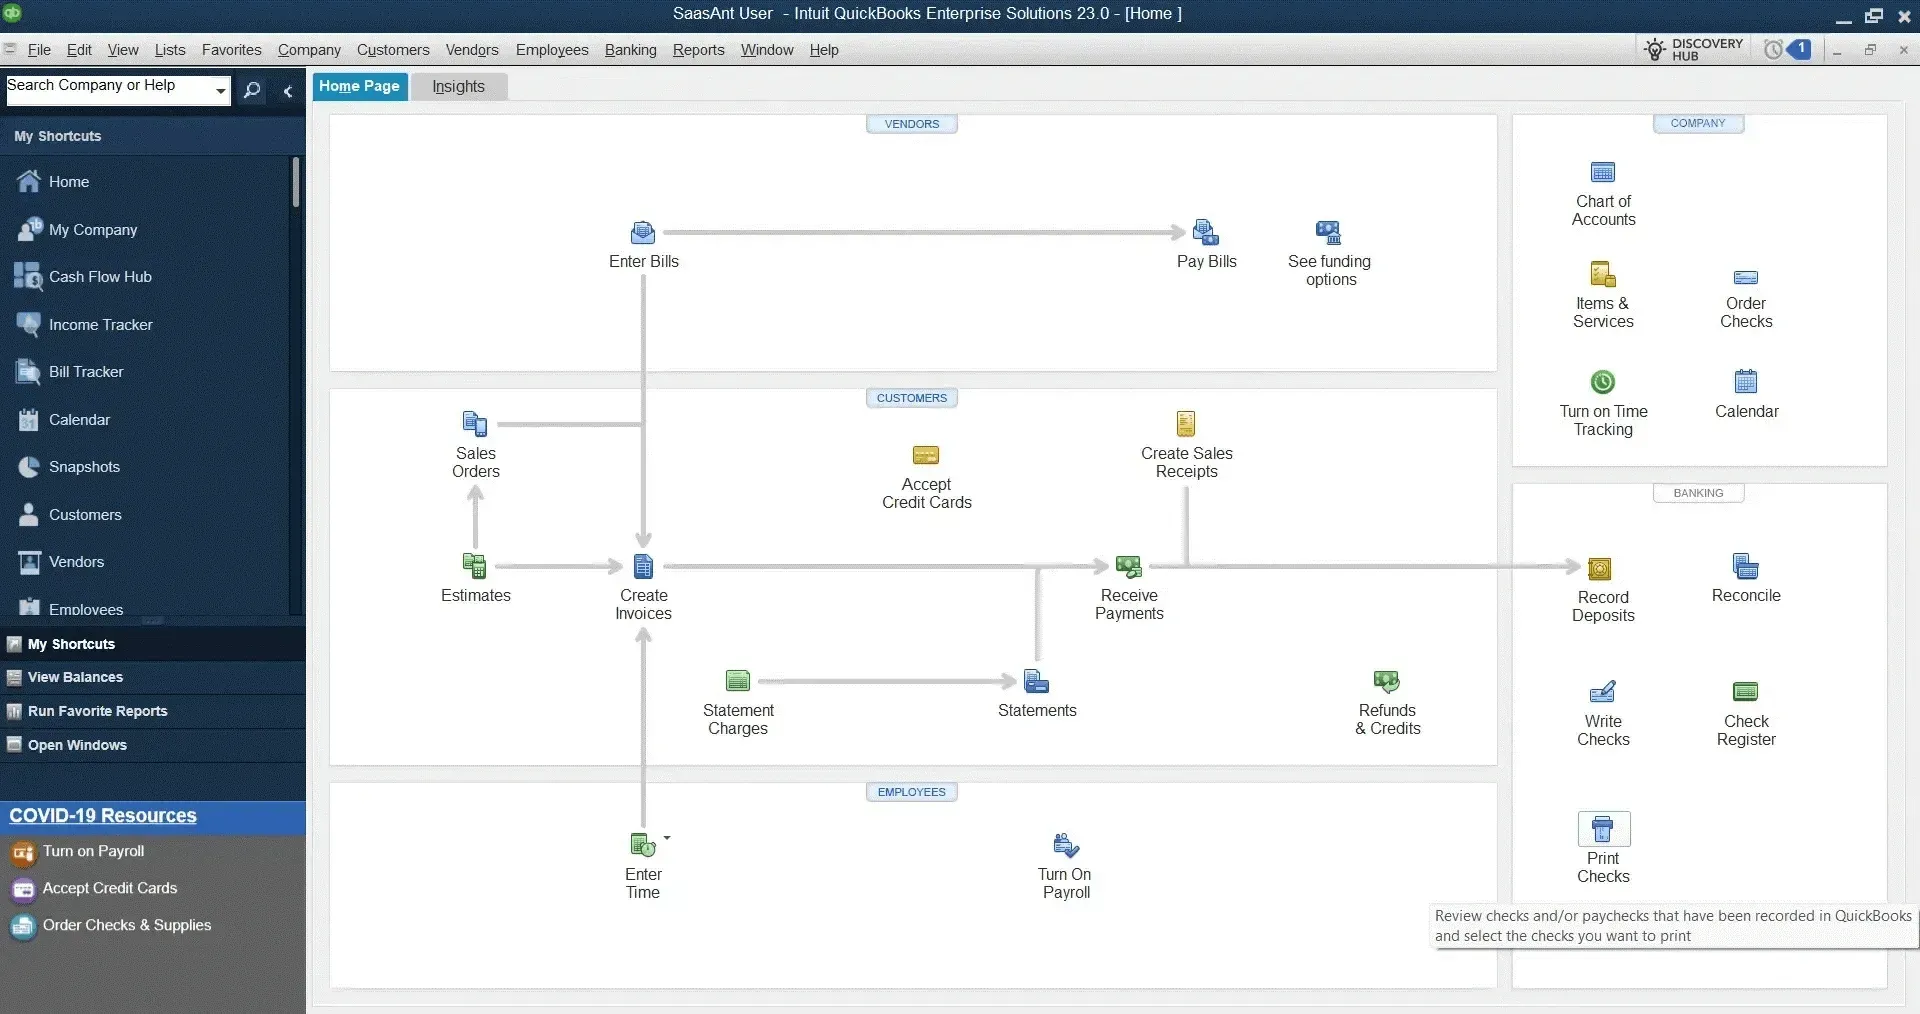
To reprint checks in QuickBooks Desktop, follow these steps:
Open QuickBooks Desktop.
Click the "Banking" menu.
Select "Use Register."
Choose the bank account that contains the check you want to reprint.
Click on the specific check you want to reprint.
Click "Print” in the Main Menu after checking the details.
Enter the check number and click "OK."
Configure your printer settings and select the desired check style.
Click "Print."
Click "Save and Close."
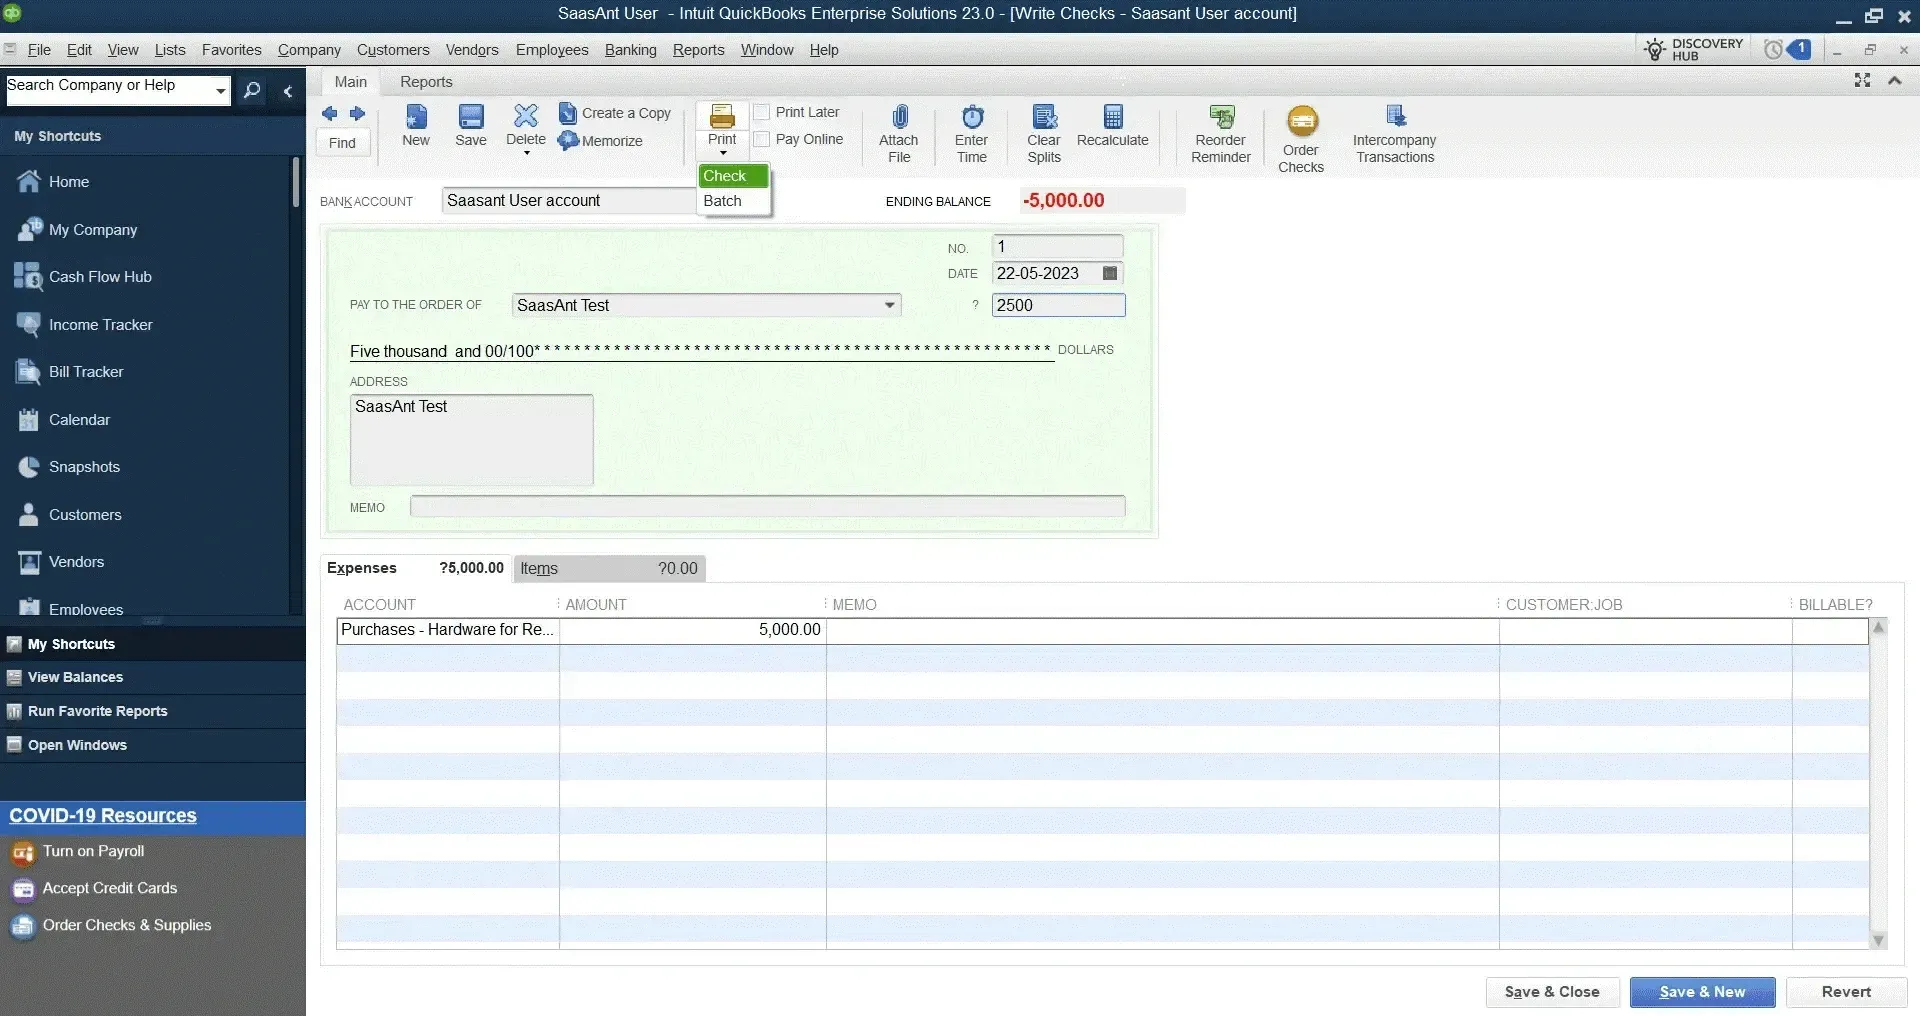
Reprinting checks that have already been printed:
Open QuickBooks Desktop.
Click the "Banking" menu.
Select "Check Register."
Locate the check you want to reprint.
Click "Record."
The check will now be marked as "reprinted," you can print it again.
Tips for reprinting checks:
Ensure you have selected the correct check style before printing.
When printing multiple checks, make sure they are all aligned properly.
For checks that have already been printed, mark them as "reprinted" in QuickBooks to maintain accurate records.
These step-by-step instructions will guide you through reprinting checks in QuickBooks Desktop. By following these steps and implementing the tips, you can efficiently manage your check printing needs and maintain accurate financial records. Additionally, you can integrate accounting automation applications such as SaasAnt Transactions into your QuickBooks workflow for seamless accounting.
FAQs
How Can I Reprint Checks in QuickBooks?
You can reprint any check or sales form by finding the check through a search or report and then selecting the print option. You can also print checks individually or in batches using the print later or print queue feature.
How can I void or delete a check in QuickBooks? What is the difference?
You can void or delete a check in QuickBooks by opening the transaction, selecting the edit menu, and then choosing the void or delete option. The difference is that voiding changes the transaction amount to zero but keeps a record in QuickBooks. At the same time, deleting removes the transaction entirely and causes the bill(s) paid to return to unpaid status. Voiding is preferred to deleting because it ensures an accurate record of all your transactions.
How Can I Order Checks for QuickBooks?
You can order checks for QuickBooks from the Intuit website or a third-party vendor. First, you must choose the type of checks you want, such as standard or voucher checks, and enter your bank account information and company details. You can customize your checks with your logo, font, and signature. You can then review your order and select the preferred quantity and shipping method.
Tags
Read also
How to Create Checks in QuickBooks Online: A Detailed Guide
How to Import Checks into QuickBooks: A Complete Guide
How to Delete Multiple Expenses in QuickBooks Online
Import Expenses into QuickBooks Online