How to Use a Web Connector in QuickBooks for Your Business?
QuickBooks Web Connector is a highly versatile application that facilitates data exchange between QuickBooks Desktop software and web-based applications. It is an incredibly useful tool and can greatly enhance the efficiency of your business operations when properly utilized.
Irrespective of your application's programming language, you can use QuickBooks Web Connector if your application is web service-based. This piece will guide you on how to use QuickBooks Web Connector for your business.
Contents
Understanding QuickBooks Web Connector
Checking Software Compatibility
Downloading and Installing Web Connector
Getting the .QWC File
Adding the .QWC File to the Web Connector
Configuring the Application
Running the Web Connector
Understanding QuickBooks Web Connector
The first step to effectively using the QuickBooks Web Connector is understanding what it is and how it works. Developed by Intuit, QuickBooks Web Connector is a Microsoft Windows application that connects your QuickBooks Desktop products, including QuickBooks Financial Software and QuickBooks Point of Sale, and your web-based applications.
This means your applications can interact with QuickBooks, allowing for a seamless and automated data exchange. It’s a perfect solution for businesses leveraging web-based services to enhance their QuickBooks experience.
Checking Software Compatibility
Before getting started with the Web Connector, it's important to ensure your web-based software is compatible. Not all applications are designed to work with QuickBooks Web Connector, so check with your software vendor or developer for compatibility. This may necessitate some custom programming to bridge any compatibility gaps.
Downloading and Installing Web Connector
Once compatibility is confirmed, the next step is to download and install the Web Connector software. This can be downloaded from the QuickBooks website and installed by following the step-by-step instructions.
Getting the .QWC File
A crucial aspect of the Web Connector is the .QWC file, a unique file that contains the necessary information for the Web Connector to establish communication with the third-party web service. This file is usually provided by a third-party web service provider.
Adding the .QWC File to the Web Connector

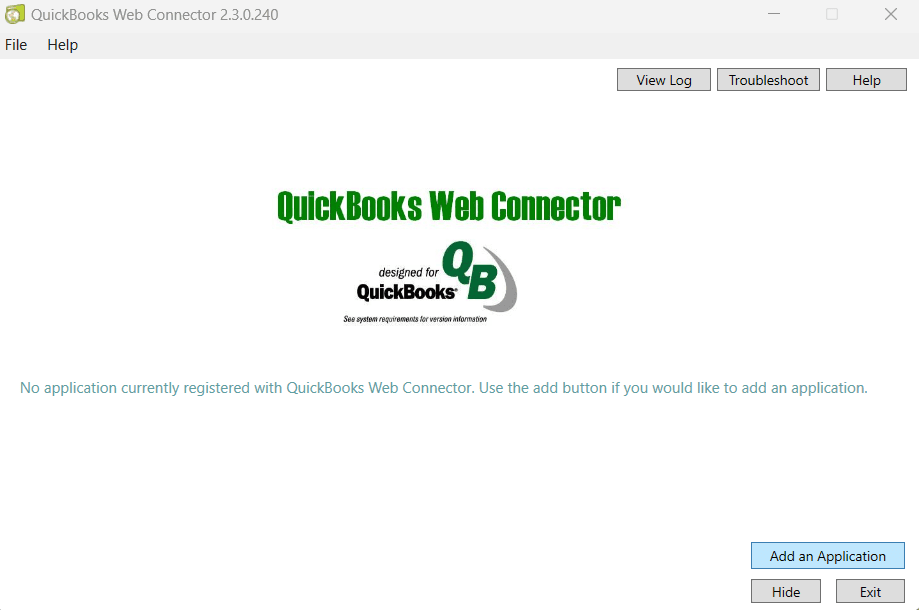
After obtaining the .QWC file, you can add it to the Web Connector. To do this, open the Web Connector application and click "Add an Application." This will prompt you to browse for the .QWC file. Select the .QWC file from your storage and add it to the Web Connector.
Configuring the Application
Once the .QWC file is added; you need to configure the third-party application. To do this, select the application from the list in the Web Connector window and click on the "Properties" button. You will typically be required to set up a password for the connection and decide whether or not to allow the application to access QuickBooks automatically, even if QuickBooks is closed.
Running the Web Connector
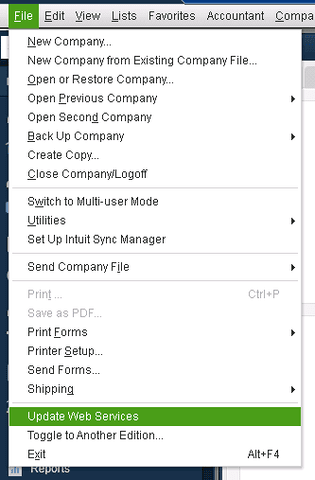
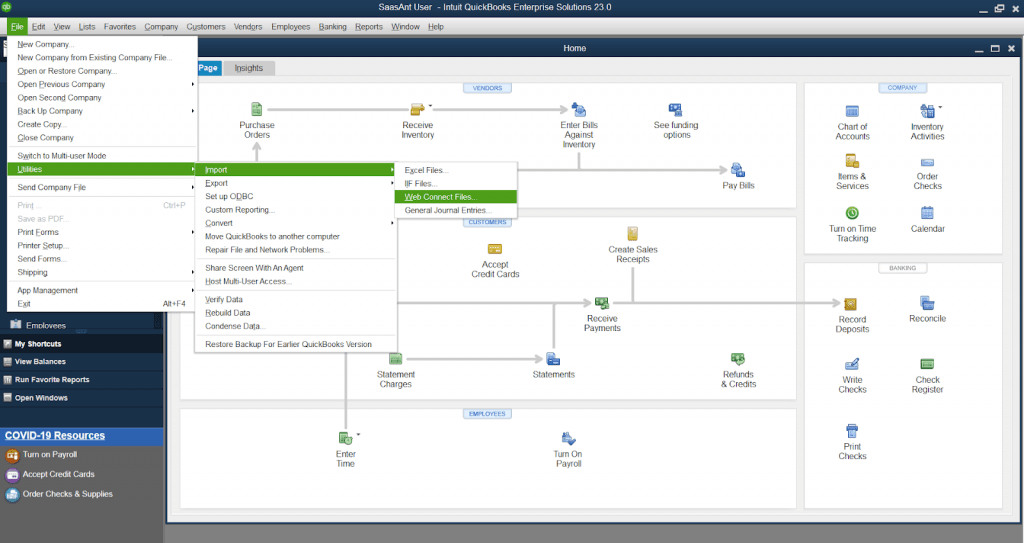
With all set, it's time to run the Web Connector. In “File”, click the "Update Web Services" button to start the Web Connector in QuickBooks. This initiates the connection between the third-party application and QuickBooks, enabling them to exchange data.

Web Connector works with both QuickBooks desktop and QuickBooks Online versions, although the setup process might vary slightly. The process explained here generally applies to both versions, with minor tweaks as necessary.

Security should be a top concern when using QuickBooks Web Connector since it involves sharing sensitive business data. Only collaborate with trusted third-party applications and always maintain a secure connection.
Setting up QuickBooks Web Connector may seem daunting, especially if you're not tech-savvy. It's always advisable to enlist the services of an IT professional when in doubt. They can help streamline the setup process, ensuring everything works correctly and security is not compromised.
In conclusion, QuickBooks Web Connector is an excellent tool for integrating QuickBooks with other business applications, allowing seamless data exchange. By following the steps outlined, you can harness the power of Web Connector to improve the operational efficiency of your business. Remember the need for robust security measures to protect your valuable business data.
Tags
Read also
How to Move QuickBooks to a New Computer: A Step-By-Step Guide
How to Fix QuickBooks Migration Failed Unexpectedly Error