How to Mark an Invoice as Paid in QuickBooks
Managing your invoices is an essential part of any business, and QuickBooks is a popular accounting software that can streamline the process. When you receive payment for an invoice, it's necessary to mark it as paid in QuickBooks to keep your records accurate and up to date. This article will walk you through how to mark an invoice paid in QuickBooks.
Marking an Invoice Paid in QuickBooks Online
QuickBooks Online is a cloud-based accounting solution allowing you to access your data anywhere. Follow these steps to mark an invoice as paid in QuickBooks Online:
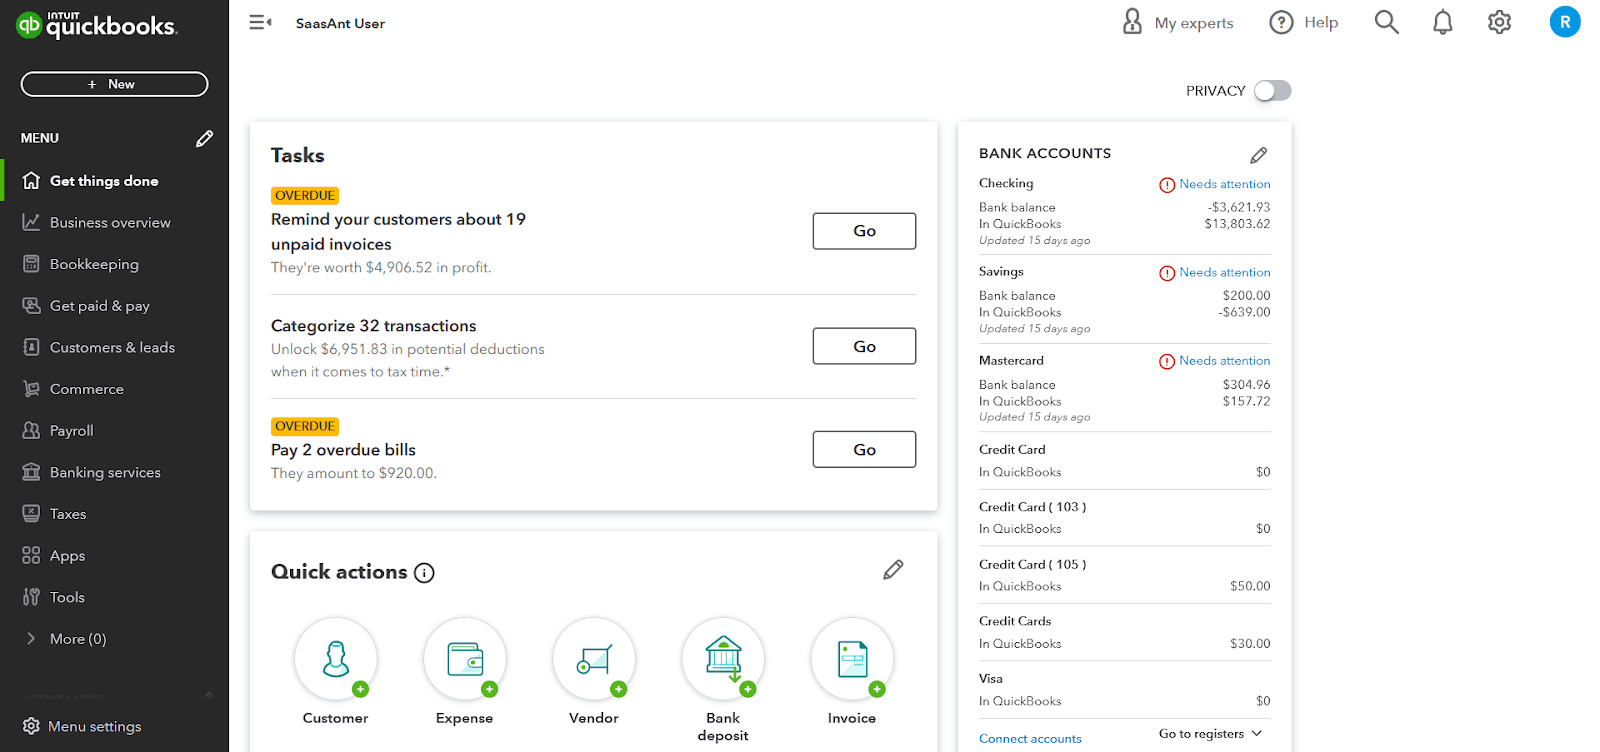
Step 1: Log in to Your QuickBooks Online Account
Sign in to your QuickBooks Online account using your login credentials. This will bring you to the dashboard, the central hub for managing your accounting tasks.
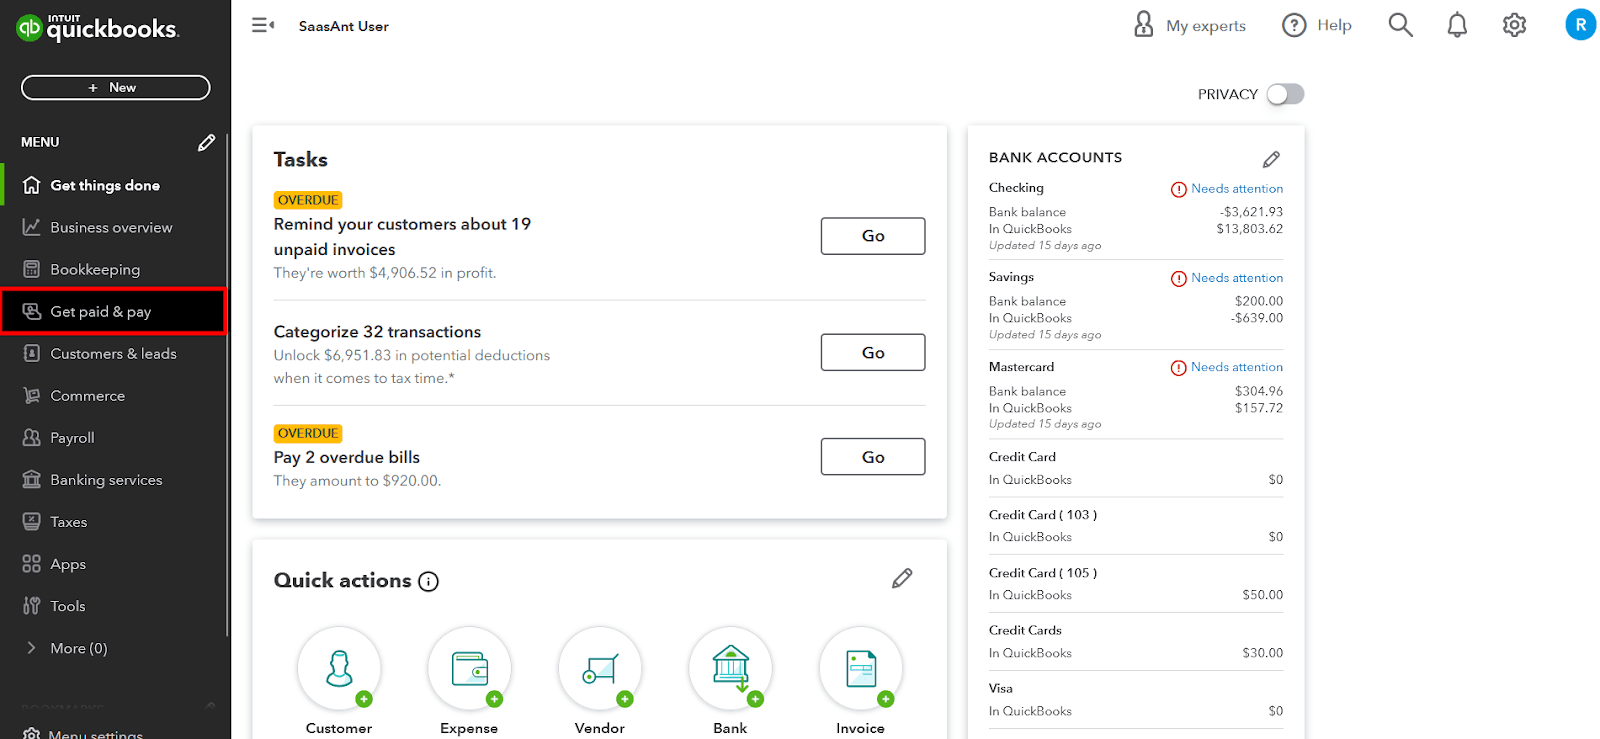
Step 2: Navigate to Get Paid and Pay
After logging in, find the main menu on the left side of the screen. Scroll down and select the "Get Paid and Pay" tab. This will navigate you to the sales menu to access all your invoices.
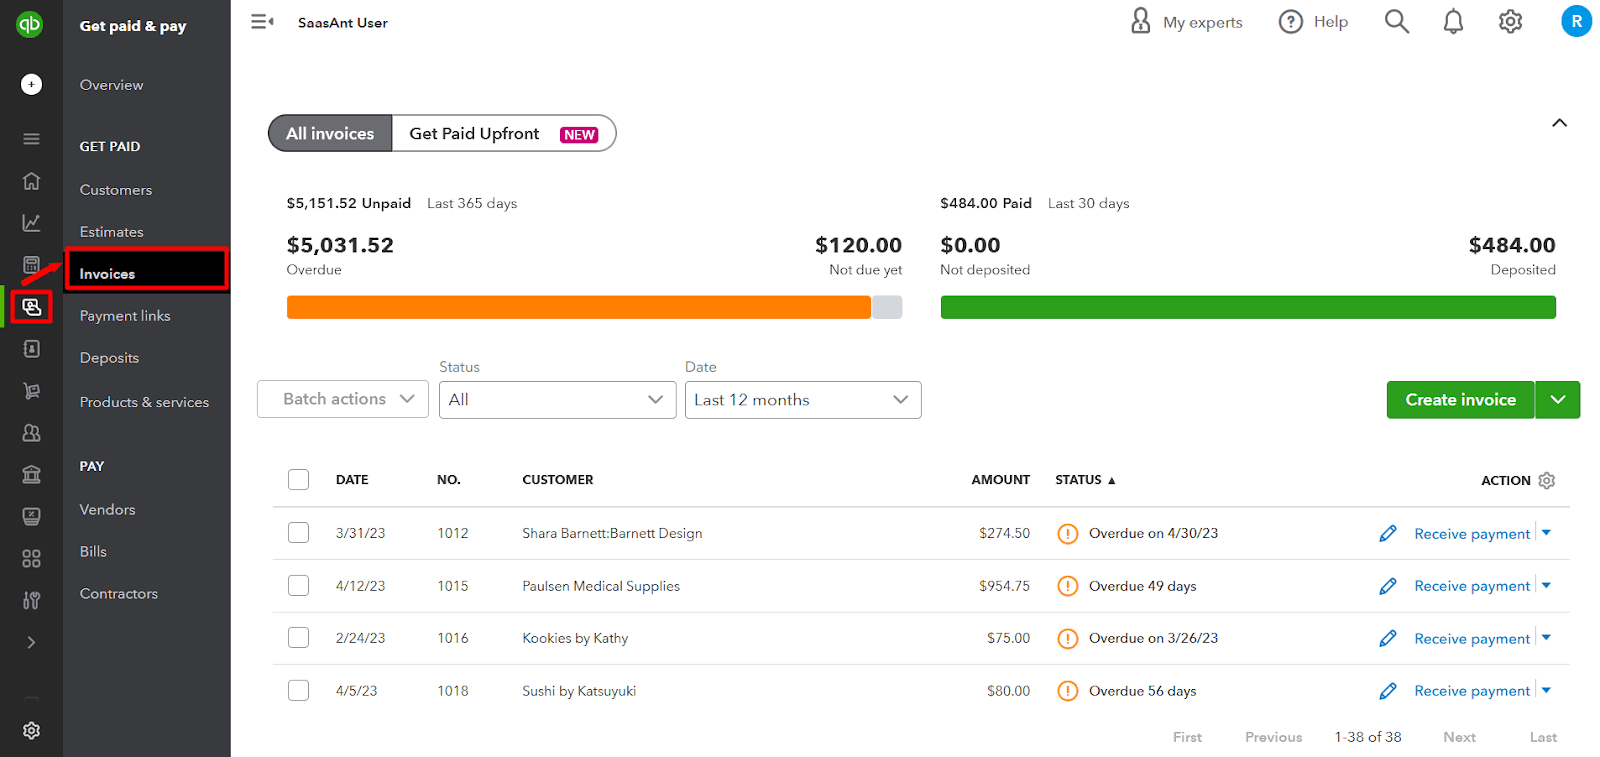
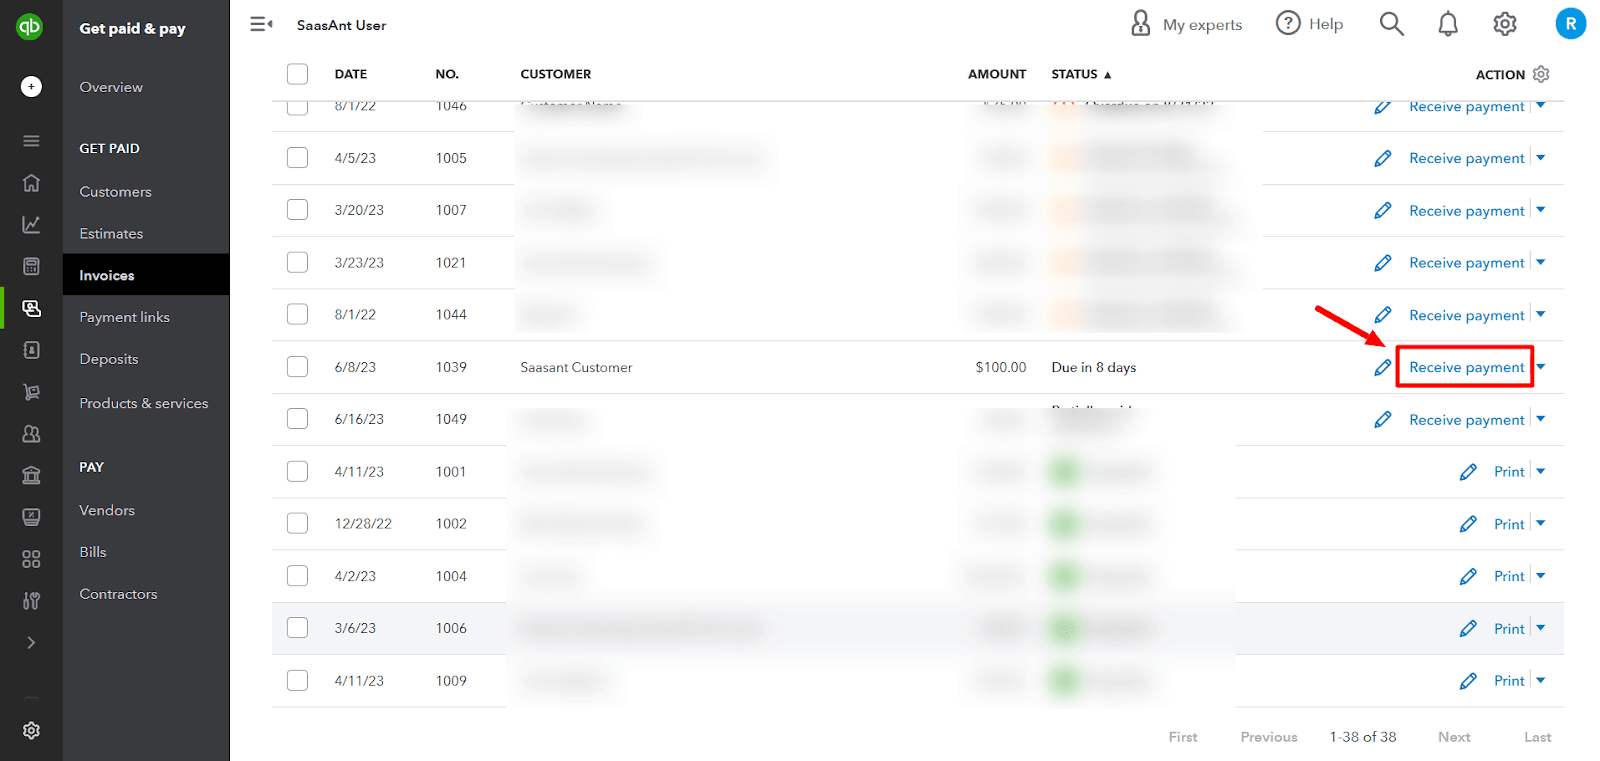
Step 3: Locate the Invoice
Within the Get Paid and Pay menu, you will find several options such as "Invoices," "Customers," "Products and Services," and more. Click on the "Invoices" option to display a comprehensive list of all the invoices you have created.
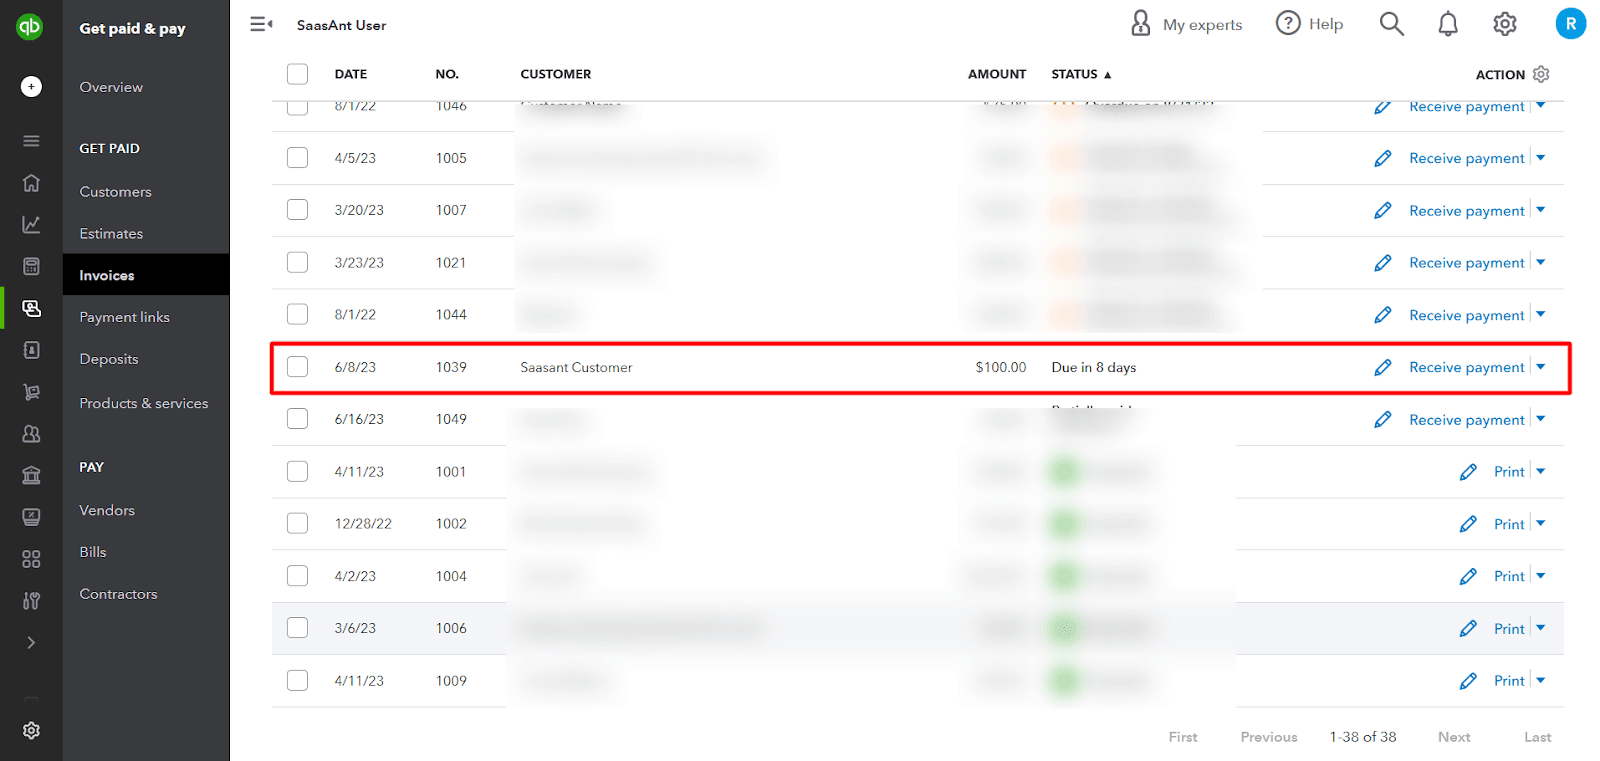
Step 4: Find the Unpaid Invoice
Scan the list of invoices to locate the one you wish to mark as paid. To simplify your search, you can utilize the search bar by entering relevant details like the invoice number, customer name, or other identifying information. Additionally, you can sort the invoices by date or customer name to facilitate the identification process.
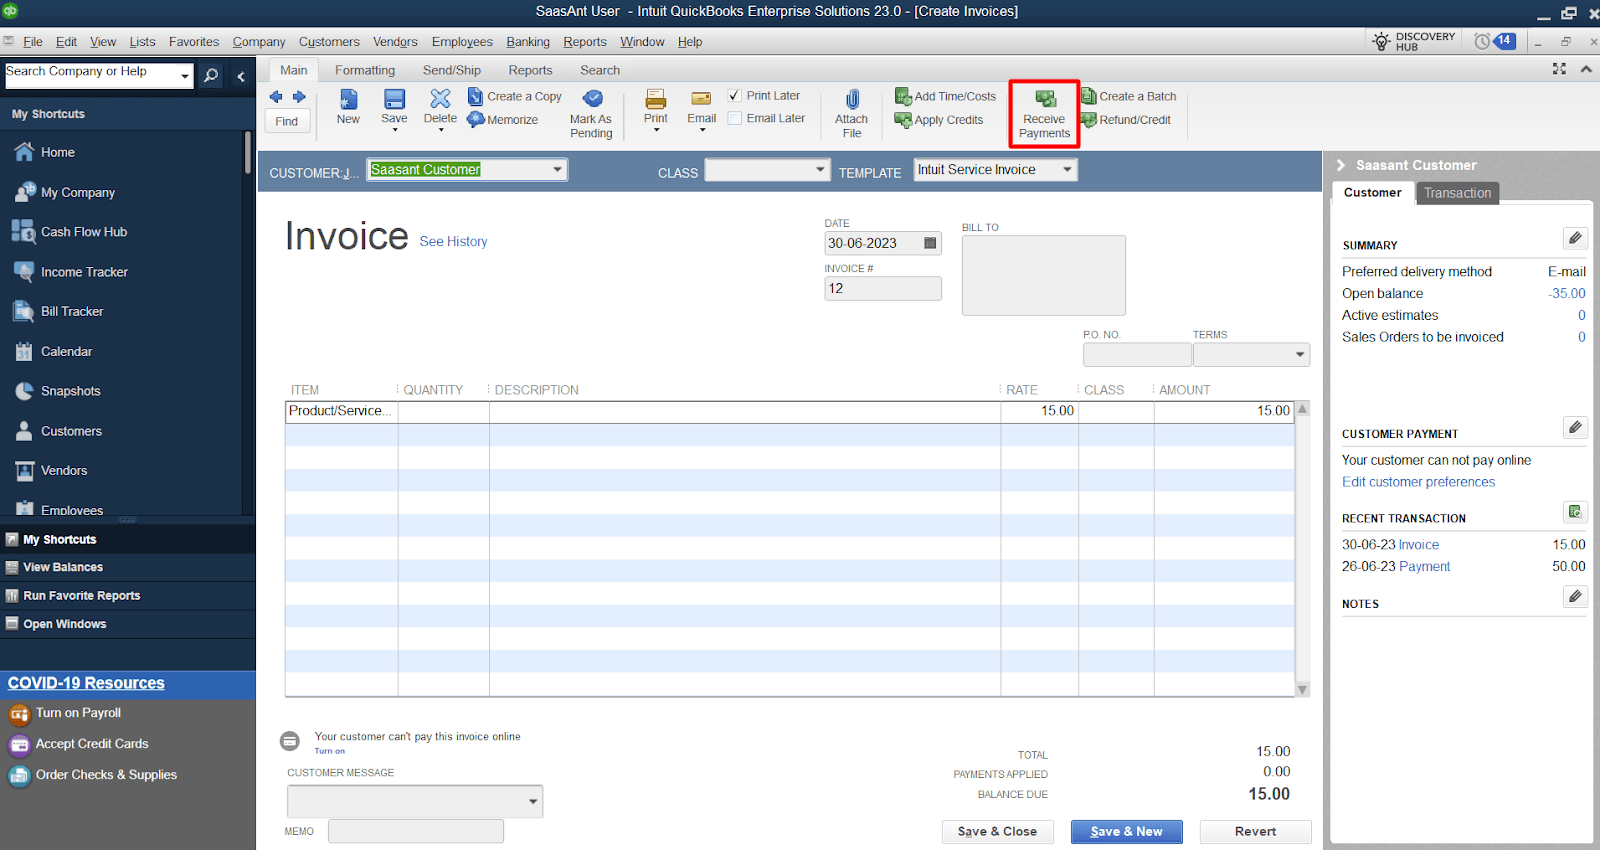
Step 5: Record the Payment
The "Receive Payment" button is in the invoice details view. Click on this button to open a new window specifically designed for recording the payment related to the invoice. You can enter the necessary details in this window to record the invoice payment accurately.
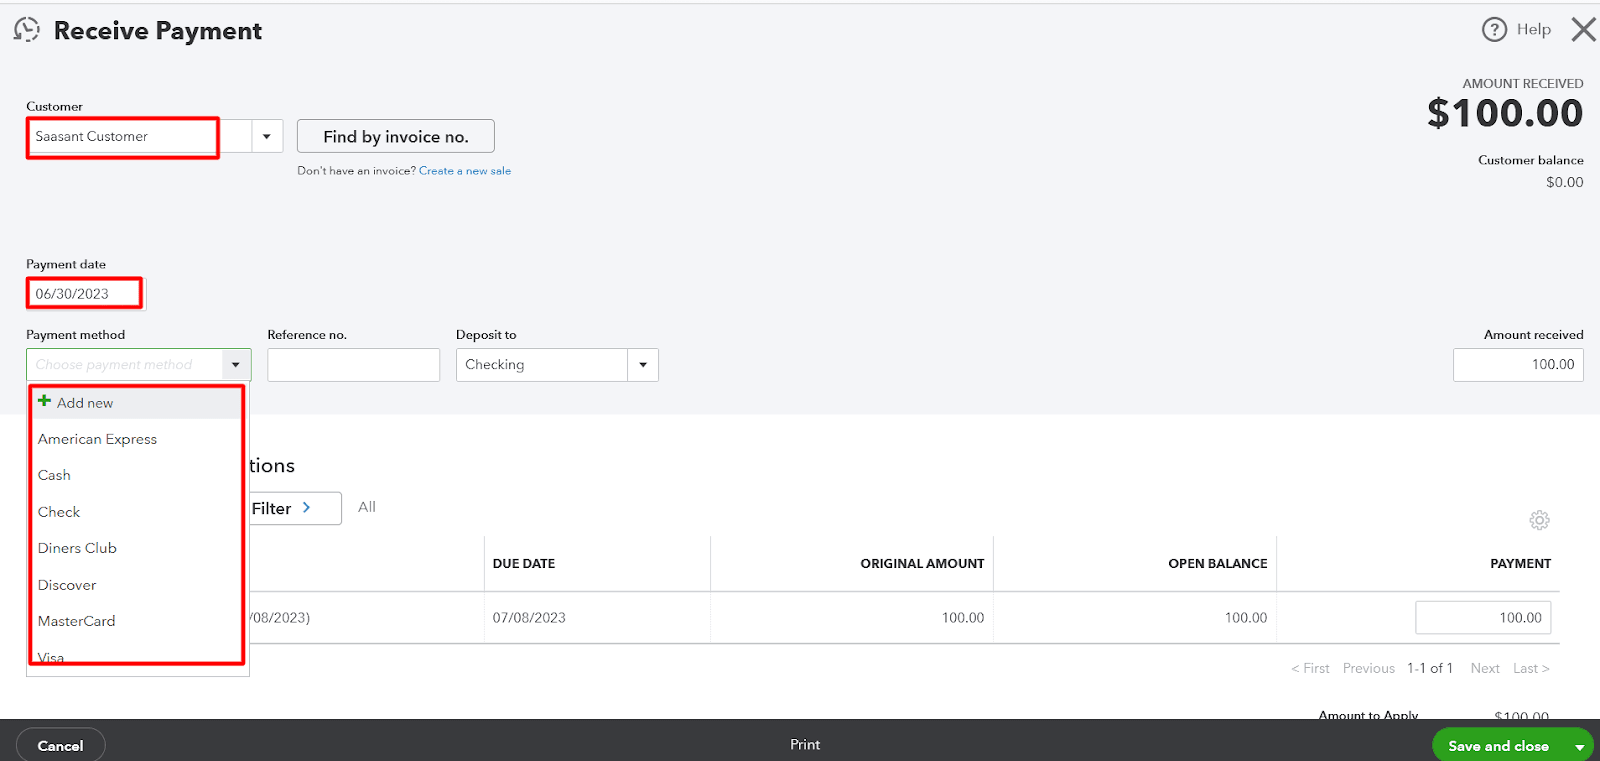
Step 6: Fill in the Payment Details
You can enter the payment amount in the designated field. Choose the appropriate payment method, including cash, check, credit card, and bank transfer. If the desired method is not listed, select the "Other" option and provide additional details in the notes section.
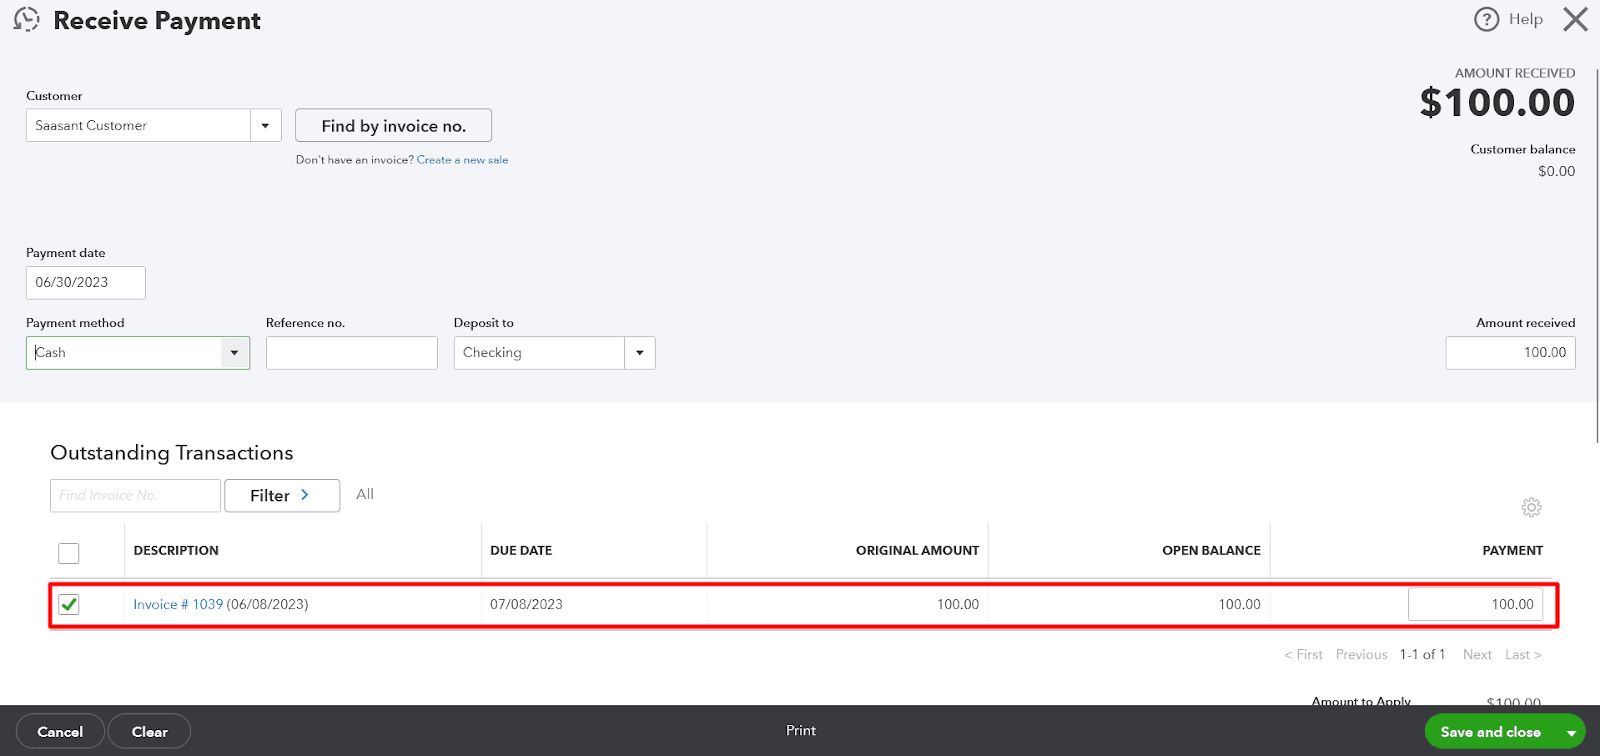
Step 7: Apply the Payment to the Invoice
After entering the payment details, you must apply the payment to the specific invoice. If the payment is for the full invoice amount, check the box corresponding to the invoice." If the payment is partial, enter the amount received that the payment applies to.
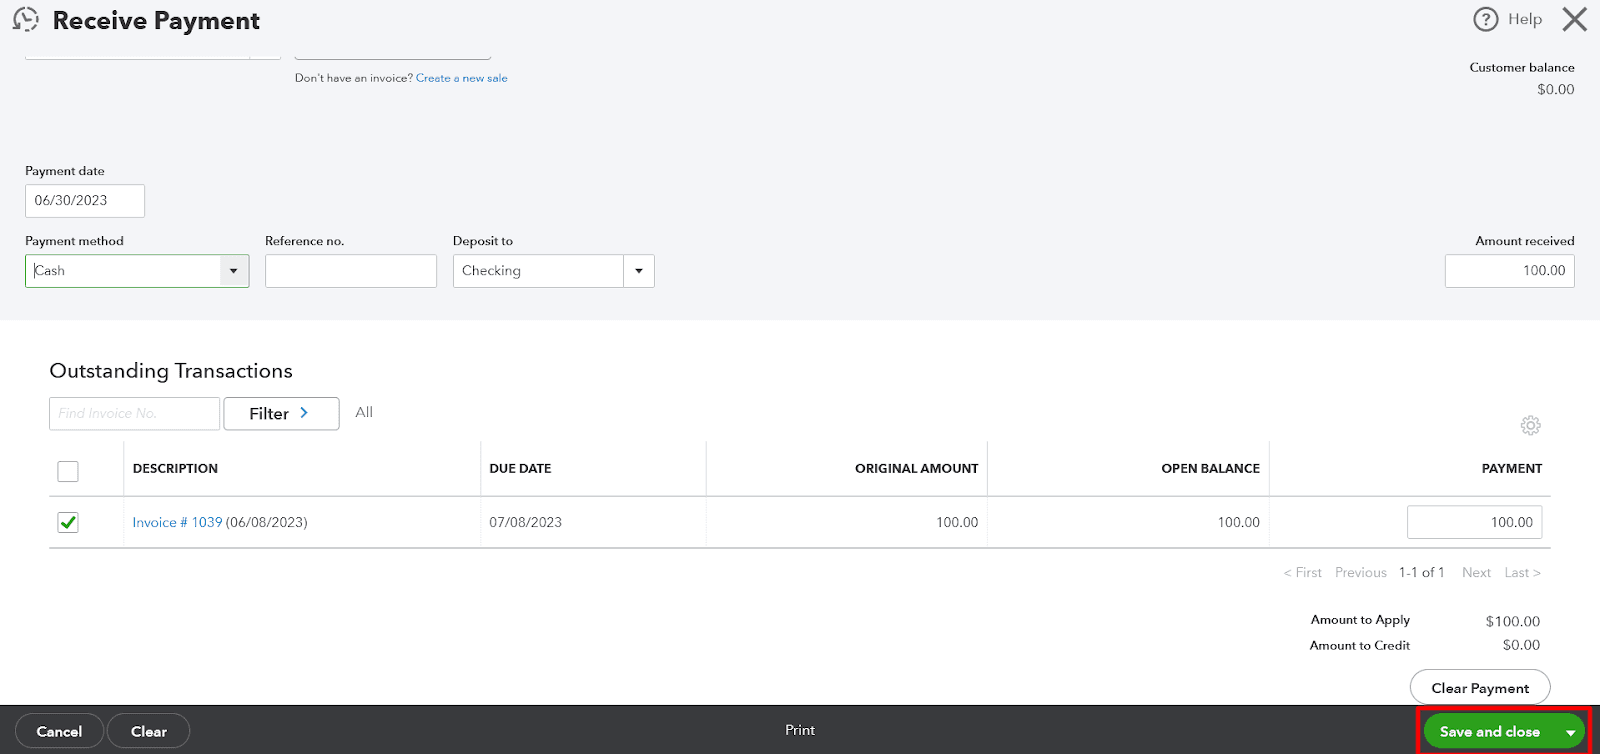
Step 8: Save the Payment
Review the details once you've applied the payments to the invoice to ensure accuracy. If everything looks correct, click the "Save and Close" button to save the payment and mark the invoice as paid.
Step 9: Verify the Invoice Status
After saving the payment, you'll be redirected to the invoice list. Locate the invoice you marked as paid and verify its status is now "Paid." QuickBooks will automatically update the status, and the invoice will be reflected as paid in your financial reports.

Marking an Invoice Paid in QuickBooks Desktop
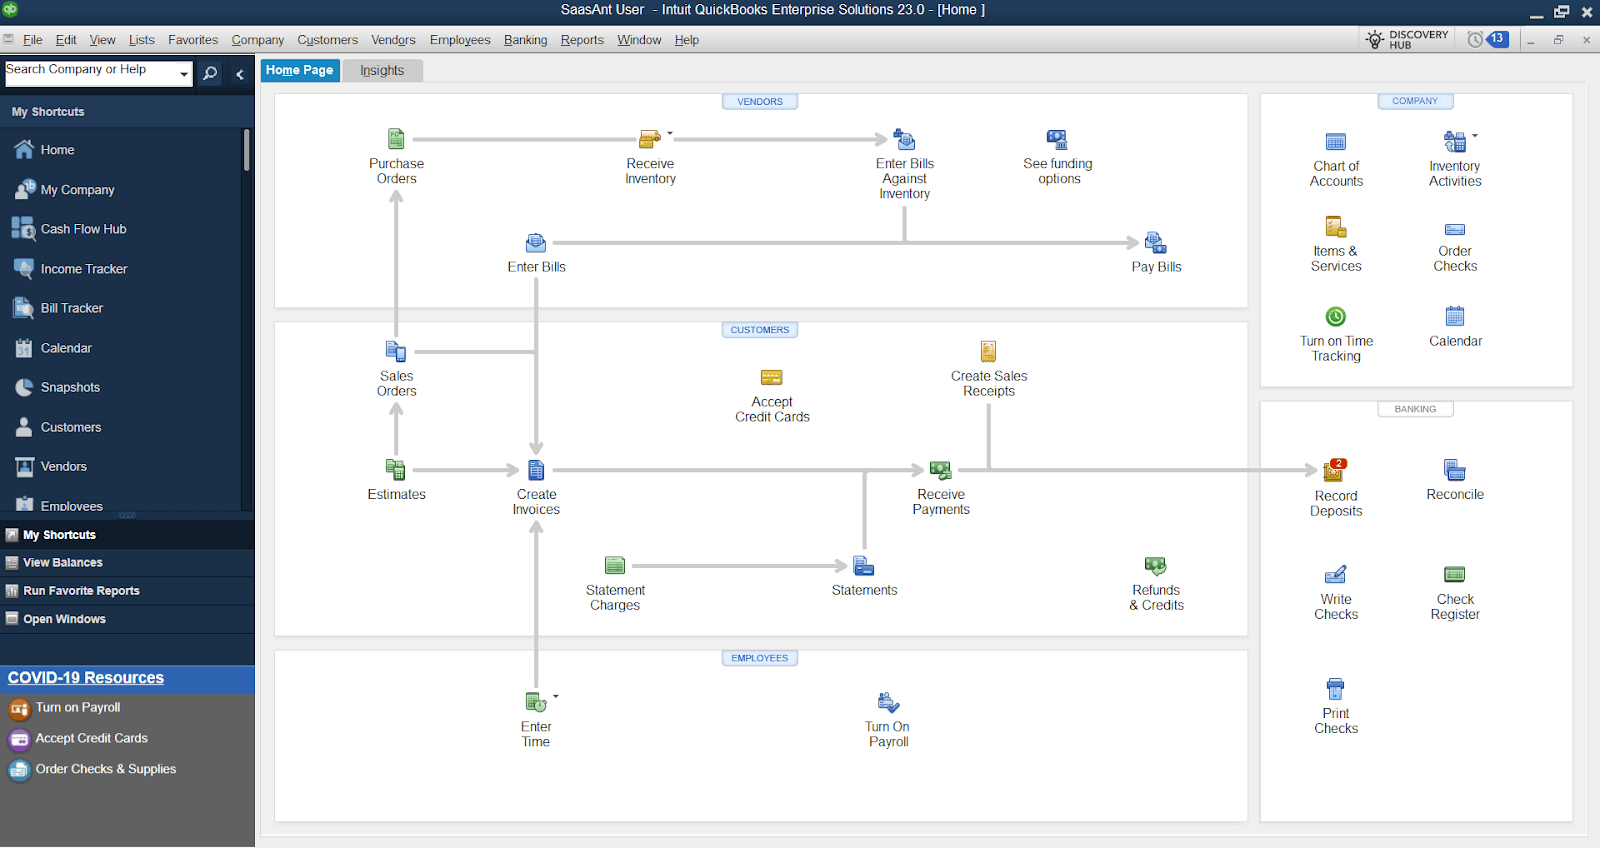
Step 1: Launch QuickBooks Desktop
Launch the QuickBooks Desktop application on your computer by double-clicking the QuickBooks icon or selecting it from the programs list.
Step 2: Open the Invoice
After accessing the QuickBooks Desktop application:
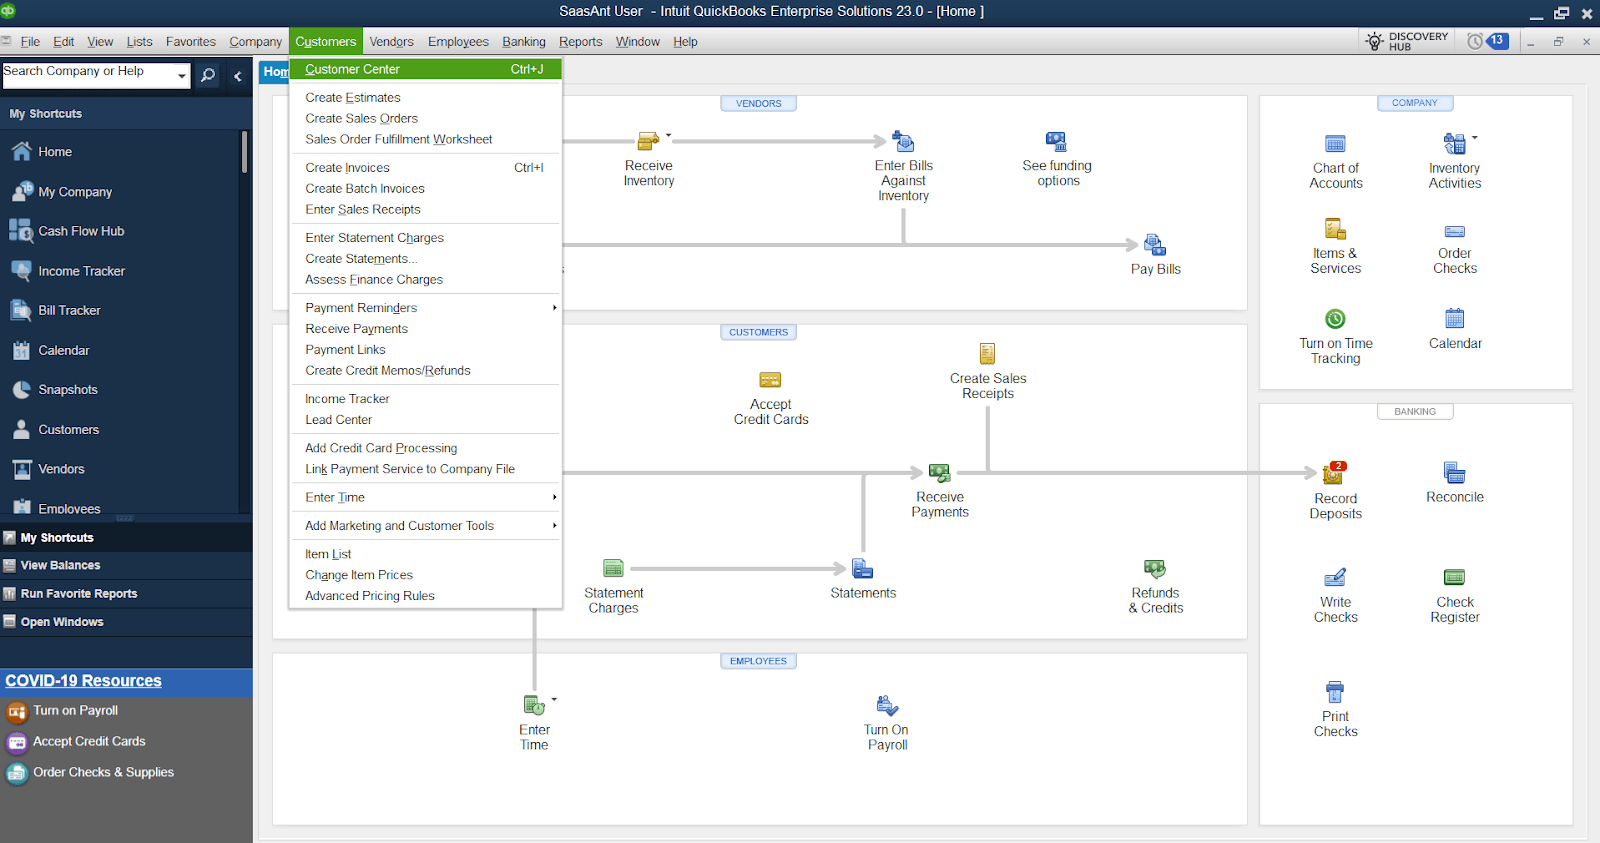
Navigate to the top of the screen and locate the "Customers" menu
Click on it to reveal a drop-down menu
From the drop-down menu, select "Customer Center."
Step 3: Find the Unpaid Invoice
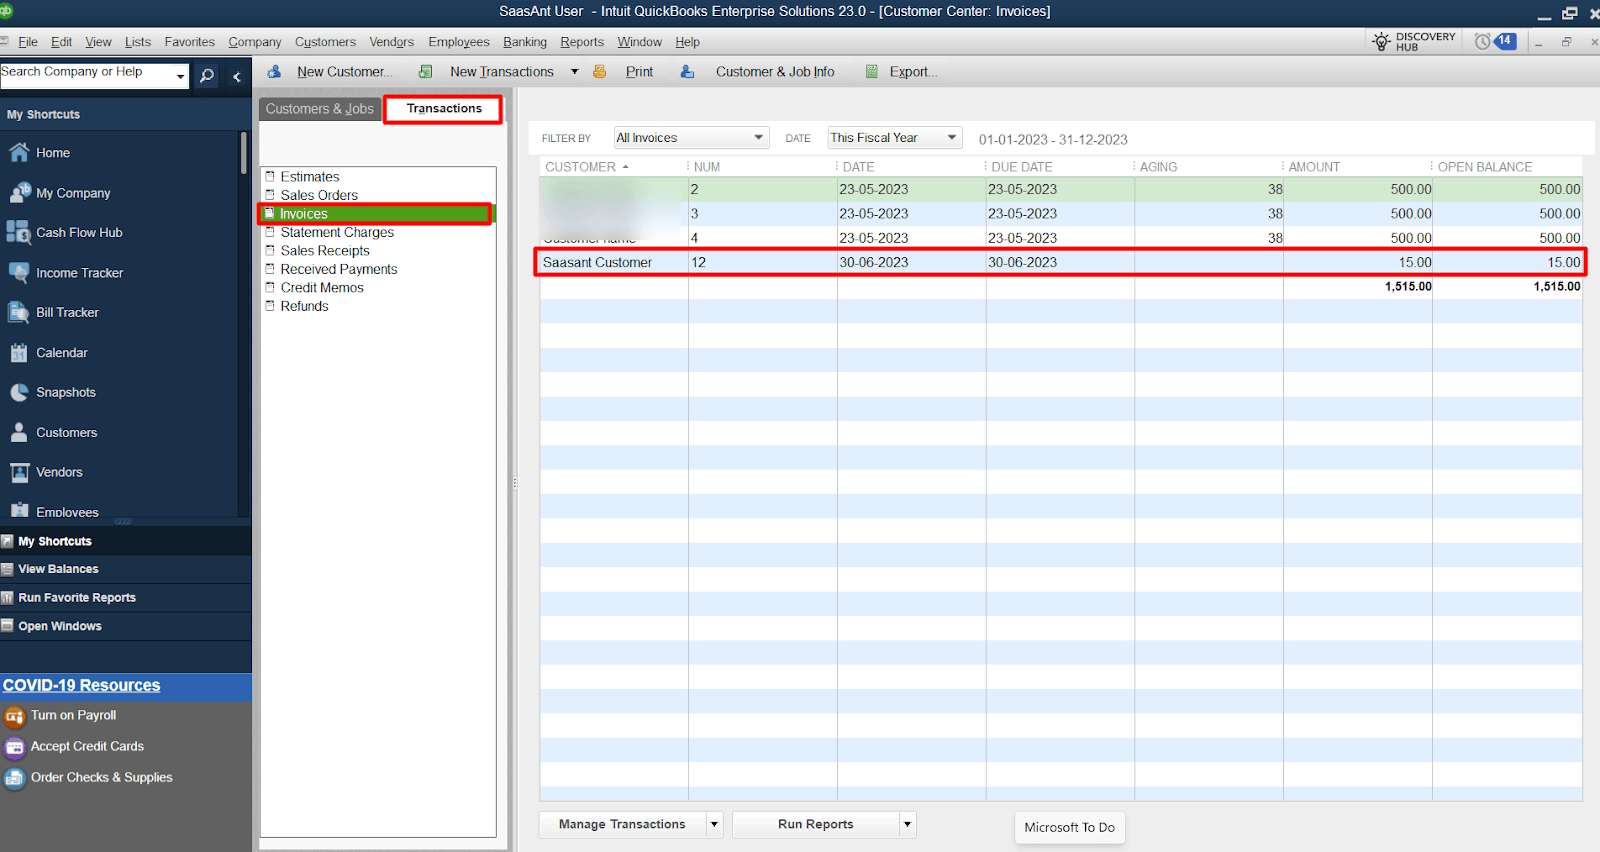
In the Customer Center, select the transactions tab that lists Estimates, Sales Orders, Invoices, Statement Charges, Sales Receipts, Received Payments, Credit Memos, and Refunds. From the list, select Invoices to view all the recorded invoices. You can select the invoice that needs to be marked for payment.
Step 4: Select the Invoice
Click on the invoice to select it and open the invoice details.

Step 5: Record the Payment
Within the invoice details view, navigate to the screen's top and click the "Receive Payment" button. This action will open the "Receive Payments" window, allowing you to record and process the payment for the invoice.
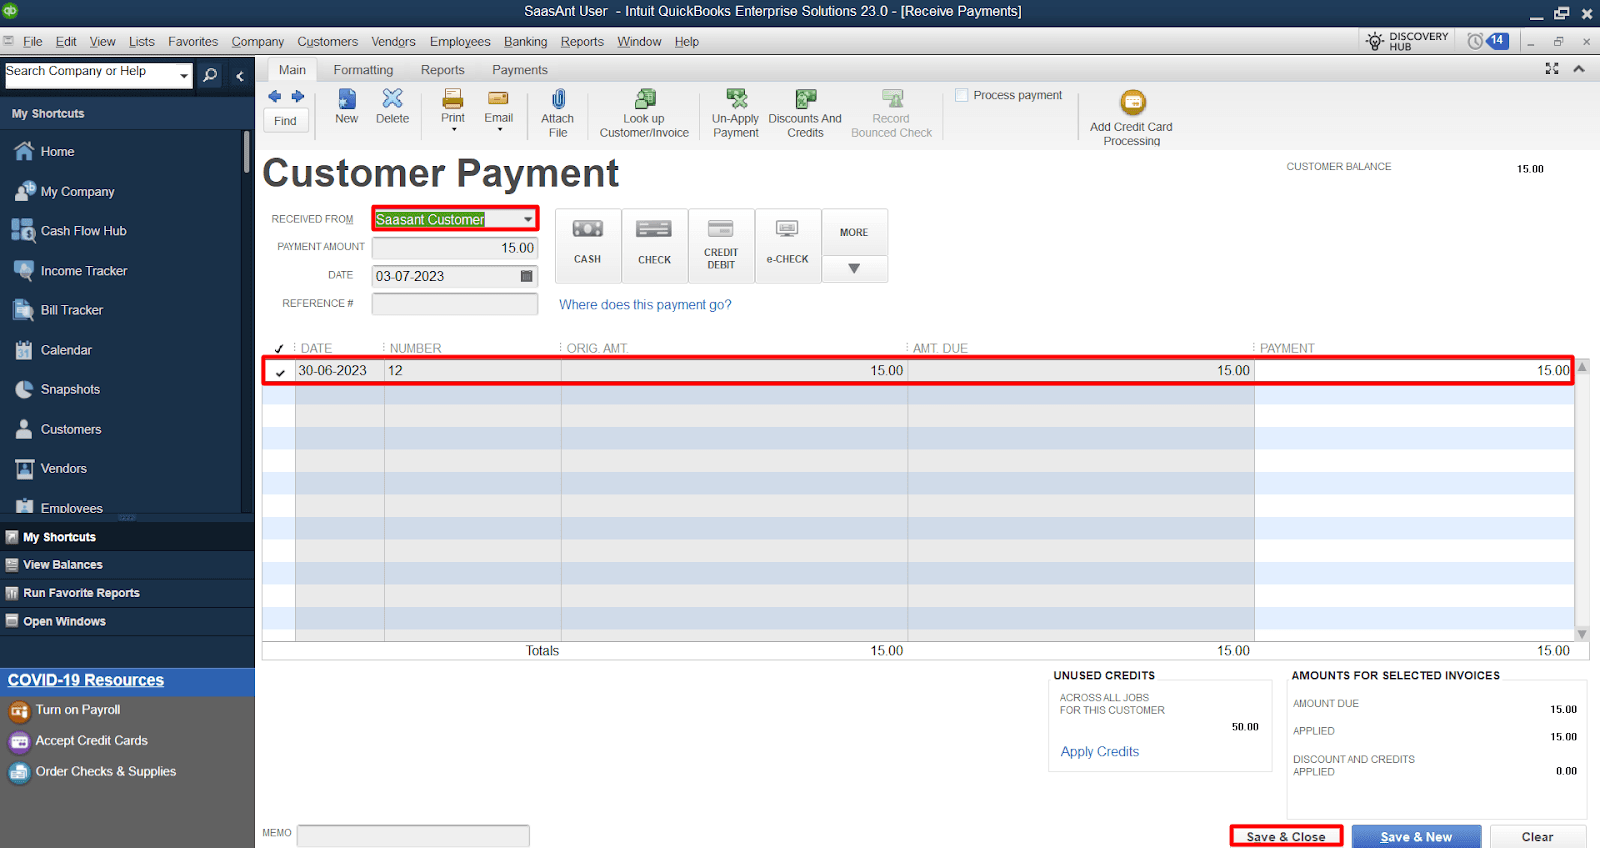
Step 6: Choose the Customer
Within the "Receive Payments" window, ensure that the correct customer is selected for the payment. If needed, you can change the customer by choosing their name from the provided drop-down list. This step ensures that the payment is accurately attributed to the intended customer.
Step 7: Enter the Payment Details
In the "Receive Payments" window, enter the relevant payment details, including the payment date, payment method, and the amount received. If the desired payment method is unavailable in the provided options, you can select "Other" and provide additional details in the notes section.
Step 8: Apply the Payment to the Invoice
After entering the payment details in the "Receive Payments" window, it is essential to apply the payment to the specific invoice correctly. In the "Outstanding Transactions" section of the window, you will find the invoice that needs to be marked as paid. Ensure the amount received matches the invoice to reflect the payment transaction accurately.
Step 9: Save the Payment
After applying the payment to the invoice and verifying the details for accuracy, it is crucial to review the information before finalizing the transaction. If you are satisfied with the accuracy of the payment details, click on the "Save and Close" button.
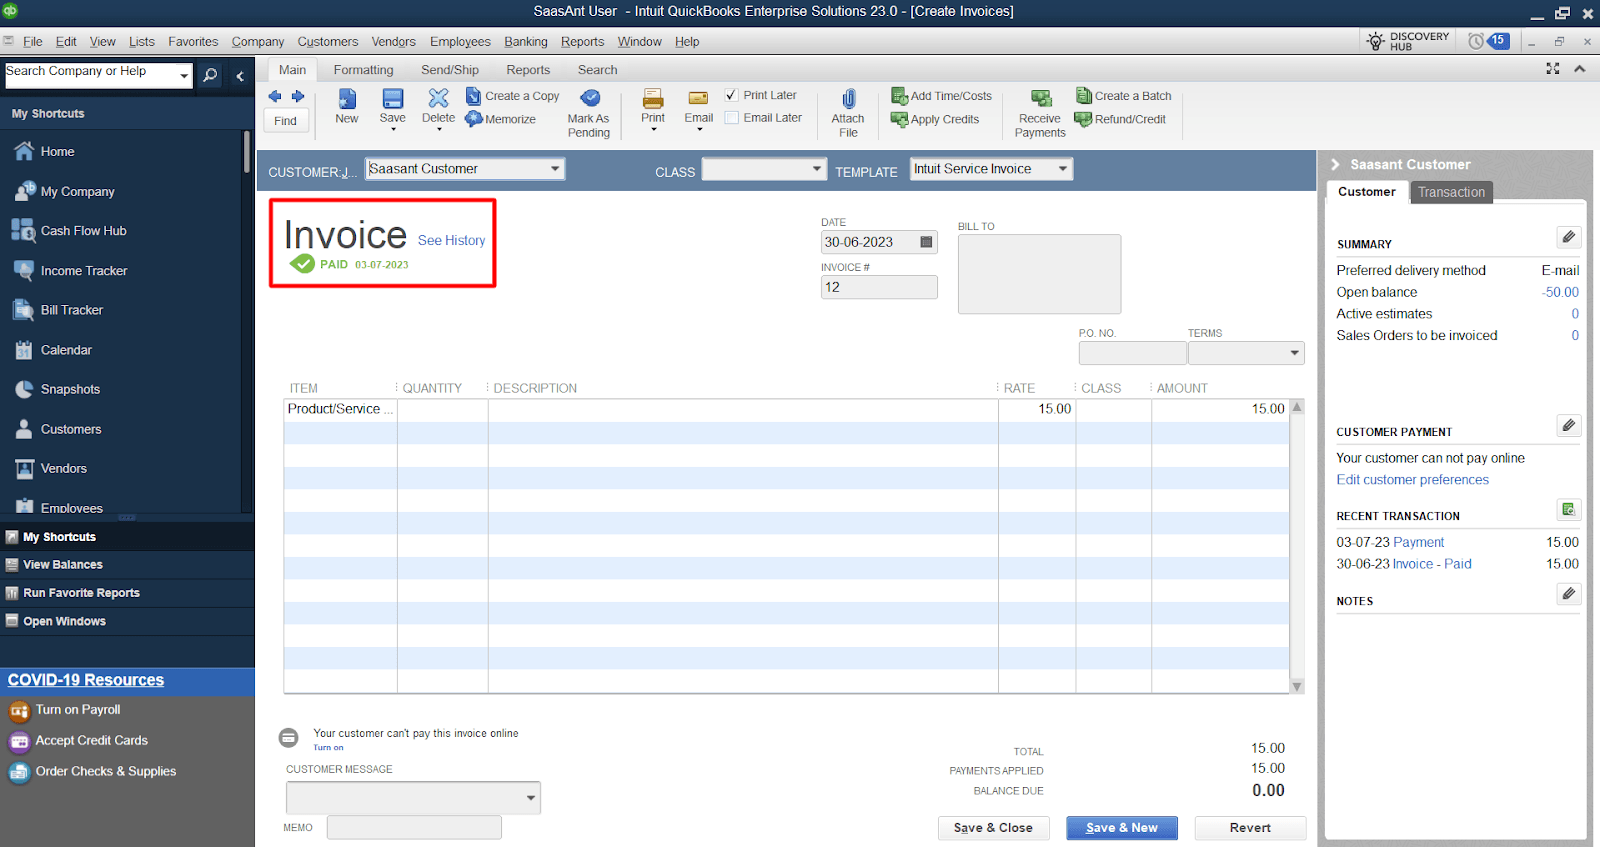
Step 10: Verify the Invoice Status
Once saved in QuickBooks Desktop, you will be redirected to the invoice details view. Locate the invoice you marked as paid. Verify the payment has been applied and recorded in QuickBooks Desktop.
Recommended reading:
How to Create an Invoice in QuickBooks Online
Frequently Asked Questions
Q1: How Do I Mark an Invoice as Paid in QuickBooks Online?
To mark an invoice as paid in QuickBooks Online:
Log in to your account
Navigate to the "Sales" menu
Select "Invoices"
Find the invoice you want to mark as paid and click on it to open the details.
Click the "Receive Payment" button and enter the payment details
Apply the payment to the invoice and review the information
Click "Save and close" to mark the invoice as paid.
Q2: Can I Apply a Partial Payment to an Invoice in QuickBooks Online?
Yes, QuickBooks Online allows you to apply partial payments to invoices. When recording the payment, enter the received amount and select the specific items or services the payment applies. QuickBooks Online provides options to allocate partial payment accurately.
Q3: How Can I Track the Status of an Invoice in QuickBooks Online after Marking It as Paid?
After marking an invoice as paid in QuickBooks Online, you can track its status by:
Navigate to the "Sales" menu
Select "Invoices" and find the specific invoice
Verify that its status is updated to "Paid," indicating that the payment has been successfully recorded
Q4: How Do I Mark an Invoice as Paid in QuickBooks Desktop?
In QuickBooks Desktop:
Open the application
Navigate to the "Customers" menu
Select "Create Invoice"
Locate the invoice you want to mark as paid and click on it to open the details.
Click the "Receive Payment" button and enter the payment details
Apply the payment to the invoice and review the information
Click "Save and Close" to save the payment and mark the invoice as paid
Q5: Can I Change the Payment Method for an Invoice in QuickBooks Desktop?
Yes, in QuickBooks Desktop, you can change the payment method for an invoice. When recording the payment, you can select the appropriate payment method from the available choices or "Other" to provide additional details if the desired payment method is not listed.
Q6: How Can I Confirm That an Invoice Is Marked as Paid in QuickBooks Desktop?
After saving the payment, you will return to the invoice details view in QuickBooks Desktop. Locate the invoice you marked as paid and verify that its status is now displayed as "Paid." This indicates the payment has been successfully recorded and applied to the invoice.
Automate Invoice & Payment Imports to QuickBooks Online with SaasAnt Transactions
Stop manually entering invoices and payments into QuickBooks Online. SaasAnt Transactions, the most trusted integration solution, lets you effortlessly import data in bulk, automate your workflows, and eliminate errors.
Key Features:
Bulk Import/Export: Handle large volumes of invoices and payments (Excel, CSV, IIF, PDF).
Automated Imports: Set up automatic imports from email, local folders, or cloud storage (via Zapier).
Customizable Settings: Control date formats, transaction numbers, auto-create list entities, and more.
Custom Rules: Categorize transactions and apply custom transformations during import.
Pre-Import Validation: Review and edit data before importing to ensure accuracy.
Multi-Currency & Tax Support
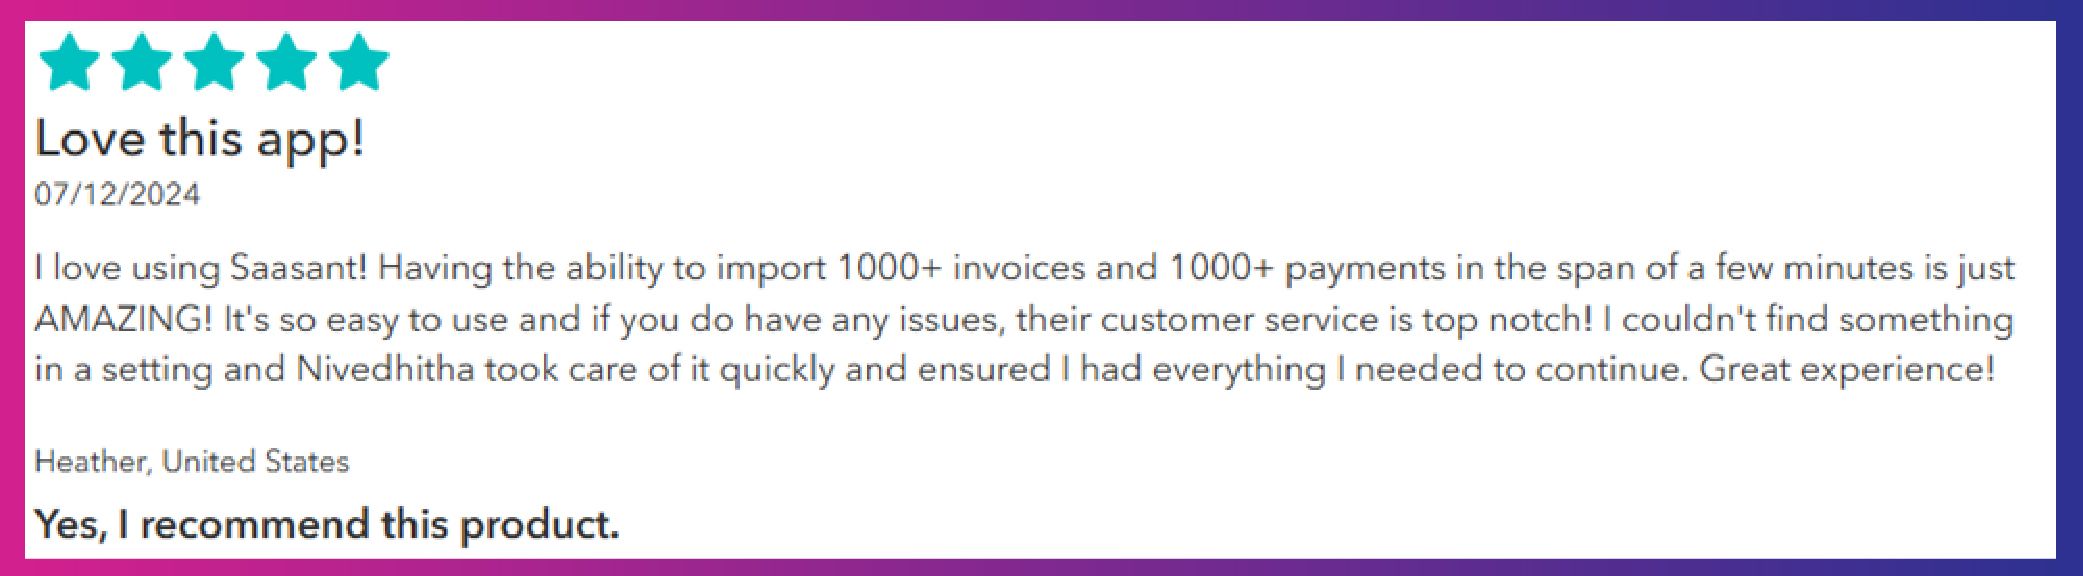
Trusted by Over 50,000 Businesses
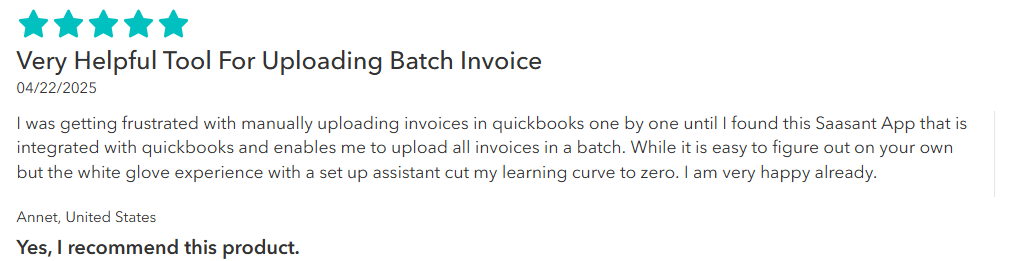
With over 4000 reviews and 3300+ 5-star ratings on the QuickBooks App Store, SaasAnt Transactions is the proven choice for seamless integration.
"The best app for importing data into QuickBooks Online...!"
"Transformed our bookkeeping workflow...Highly recommend!"
Save time, reduce errors, and streamline your QuickBooks Online workflow.
Tags
Read also
How to Record Owner's Draw in QuickBooks Online
How to Convert from Quicken to QuickBooks
Import Invoices into QuickBooks Online: Step-by-Step Guide
How to Edit Invoices in QuickBooks Online