Automate QuickBooks Data Entry with SaasAnt Transactions for Faster, Error-Free Accounting
QuickBooks data entry can often feel like a tedious chore; unfortunately, the time spent on it doesn’t always yield the desired results. Every minute counts for small business owners, accountants, and bookkeepers, and dealing with data entry errors can add unnecessary stress. You may have wondered if there’s a way to automate QuickBooks data entry to make your life easier. If so, you’re in the right place!
This blog will explore how to automate QuickBooks data entry using SaasAnt Transactions. This software has received a 5-star rating from over 3,200 users in the QuickBooks app store and offers much more than just data entry capabilities. Let’s start by covering the basics.
Contents
Why Do You Need Automated QuickBooks Data Entry?
Best QuickBooks Data Entry Software
How to Do Data Entry in QuickBooks: A Step-by-Step Guide
How to Automate QuickBooks Data Entry?
QuickBooks Data Entry Best Practices
Automate QuickBooks Data Entry Today
FAQ
Why Do You Need Automated QuickBooks Data Entry?
Challenges:
Time Consumption: Manual data entry can take hours weekly, pulling you away from more critical business tasks and decision-making.
Errors: Typos and miscalculations are common in manual entry, leading to costly financial reporting and decision-making mistakes.
Inefficiency: Repetitive tasks can lead to burnout and decreased morale among staff, impacting overall productivity.
Let’s say you have been entering invoices manually in QuickBooks one after another, and the error ‘unable to connect to our service’ keeps showing up. Maybe you are trying to create a bill, and the ‘save and new’ button isn’t working. Let’s not forget that reaching the create bill screen will force you to click or tab multiple times.
QuickBooks Data Entry Automation Benefits:
Time Savings: Automated QuickBooks data entry can cut processing time by up to 50%, allowing you to focus on growth and strategy.
Error Reduction: Businesses using automation report a 30% decrease in data entry errors, ensuring more accurate financial records.
Increased Productivity: With less time spent on QuickBooks data entry, teams can dedicate their efforts to higher-value tasks, enhancing overall efficiency.
Best QuickBooks Data Entry Software
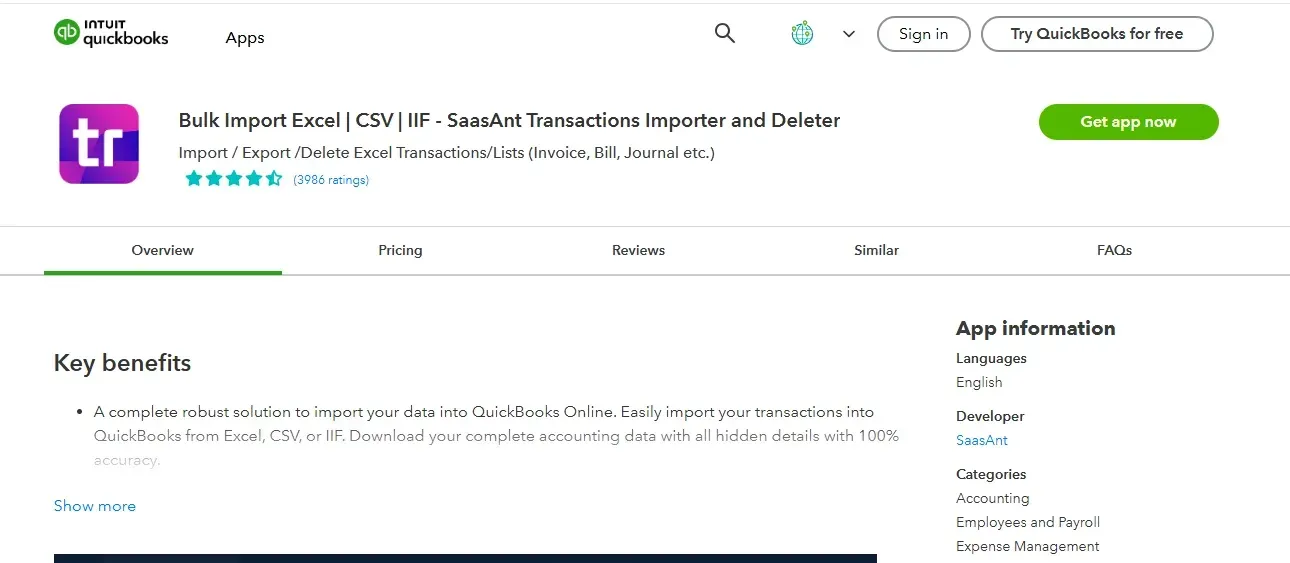
Let’s cut to the chase and discuss the features of the best QuickBooks data entry software: SaasAnt Transactions. If you’re tired of spending countless hours on manual data entry, this software is here to help. With SaasAnt Transactions, you can effortlessly import all your QuickBooks entities—invoices, expenses, or customer and vendor lists.
But that’s not all. SaasAnt Transactions also supports automated QuickBooks data entry through Email, Zapier, or FTP/SFTP, making your workflow smoother.
SaasAnt isn’t just QuickBooks data entry software. It also makes creating local copies on your flash drive easy for safekeeping or sharing. Plus, if you ever need to make bulk changes or deletions, you can do that with just a few clicks, giving you the flexibility to manage your data effectively.
And let’s not forget about security. You can create secure backups via Email or FTP/SFTP folders, ensuring your information is always protected.
Best of all, you can try SaasAnt Transactions for QuickBooks data entry for a risk-free 30-day free trial.
How to Do Data Entry in QuickBooks: A Step-by-Step Guide
Here is a basic QuickBooks data entry tutorial. Follow the instructions to get started immediately with the best QuickBooks data entry service.
Step 1: Go to the QuickBooks app store and search for SaasAnt. Get started with the 30-day free trial and integrate with QuickBooks.
Step 2: Go to its dashboard -> Import -> New Import -> Select the QuickBooks entity you wish to import.
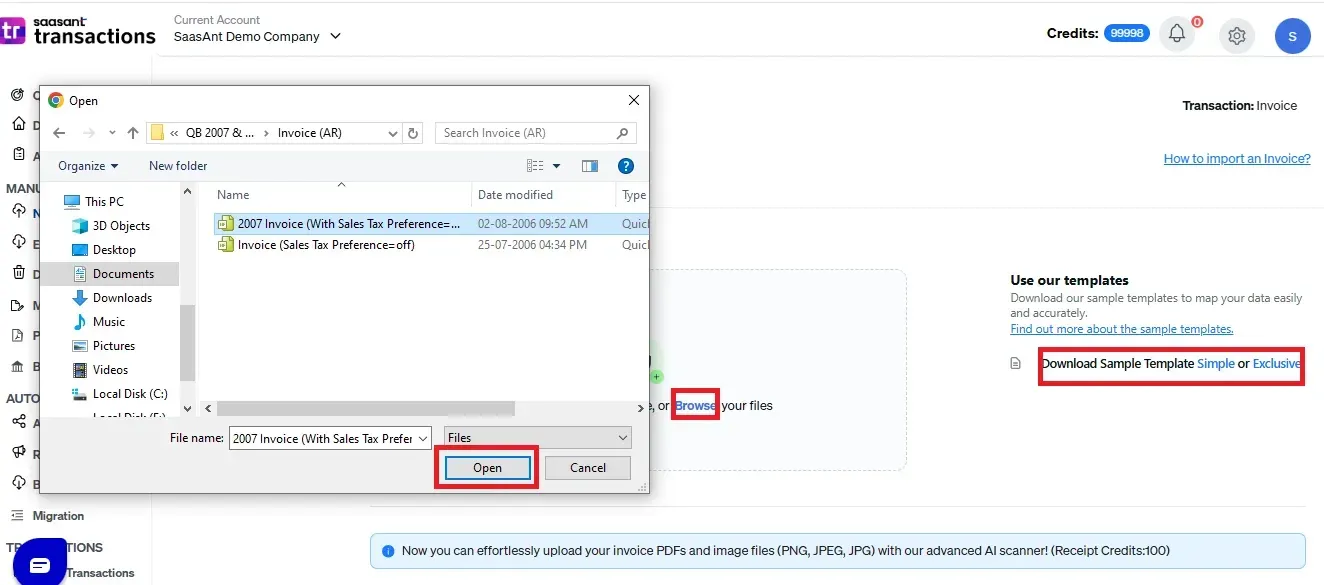
Step 3: Upload the file. It can be anything from XLS, XLSX, CSV, or IIF. If you have a PDF file, you can convert it to Excel within the application.
Step 4: Map the fields in your file to the QuickBooks fields. Review and Import.
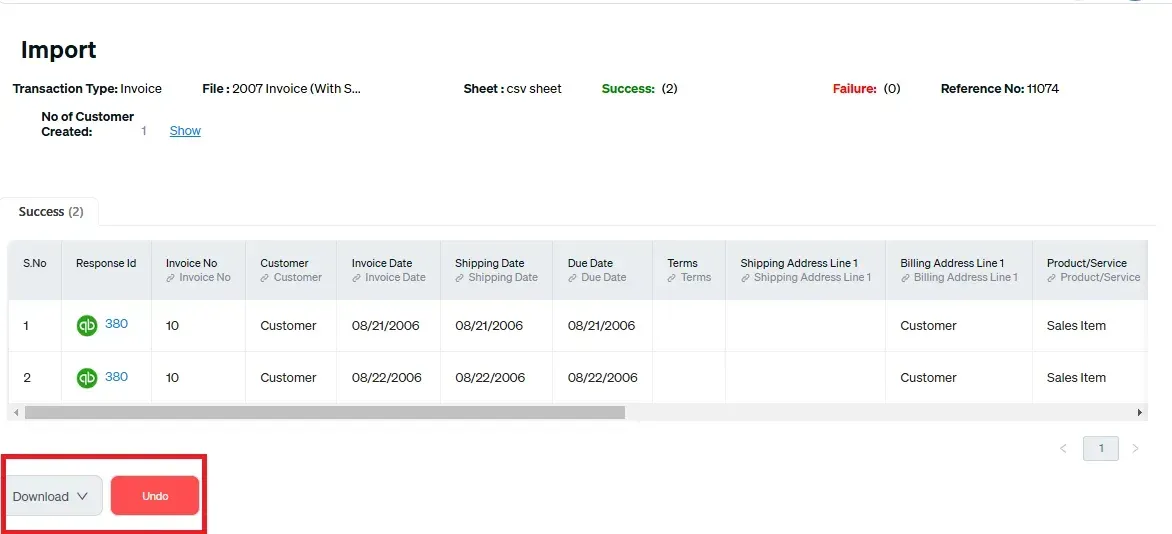
Step 5: Once the import is complete, you’ll see the list of uploaded lines in QuickBooks and the reference number. Rollback (undo) if needed.
How to Automate QuickBooks Data Entry?
There are three ways to automate QuickBooks data entry
Email
FTP/SFTP
Zapier.
Prerequisites:
Active SaasAnt Transactions account (Automation Plan)
Email Integration for QuickBooks Data Entry
Step 1: Link your QuickBooks account within SaasAnt Transactions to establish a seamless connection.
Step 2: Set up email integration in SaasAnt Transactions. You can choose to:
Forward accounting files as attachments from your primary email.
Create filters to automatically forward emails from specific clients or vendors to the integration.
Step 3: Carefully match the fields in SaasAnt Transactions to your QuickBooks configuration. This ensures that your data flows accurately and is organized correctly.
Step 4: SaasAnt Transactions will monitor your designated email inbox once everything is set up. It automatically imports attached accounting files directly into QuickBooks, saving time and reducing errors.
FTP/SFTP Integration for QuickBooks Data Entry
Step 1: In SaasAnt Transactions, enter the following information:
Server Hostname or IP Address: Specify the address of your FTP/SFTP server.
Server Type: Select whether you are using FTP or SFTP.
Login Credentials: Input your username and password for server access.
Target File Path: Indicate the location on the server where your accounting files are stored.
Step 2: Align the file format from your FTP/SFTP server with your QuickBooks setup. Carefully map the necessary data fields to ensure accurate data transfer.
Step 3: Set up automated file imports by configuring your SaasAnt automation settings. Alternatively, you can directly upload files to the designated path on your FTP/SFTP server to initiate the transfer.
Zapier Integration for QuickBooks Data Entry
You’ll need an active Zapier account.
Step 1: Create a new Zap and select "Email by Zapier" as the trigger. This will generate a custom email address for sending your files.
Step 2: Choose SaasAnt Transactions as the action in your Zap. Enter your SaasAnt Token ID to link your accounts during the authentication process.
Step 3: Carefully map the data fields between SaasAnt Transactions and your QuickBooks configuration. This step is crucial to ensure a seamless transfer of data.
Step 4: Start the automated import process by emailing your accounting files as attachments to your designated Zapier email address. Be mindful of any file size or format limitations to ensure successful uploads.
QuickBooks Data Entry Best Practices
Stay Organized: Keep your documents and files in order. Create a dedicated folder for invoices, receipts, and other financial documents. This will save you time and reduce stress when it’s time to enter data.
Use Consistent Naming Conventions: Establish a clear naming system for your files. Consistency helps you quickly locate documents and ensures you enter the correct information into QuickBooks.
Leverage QuickBooks Data Entry Tools: If you find data entry overwhelming, consider using tools like SaasAnt Transactions. These can reduce the burden of manual entry, allowing you to focus on growing your business.
Set Regular Data Entry Times: Establish a routine for QuickBooks data entry, whether it’s daily, weekly, or monthly. Consistency helps you stay on top of your finances and prevents the dreaded backlog that can lead to stress.
Educate Yourself and Your Team: Take the time to learn the ins and outs of QuickBooks. Understanding the software better can significantly reduce errors and improve efficiency, whether through online tutorials, webinars, or training sessions.
Automate QuickBooks Data Entry Today
You don’t need to struggle with manual data entry and the data inaccuracies that come with it. Go for the most straightforward solution and start automating your QuickBooks data entry. Start the 30-day free trial immediately and import your QuickBooks data.
FAQ
What is QuickBooks data entry?
QuickBooks data entry is inputting financial information into QuickBooks software, including invoices, expenses, payments, and payroll transactions. This ensures accurate record-keeping and financial reporting, helping small businesses manage their finances effectively and make informed decisions for growth.
How do I input data into QuickBooks?
Integrate SaasAnt Transactions with QuickBooks. Go to SaasAnt’s dashboard -> import -> select the entity you wish to import -> upload the file (XLS, XLSX, CSV, IIF, or PDF) -> map the file headers to QuickBooks fields -> review and import.
How do I automate data entry in QuickBooks?
Integrate SaasAnt Transactions with QuickBooks to automate data entry. You can use Email, FTP/SFTP, or Zapier for seamless integration. Simply configure your email or FTP/SFTP settings, or if you prefer Zapier, ensure you have an active Zapier account to get started.