How to Delete Multiple Transactions in QuickBooks Online
Managing your financial records in QuickBooks Online is crucial for maintaining accuracy, and sometimes, that means needing to delete multiple Transactions. While doing this manually can be tedious, there’s a more efficient way to handle it. SaasAnt Transactions, with a 4.9-star rating from over 4000 users, offers a user-friendly solution that allows you to delete Transactions in bulk while keeping your data secure.
In this guide, we’ll walk you through how to delete multiple Transactions in QuickBooks Online using SaasAnt Transactions, ensuring your records remain tidy and up-to-date.
Contents
How to Delete Multiple Transactions in QuickBooks Online - Quick Instructions
How to Delete Transactions in QuickBooks Online: Step-by-Step Guide
Conclusion
FAQ
How to Delete Multiple Transactions in QuickBooks Online - Quick Instructions
Connect SaasAnt Transactions with QuickBooks
Select the required entity.
Use the advanced filter to search.
Bulk delete
How to Delete Transactions in QuickBooks Online: Step-by-Step Guide
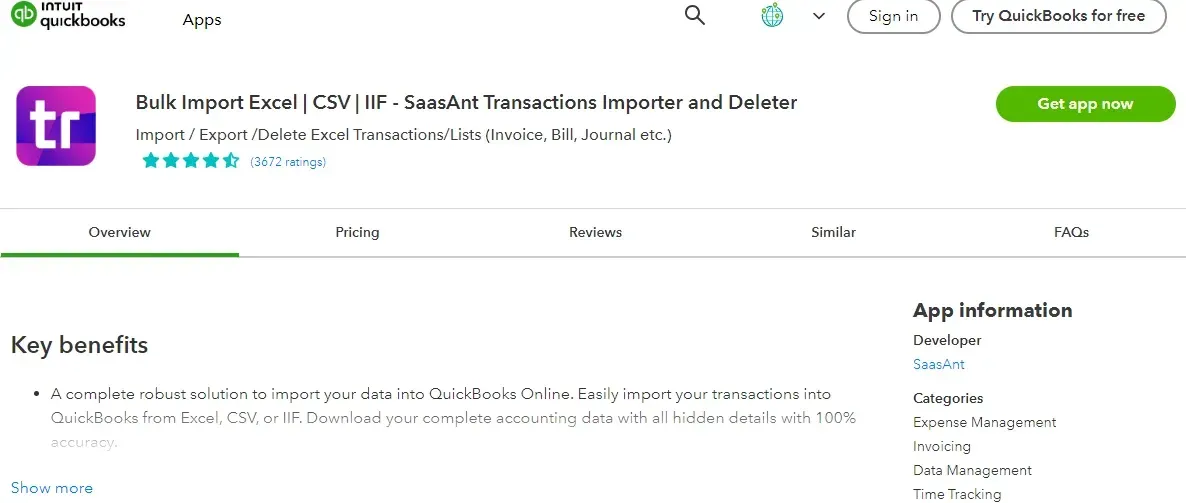
Step 1: Connect with SaasAnt Transactions
Find SaasAnt Transactions in the QuickBooks App Store and connect it to your QuickBooks account. This certified, secure app keeps your data safe and well-managed.
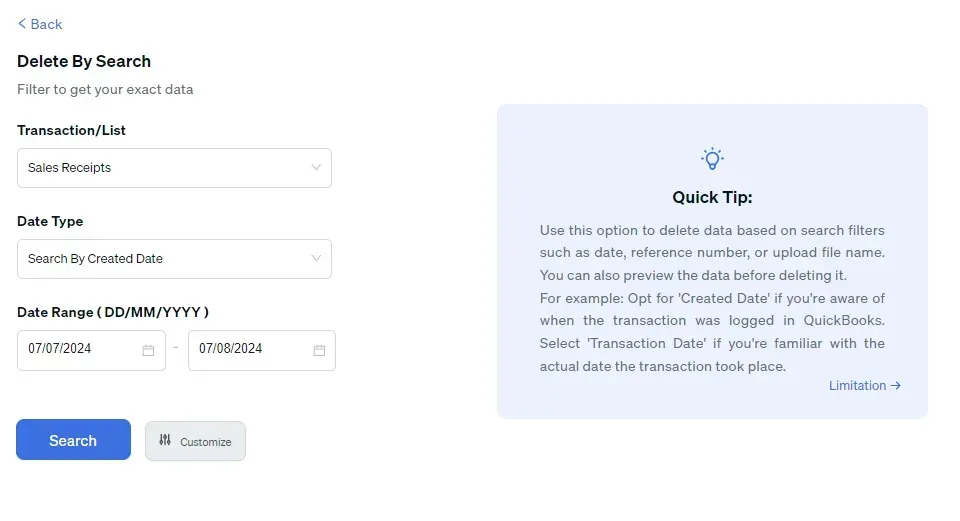
Step 2: Filter by Date
Go to SaasAnt Transactions Dashboard -> Delete.
Select Delete by Searching if you want to delete using date type and date range. Select whether you want to delete based on the created date, transaction date, or last updated date, and select a date range.
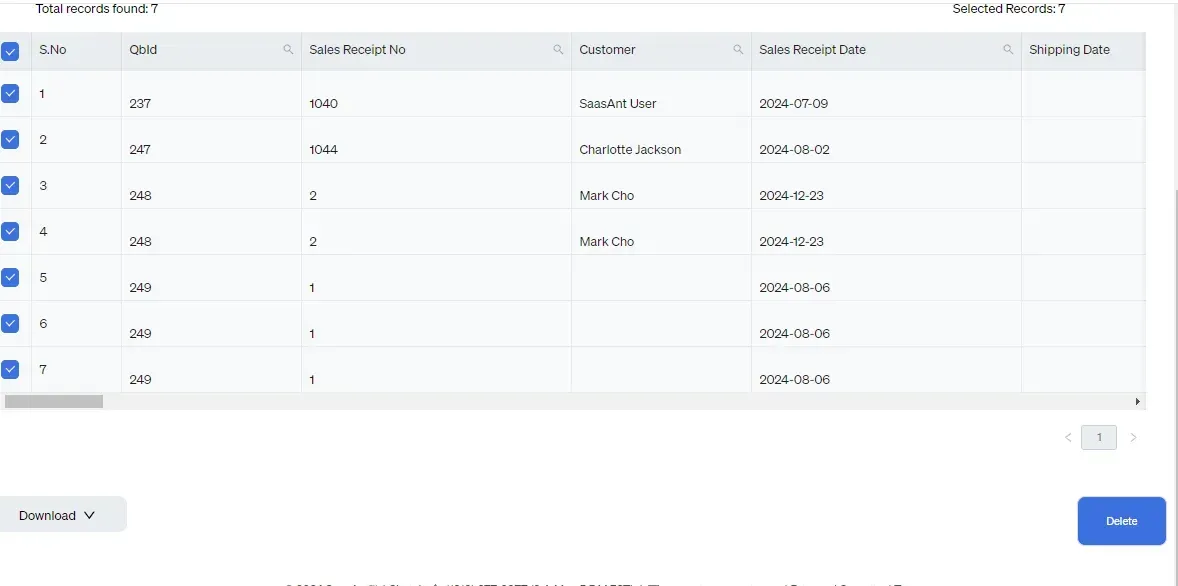
 Step 3: Bulk Delete
A list of chosen Transactions for the selected date type and range will be displayed. Click on delete. You can also uncheck the check box of a particular Transaction if you wish not to delete it.
Important: Always back up your Transactions before deleting them. You can use the “Download” option to create a backup copy.
 Best Practices to Follow When Deleting Multiple Transactions
Review Transactions: Before deleting, double-check each transaction to ensure that removal is necessary and won’t lead to discrepancies in your financial records.
Create a Backup: Always back up your QuickBooks data before deleting transactions to prevent accidental data loss. You can easily create a backup using the export feature in SaasAnt Transactions or the download feature at the last minute before deleting multiple transactions in QuickBooks Online.
Check for Links: Verify if the transactions are linked to other records. Understanding the impact of deletion on these linked transactions is crucial.
Be Cautious with Bulk Deletion: When deleting in bulk, take extra care to avoid accidentally removing important records. Double-check your selections to ensure accuracy.
Read also
Conclusion
This guide has explained how to delete multiple transactions in QuickBooks Online, providing you with the necessary steps and tools to simplify your workflow. By following best practices—such as reviewing transactions, creating backups, and checking for any linked records—you can maintain data accuracy and avoid complications. Utilizing applications like SaasAnt Transactions for bulk deletions can make the process more efficient. By applying these techniques, you will save time, reduce errors, and support the overall financial health of your business. Plus, you can get started with a 30-day free trial, with no credit card required, making it easy to begin right away.
FAQ
How to export multiple transactions from QuickBooks?
You can export multiple transactions from QuickBooks using SaasAnt Transactions. Integrate SaasAnt Transactions with QuickBooks -> select the entity to export -> search for transactions based on the created date or transaction date -> enter a date range or use the advanced filter. Select whether you want to download it in XLSX or CSV format.
How do I delete multiple transactions in QuickBooks?
Connect SaasAnt Transactions with QuickBooks. Go to SaasAnt Transactions Dashboard -> delete -> select the required transaction entity -> use date range filter or advanced filter to search -> delete.
How to bulk import transactions in QuickBooks?
Integrate SaasAnt Transactions with QuickBooks. Go to SaasAnt Transactions dashboard -> New Import -> Select the required Transaction entity -> Browse and select the file -> Map the fields in the file to QuickBooks fields -> Upload the file to import Transactions into QuickBooks.
Can I bulk-edit transactions in QuickBooks?
Yes, you can bulk edit the transactions in QuickBooks by integrating SaasAnt Transactions. Go to SaasAnt Transactions dashboard -> export -> select the entity -> use the filter to search by date or reference number. A list of transactions matching the filter will be displayed. Select whether you want to download it in XLSX or CSV format. Make changes to the downloaded file and use the modify feature to upload the modified file.