How to Export Transactions from QuickBooks Online
This guide explains how to export transactions from QuickBooks Online using SaasAnt Transactions. It covers quick steps, a detailed step-by-step process, advanced filtering options, a brief explanation of the Excel template for field mapping, and practical use cases.
How to Export Transactions from QuickBooks Online: Quick Steps
Connect Your Account:
Install SaasAnt Transactions from the QuickBooks App Store and link it to your QuickBooks Online account.Access the Export Menu:
Log in to your SaasAnt Dashboard and click the Export option.Select Date Range and Entity:
Choose the date range and select the specific entity (Invoices, Bills, Expenses, Journal Entries, Customers, etc.) you wish to export.Apply Basic Filters (Optional):
Use simple filters such as transaction date, status, or amount range.Download File:
Choose your export format (CSV or XLSX) and click Download to save your file.
How to Export All Transactions from QuickBooks Online: Step-by-Step Guide
Step 1: Connect SaasAnt Transactions to QuickBooks Online
Installation: Download and install SaasAnt Transactions from the QuickBooks App Store.
Connection: Follow the prompts to securely link your QuickBooks Online account.
Step 2: Open the Export Menu
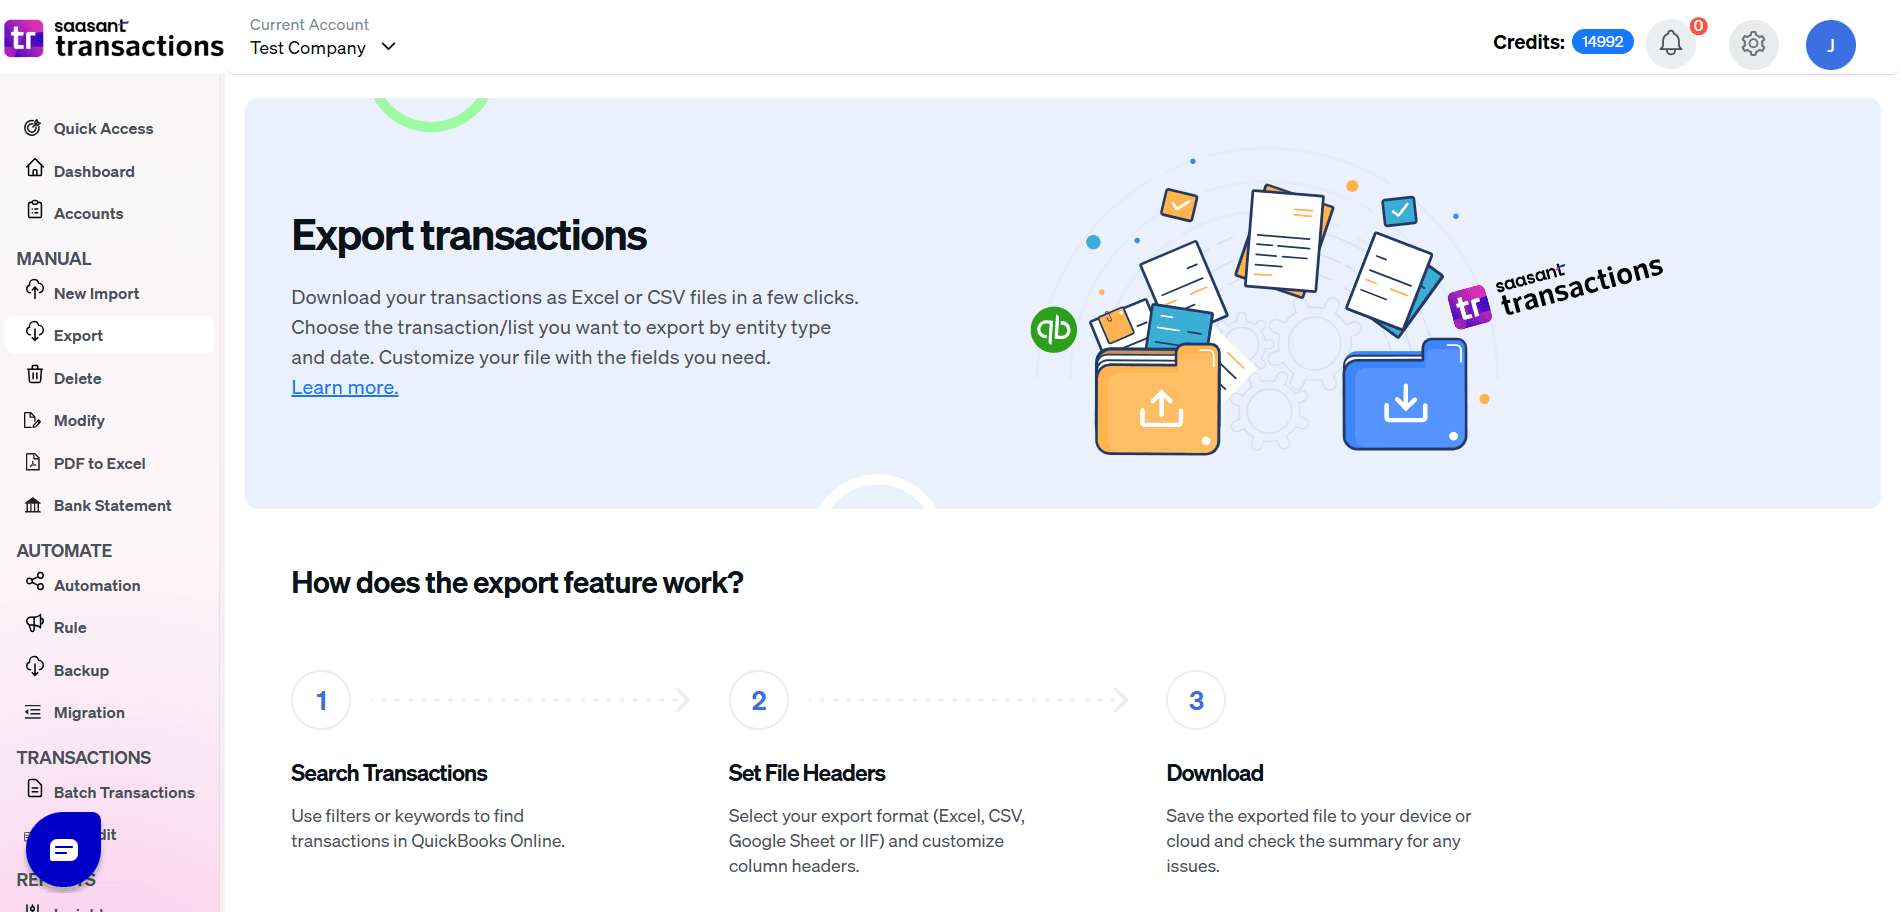
Dashboard Access: Log in to your SaasAnt Dashboard.
Select Export: Click the Export option to begin the export process.
Step 3: Choose Export Parameters
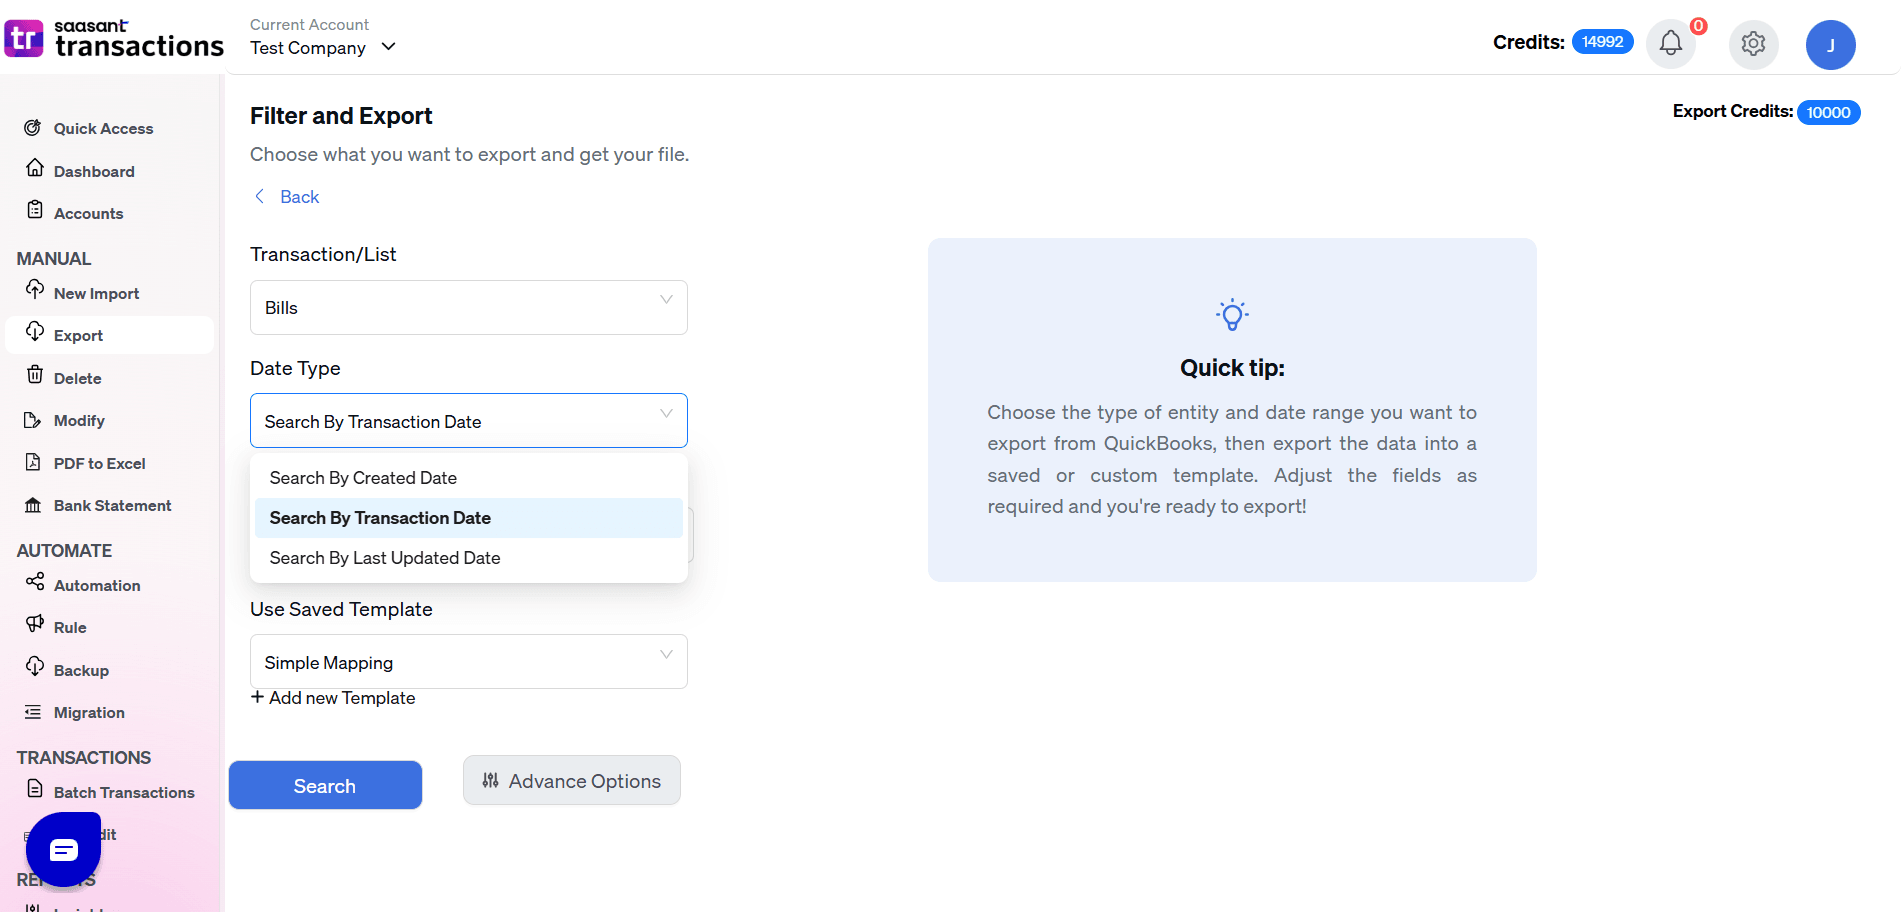
Select Date Range: Use the calendar to pick the start and end dates.
Select Entity Type: Choose the type of transaction you want to export (e.g., Invoices, Bills, Expenses).
Apply Advanced Filters: Optionally, set filters for transaction date, status, or amount.
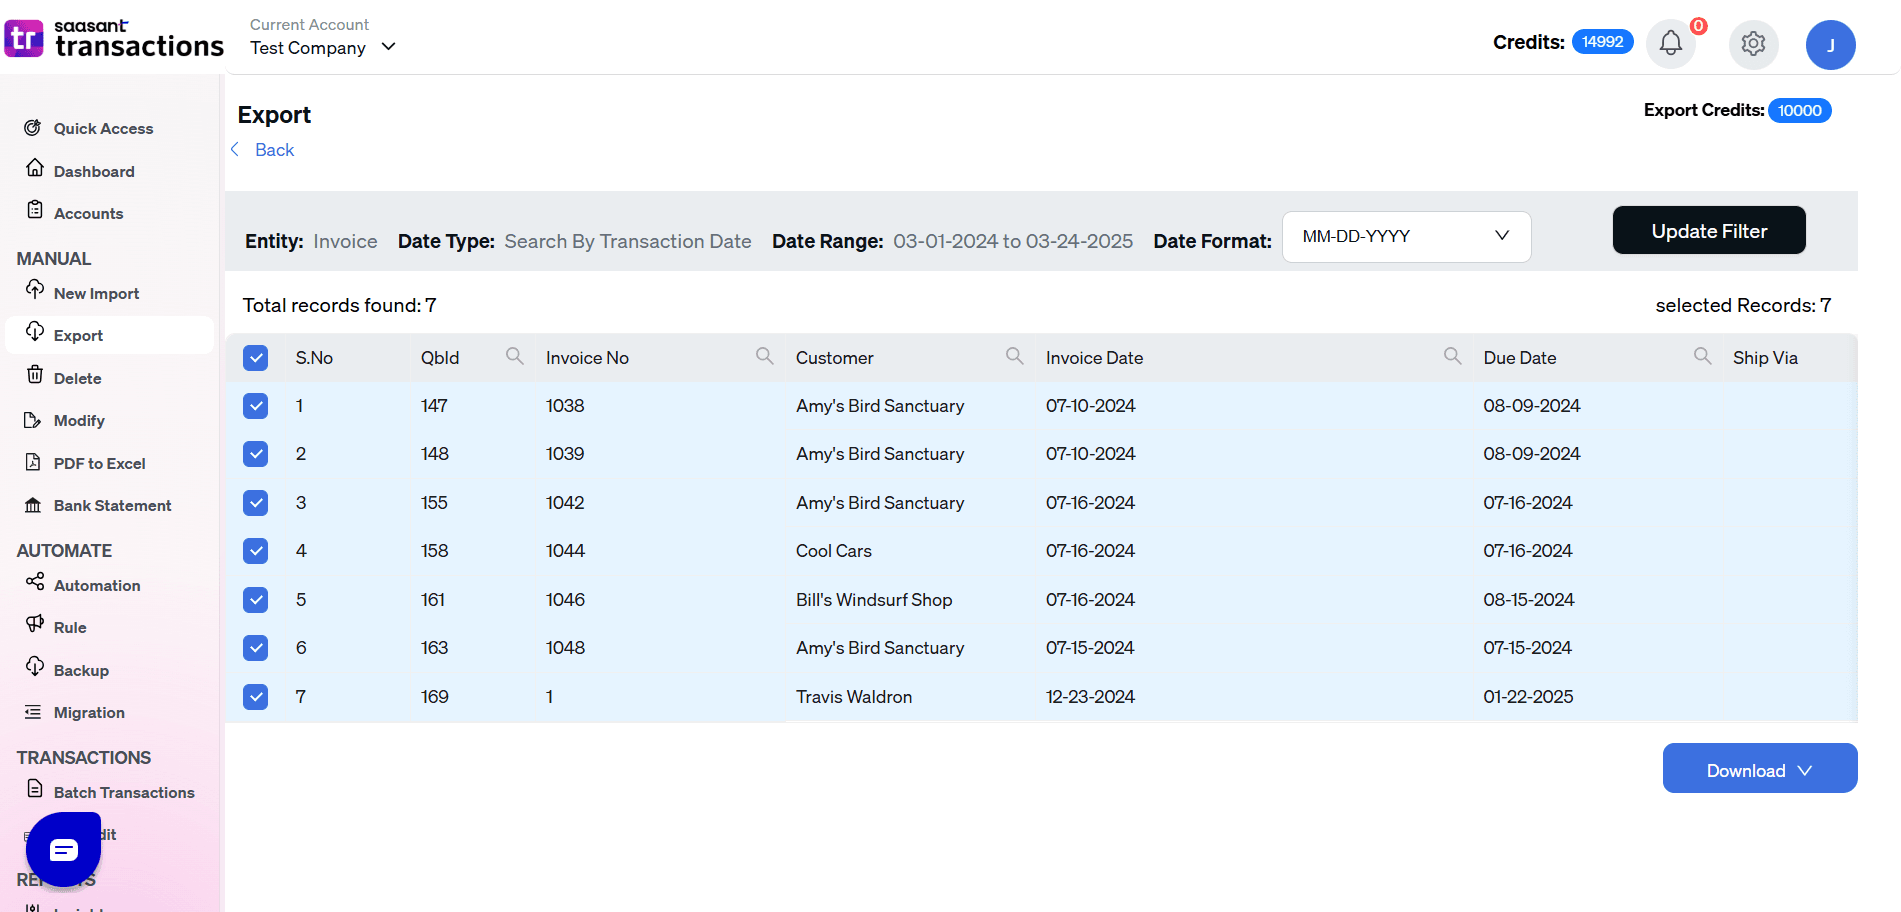
Step 4: Search and Review Data
Preview: Click Search to display a preview of transactions based on your selections.
Review: Verify that the data meets your requirements.
Step 5: Download Your Data File
Format: Select CSV or XLSX as your preferred export format.
Download: Click Download to save your file.
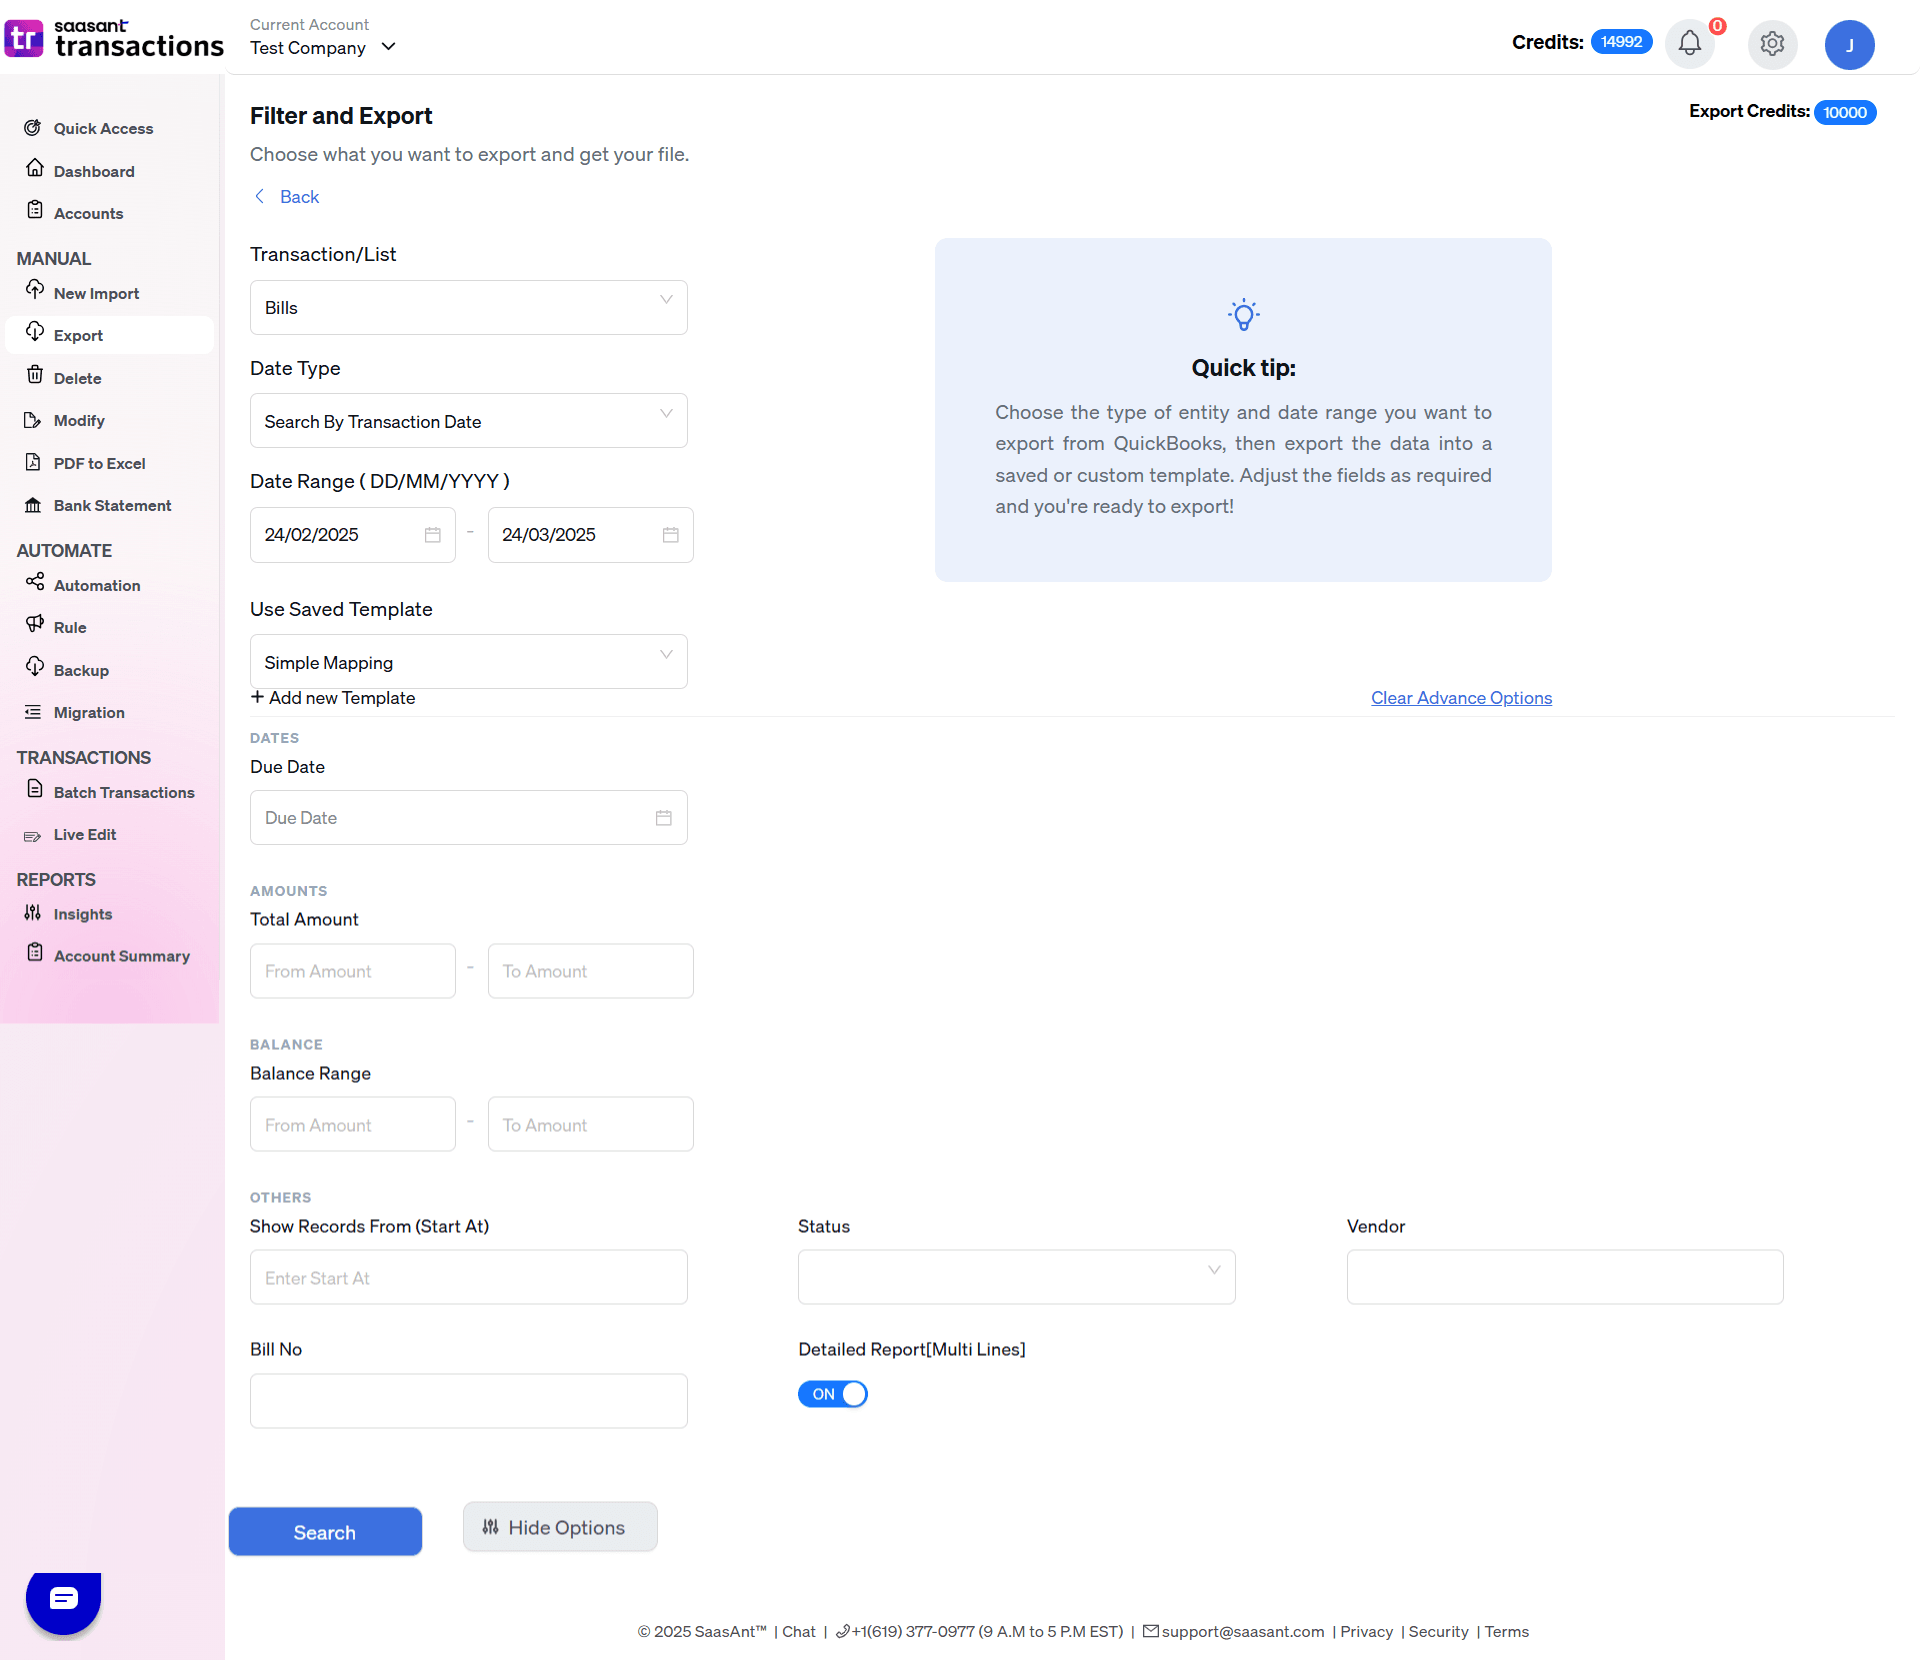
Advanced Options in Filters
For a more precise export, SaasAnt Transactions provides advanced filtering options. These allow you to tailor the exported data to your exact needs:
Date Filters:
Transaction Date vs. Created Date: Choose whether to filter based on the actual transaction date (e.g., Invoice Date) or the date the transaction was entered into QuickBooks.
Example: Export all invoices created in January 2025 regardless of their invoice dates, or export transactions that occurred on specific dates.
Amount Filters:
Total Amount Range: Specify minimum and maximum values to export only those transactions within a defined financial range.
Example: Export invoices where the total is between $500 and $2,000 to focus on mid-range transactions.
Balance Range: Particularly useful for invoices or bills, this filter lets you export transactions with outstanding balances within a specific range.
Status Filters:
Transaction Status: Filter by statuses such as paid, unpaid, pending, or cleared.
Example: Export all unpaid bills to quickly identify pending liabilities.
Entity-Specific Filters:
Customer/Vendor Specific: Narrow down exports to transactions linked to specific customers or vendors.
Example: Export invoices only for “Acme Corp” or bills from “Office Supplies Inc.”
Additional Options: For invoices, you may filter by due dates; for journal entries, filter by entry numbers.
Combining Filters:
Use multiple filters simultaneously for refined results.
Example: Export invoices for “Acme Corp” issued in January 2025, with totals between $500 and $2,000 and that remain unpaid.
Combining these filters minimizes the need for post-export data cleanup and ensures that only the most relevant transactions are included.
These advanced filters help you generate highly specific exports, saving you time and reducing manual effort when analyzing or migrating data.
Templates for Downloading Data
When you download your file, SaasAnt Transactions uses an Excel template with pre-mapped fields. For example:
Bills Export:
Bill No: Maps to QuickBooks’ Bill Number.
Vendor: Maps to the Vendor field.
Bill Date, Due Date, Amount, Terms, Memo: Each column header is directly linked to its corresponding QuickBooks field.
Other Entities:
Similar mappings exist for invoices, journal entries, customer lists, etc.
These templates ensure consistency and accuracy without requiring additional setup.
Use Cases and Additional Details
Use Cases for Exporting Transactions
Data Backup:
Regular exports create secure backups of your financial records.Custom Reporting:
Analyze exported data in Excel to generate customized financial reports.Data Migration:
Use accurate exports to migrate data between QuickBooks Online and Desktop or other systems.Audit Preparation:
Filter and export transactions for targeted audit reviews.Integration with Analytics Tools:
Combine exported CSV/XLSX files with other systems like ERP or BI tools for deeper analysis.
Additional Details
Automation and Scheduling:
Schedule recurring exports to always have updated data.Error Handling:
Use the preview mapping feature to verify field alignment before finalizing exports.Dedicated Support:
SaasAnt provides customer support to help troubleshoot any issues during export.
Read also
How to Import Transactions into QuickBooks from Excel
How to Edit Multiple Transactions in QuickBooks
QuickBooks Cleanup: A Comprehensive Guide to Tidy Up Your Data
Batch Transactions in QuickBooks Online - Detailed Guide