Getting Started with Xero: Essential Steps & Settings
Xero is a powerful online accounting platform designed to simplify how you handle your small business finances. It automates tasks like tracking income and expenses, sending professional invoices, and gives you a clear picture of how your business is doing. If you're just getting your feet wet with Xero, this guide will walk you through the essential steps to set up your account and get ready to rock.
Contents
How do I create a new Xero account?
Connect bank account to Xero
How to Connect Bank Account to Xero
Chart of Accounts in Xero
Customizing Your Invoices
Understanding Your Xero Dashboard
How do I create a new Xero account?
Choosing Your Plan: Xero has different subscription options to suit businesses of various sizes. Take some time to compare the features offered in each plan, and take advantage of their free trial period to ensure Xero is the perfect fit for you.
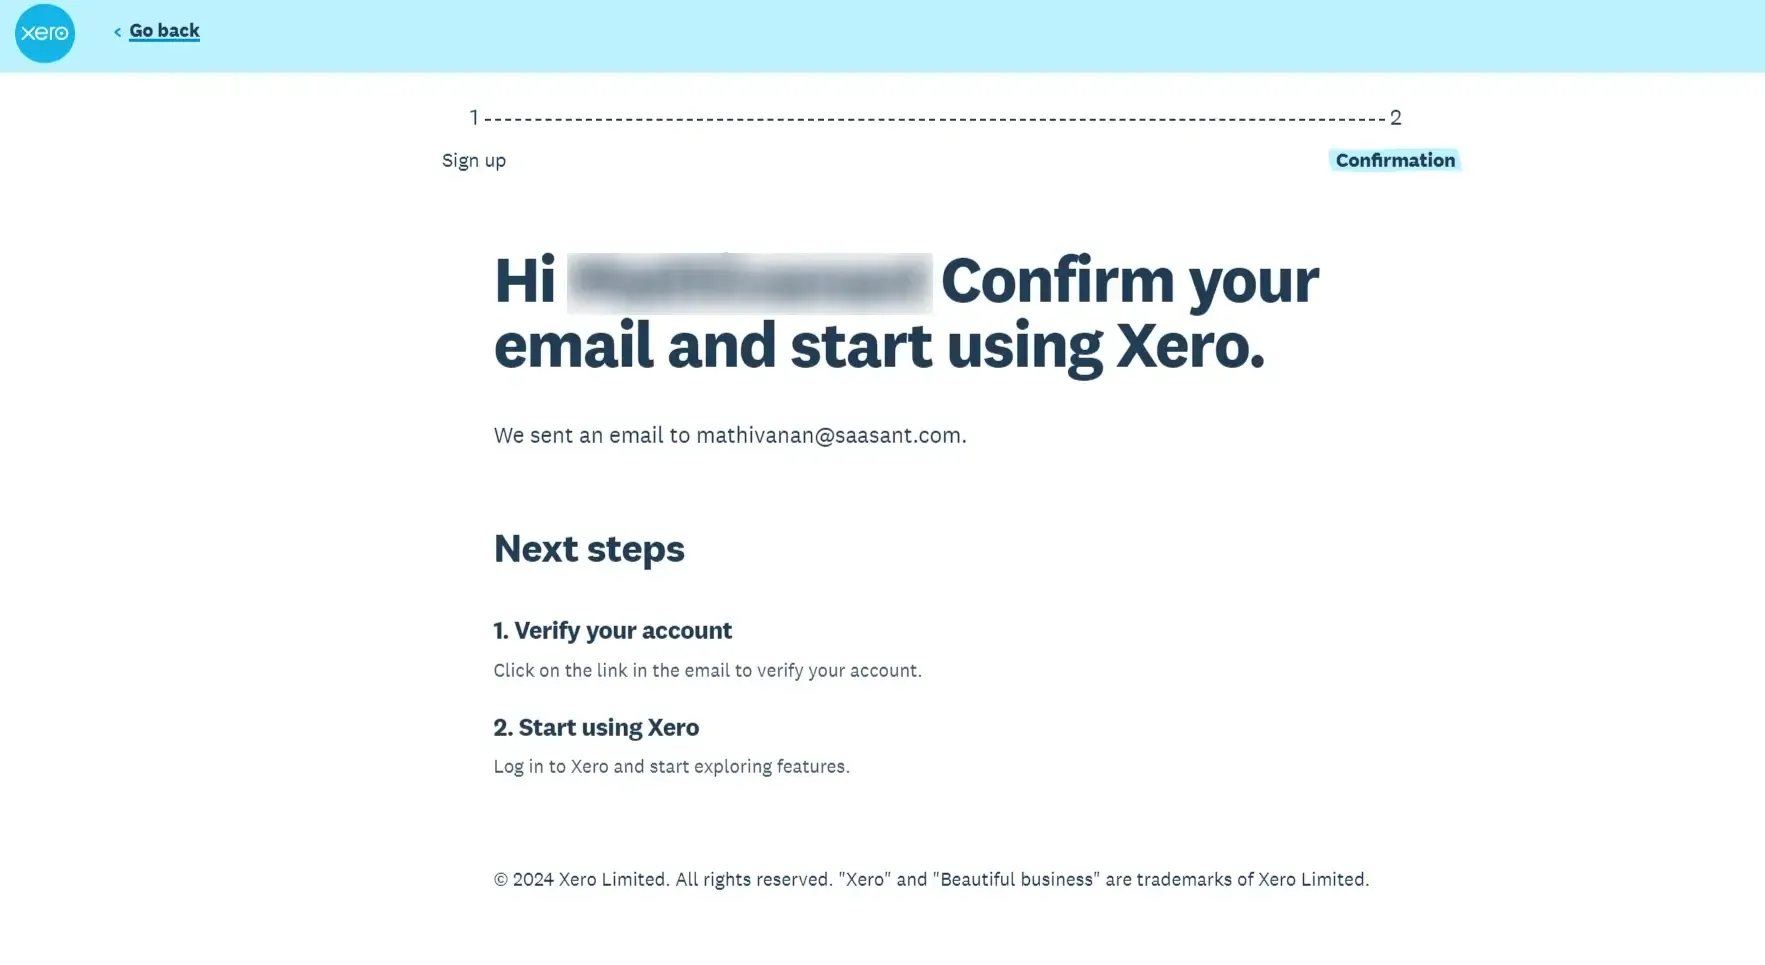
Xero Sign-Up Process:

Head to Xero's website and find the "Sign Up for Free" or "Try for Free" button.
Enter your email address and create a strong password. Remember, a good password includes a combination of uppercase and lowercase letters, numbers, and symbols.
Xero will likely send you a verification email – click the link to confirm your account.
Password Security: Your Xero account holds sensitive financial information, so take password security seriously! Avoid using the same password you use for other online accounts.
Connect bank account to Xero
The Power of Automation: One of Xero's biggest perks is the ability to link your bank account. This means your transactions (like deposits and payments) automatically flow into Xero, eliminating manual data entry.
Security Matters: It's understandable to have questions about security. Xero uses advanced encryption and security protocols to protect your financial data. You can find more details about their security measures on the Xero website.
How to Connect Bank Account to Xero
In your Xero Dashboard, navigate to the "Bank Accounts" section.
Click “Connect your Bank Account".
Search for your bank from the list and follow Xero's secure instructions to enter your online banking login credentials.
Troubleshooting Tips: Technical glitches can occasionally occur. If you encounter any issues connecting your bank account, the Xero Help Center is a fantastic resource for finding solutions.
Chart of Accounts in Xero
The Basics: Your Chart of Accounts is the backbone of your accounting in Xero. Think of it as a structured list of categories where every financial transaction gets recorded.
Organization is Key: A well-organized Chart of Accounts helps you track income, expenses, assets (what you own), and liabilities (what you owe). It makes generating reports and understanding your business's financial standing much more effortless.
Customization: Xero gives you a default chart of accounts to start with, but you have the power to customize it to fit your business needs. It might involve adding, editing, or deleting categories.
Things to Consider Before You Start:
Importing vs. Default: If you're switching to Xero from another accounting system, you can import your existing Chart of Accounts. If you're starting from scratch, consider using the default Xero offers and adjusting them as needed.
Tax Rates & Reporting: Ensure the tax rates your business needs are set up within Xero. It will ensure your transactions are automatically categorized with the correct taxes, which is important for accurate reporting within Australia or Europe.
Account Limits: While Xero is flexible, keeping your Chart of Accounts under 700 accounts is recommended for optimal performance and efficiency.
Customizing Your Invoices
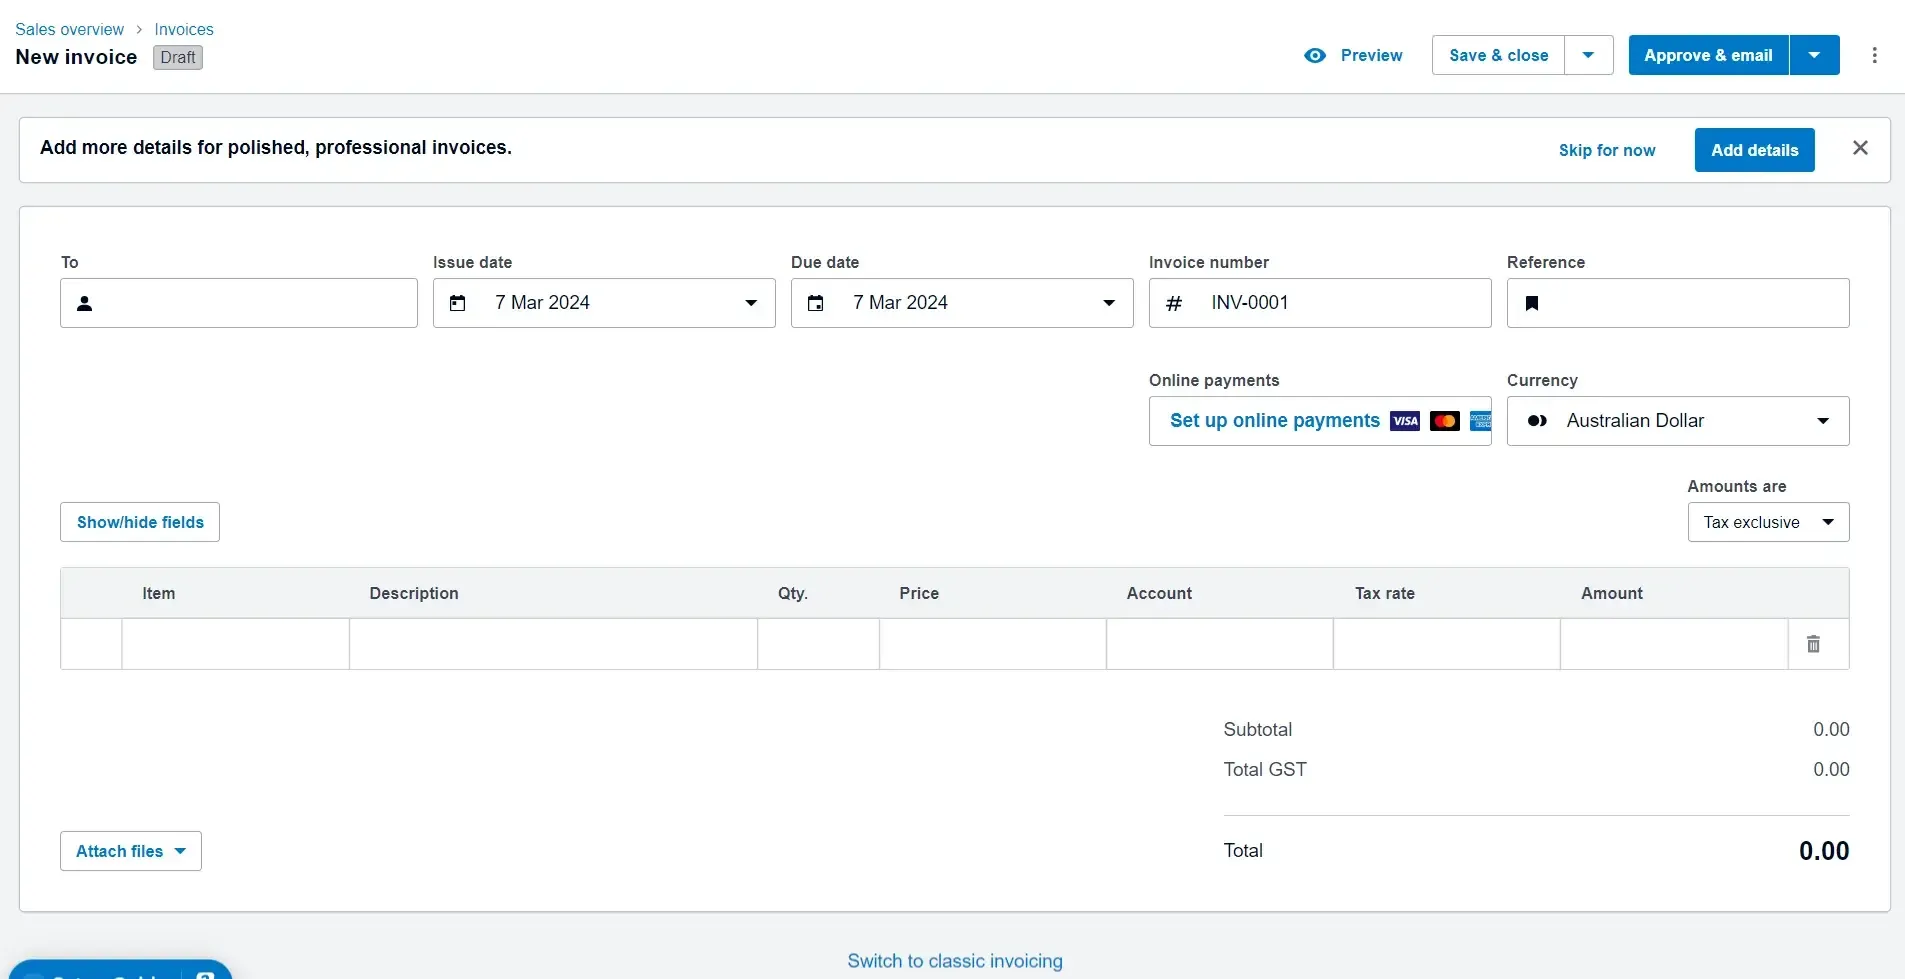
Branding Power: Invoices aren't just about getting paid. A polished invoice with your logo, brand colors, and clear contact information boosts your business's professional image.
Customization Made Easy:
Locate the "Invoice Settings" section in your Xero Dashboard.
Upload your company logo and tweak the color scheme to match your branding.
Double-check the inclusion of your business name, address, and contact information.
Clearly state your payment terms (like due dates) and how customers can pay you.
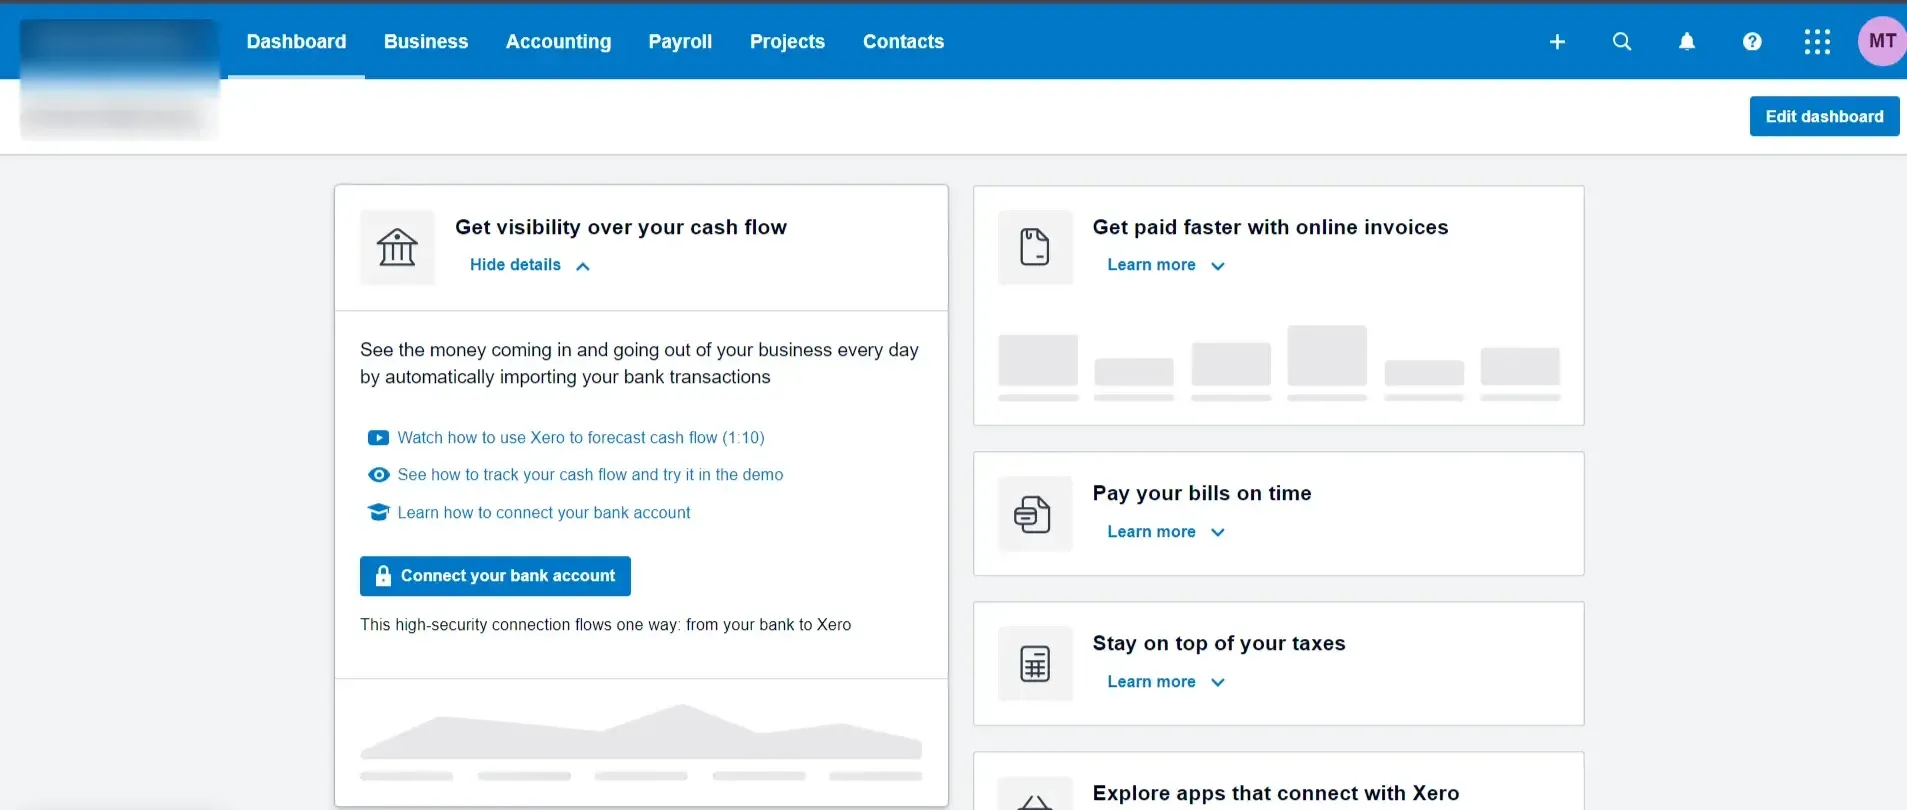
Understanding Your Xero Dashboard
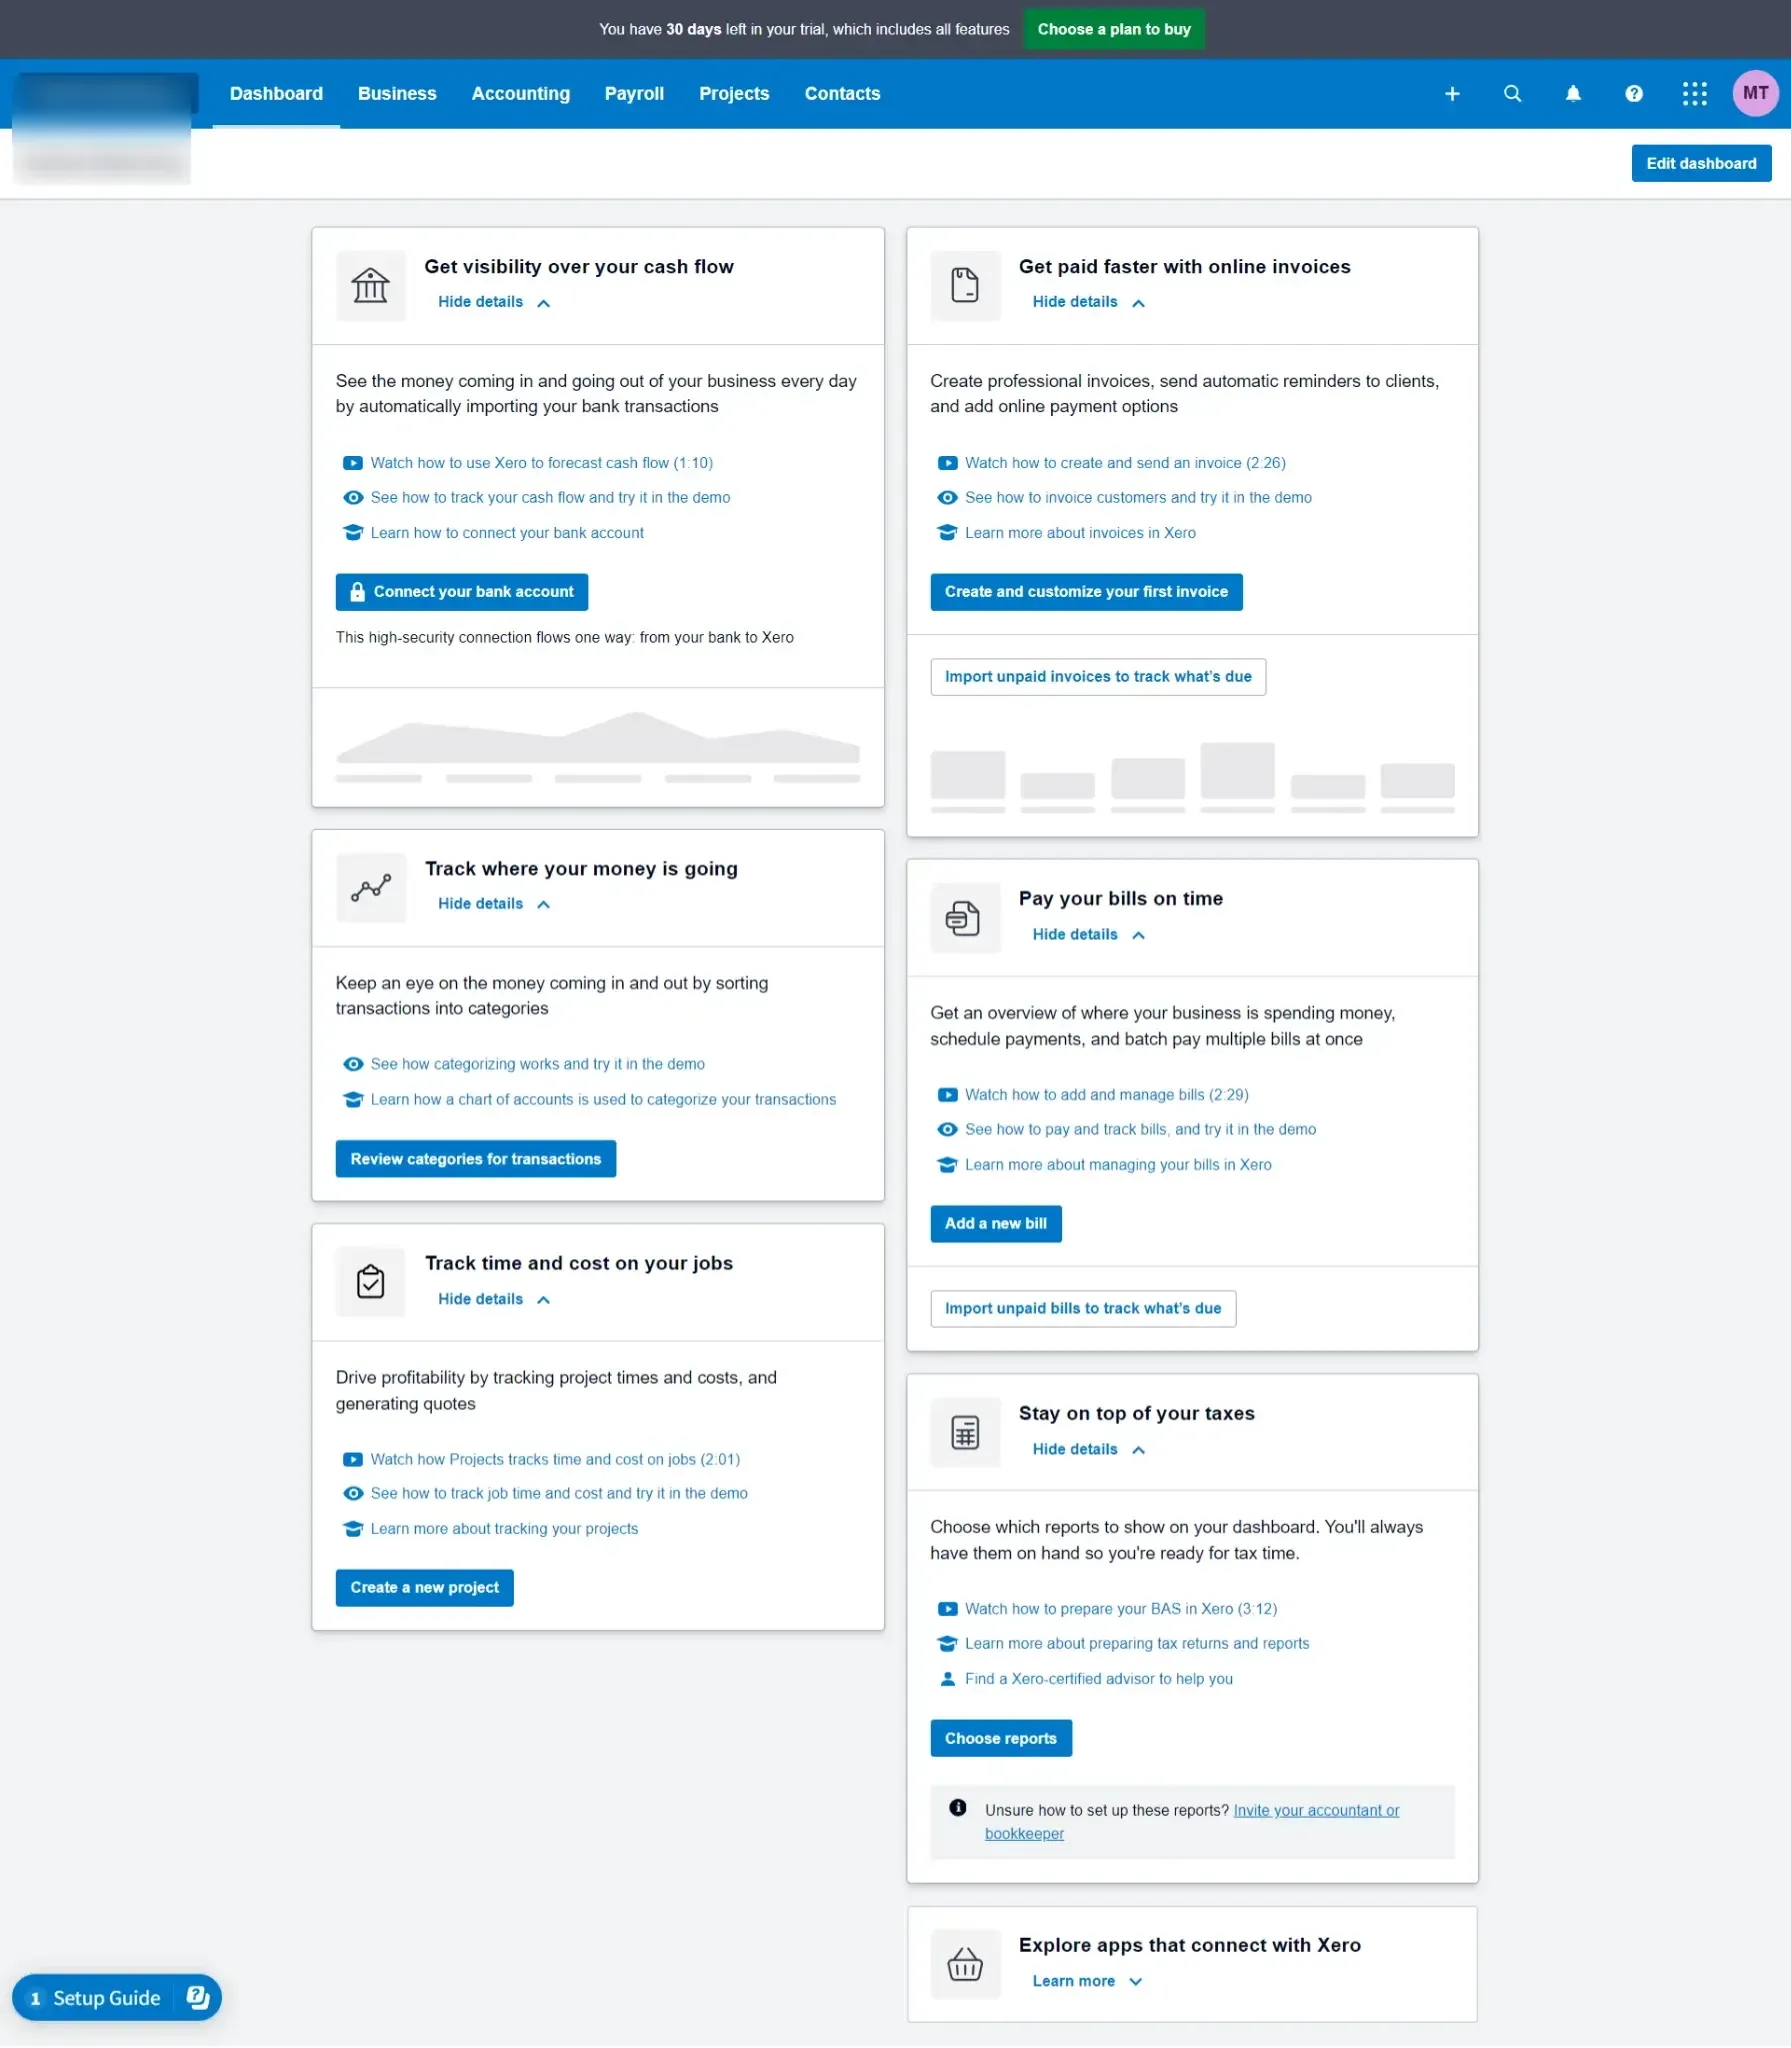
The dashboard gives you an instant overview of your business's financial health. Here are the key areas to familiarize yourself with:
Bank Accounts
Bank Feeds: Connect your bank accounts to Xero for automatic transaction imports, saving significant data entry time. This feature is widely available for Australian and European banks.
Manual Uploads: If your bank doesn't support automatic feeds, you can still upload bank statements for easy tracking.
Account Naming: Give each bank account a clear, descriptive name (e.g., "Business Checking" or "Savings")
Account Types: Ensure you select the correct account type (checking/current, savings, credit card), as this affects how your finances are reported.
Account Details: For Australian users, provide your BSB and account number. European users, supply IBAN and any other required details.
Multi-Currency Support: Easily manage accounts in various currencies, ideal for businesses with international transactions.
Invoices
Invoicing Options: Xero offers a streamlined new invoicing experience alongside the 'Classic' version. The new system is faster, more customizable, and supports e-invoicing (a key feature in Australia and increasingly in Europe).
Benefits of New Invoicing: Drafts autosave, one-click approvals, improved customization, and a focus on efficiency.
Staying Updated: Xero is constantly improving the new invoicing system. Check their development roadmap for the latest additions.
Occasional 'Classic' Usage: Until all features are available in the new system, you might occasionally use Classic invoicing for overpayments or advanced email customization.
Congratulations! You've successfully taken the first steps towards streamlining your financial management with Xero. Remember, the Xero Help Center and the Xero blog are excellent sources for continued learning. As your business grows and your needs evolve, consider upgrading your Xero plan to access even more powerful features.
Managing the Xero transactions such as import, export, modify, delete, and undo any transactions in bulk or batch can be made possible with SaasAnt Transactions, which is available in the Xero app store.