How to Create Amazon Storefront: 9 Easy Steps
 Creating an Amazon Storefront is a strategic move for brand owners looking to enhance their visibility and sales on one of the world's largest eCommerce platforms. An Amazon Storefront allows brands to showcase their products through a customized, branded page that acts as a virtual storefront.
This blog will explain Amazon Storefront, its requirements and benefits, and the steps to creating your own Amazon Storefront.
Contents
What is an Amazon Storefront?
Amazon Storefront Requirements
Benefits of Creating an Amazon Storefront
How to Create an Amazon Storefront?
Conclusion
FAQs
What is an Amazon Storefront?
An Amazon Storefront is a customizable, brand-centric page on Amazon that allows sellers to showcase their products and tell their brand story in a visually engaging way. This feature is available to sellers of the Amazon Brand Registry, ensuring they have a registered trademark and exclusive rights to their brand.
The storefront functions like a mini-website within Amazon, featuring multiple pages for different product collections or categories. Sellers can design their storefronts using templates and modules provided by Amazon, adding images, text, and even videos to create a fantastic shopping experience for their customers. This not only helps brands stand out from the competition but also helps to drive brand loyalty and increase sales.
Amazon Storefront Requirements
To create an Amazon Storefront, sellers must meet specific requirements that ensure they are recognized brand owners on the Amazon platform. Here are the essential requirements:
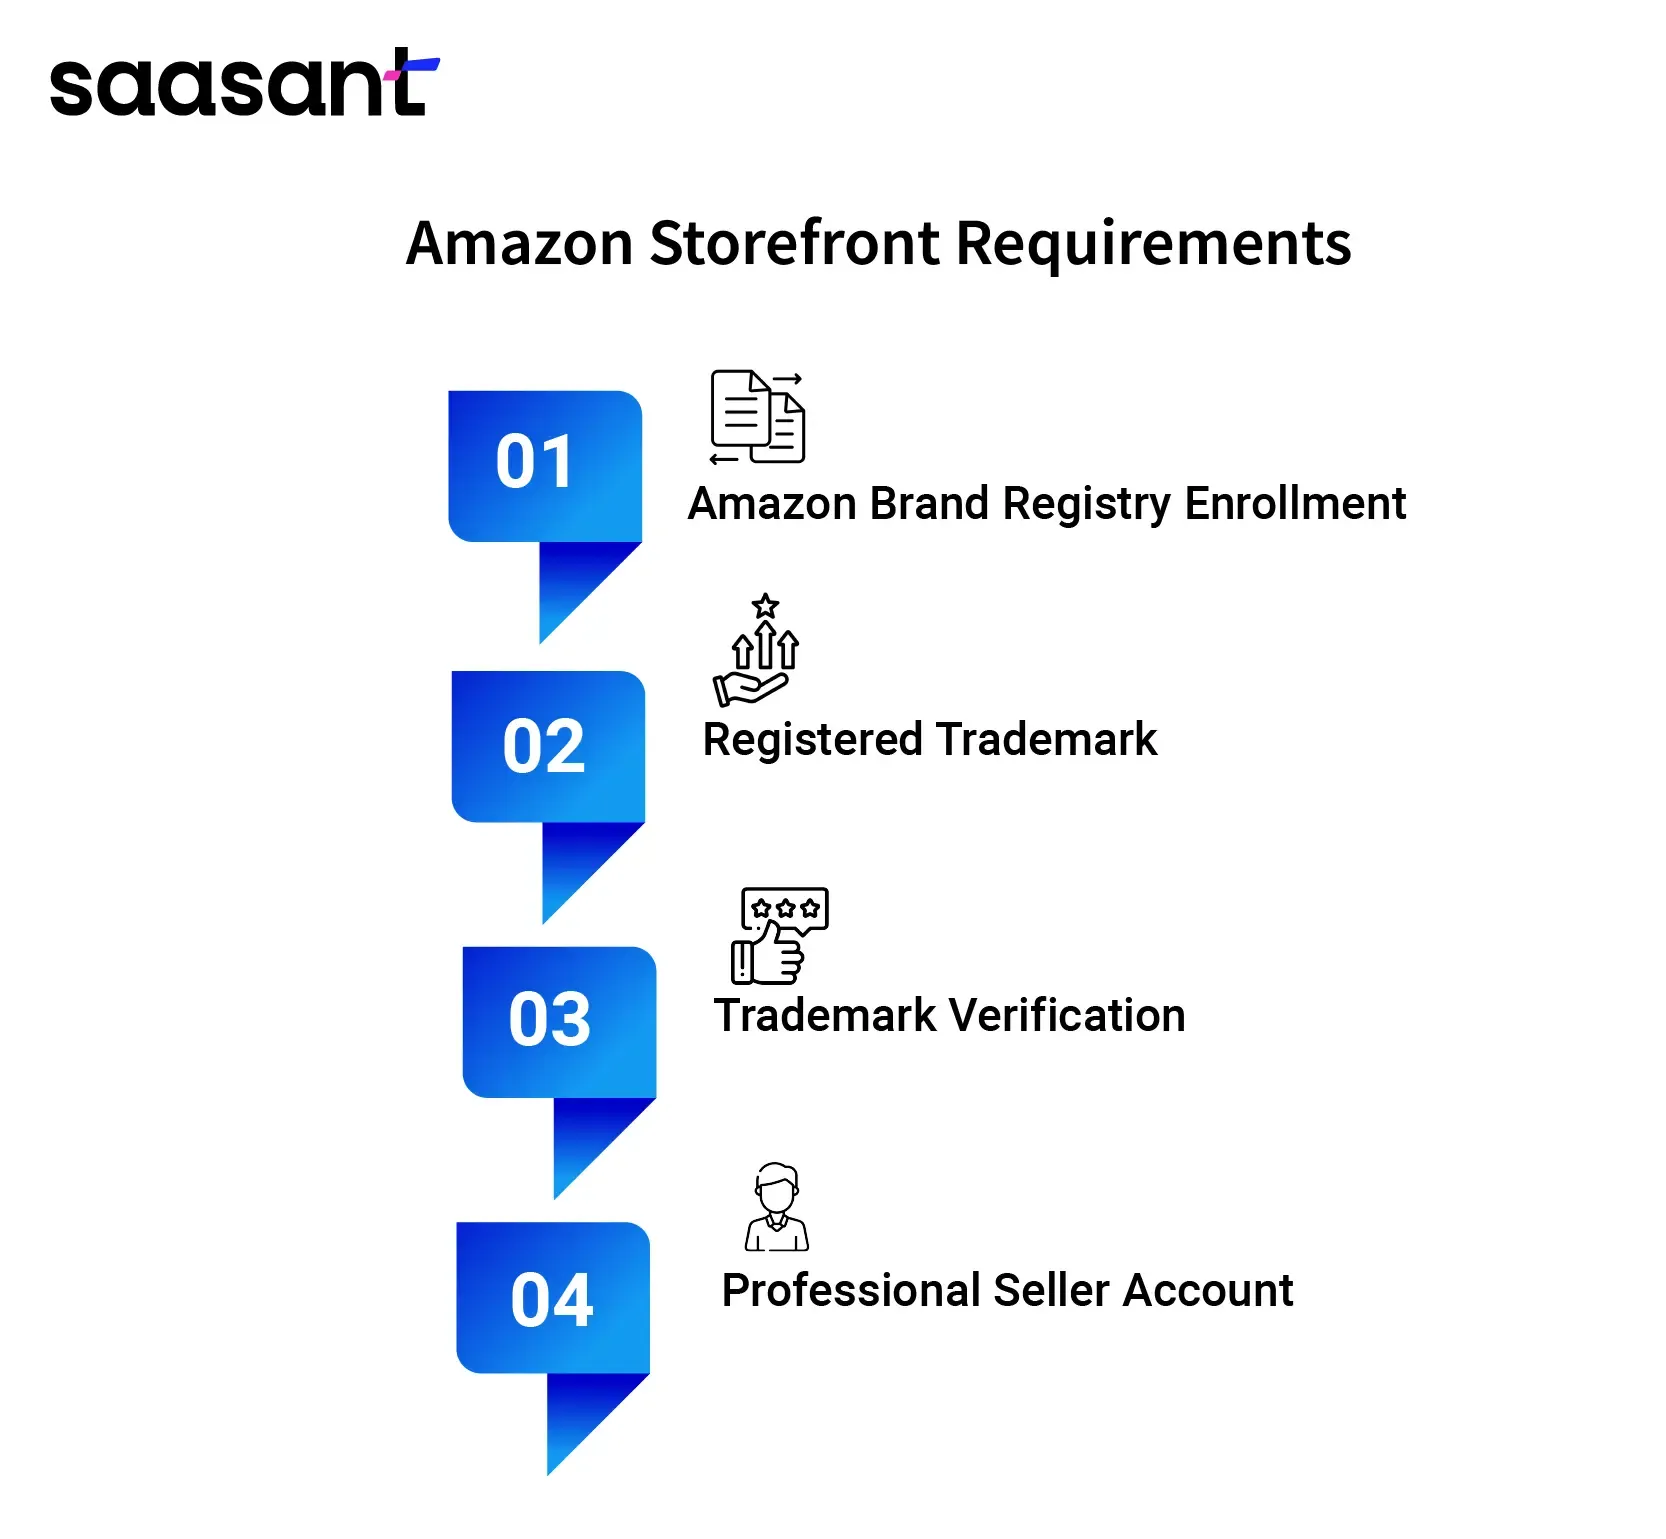
Amazon Brand Registry Enrollment: The seller must be enrolled in the Amazon Brand Registry, which helps protect registered trademarks on Amazon and enhances branding opportunities.
Registered Trademark: You need a government-registered and active trademark for your brand that appears on your products or packaging. This trademark must be a text or image-based mark with words, letters, or numbers.
Trademark Verification: Sellers must be able to verify themselves as the rights owner or the authorized agent of the trademark.
Professional Seller Account: You must have an Amazon Professional Selling Plan, a subscription offering advanced selling tools for a monthly fee.
Once you meet the requirements given, you’ll be able to create an Amazon Storefront successfully.
Benefits of Creating an Amazon Storefront
Creating an Amazon Storefront offers several benefits for brand owners and sellers:
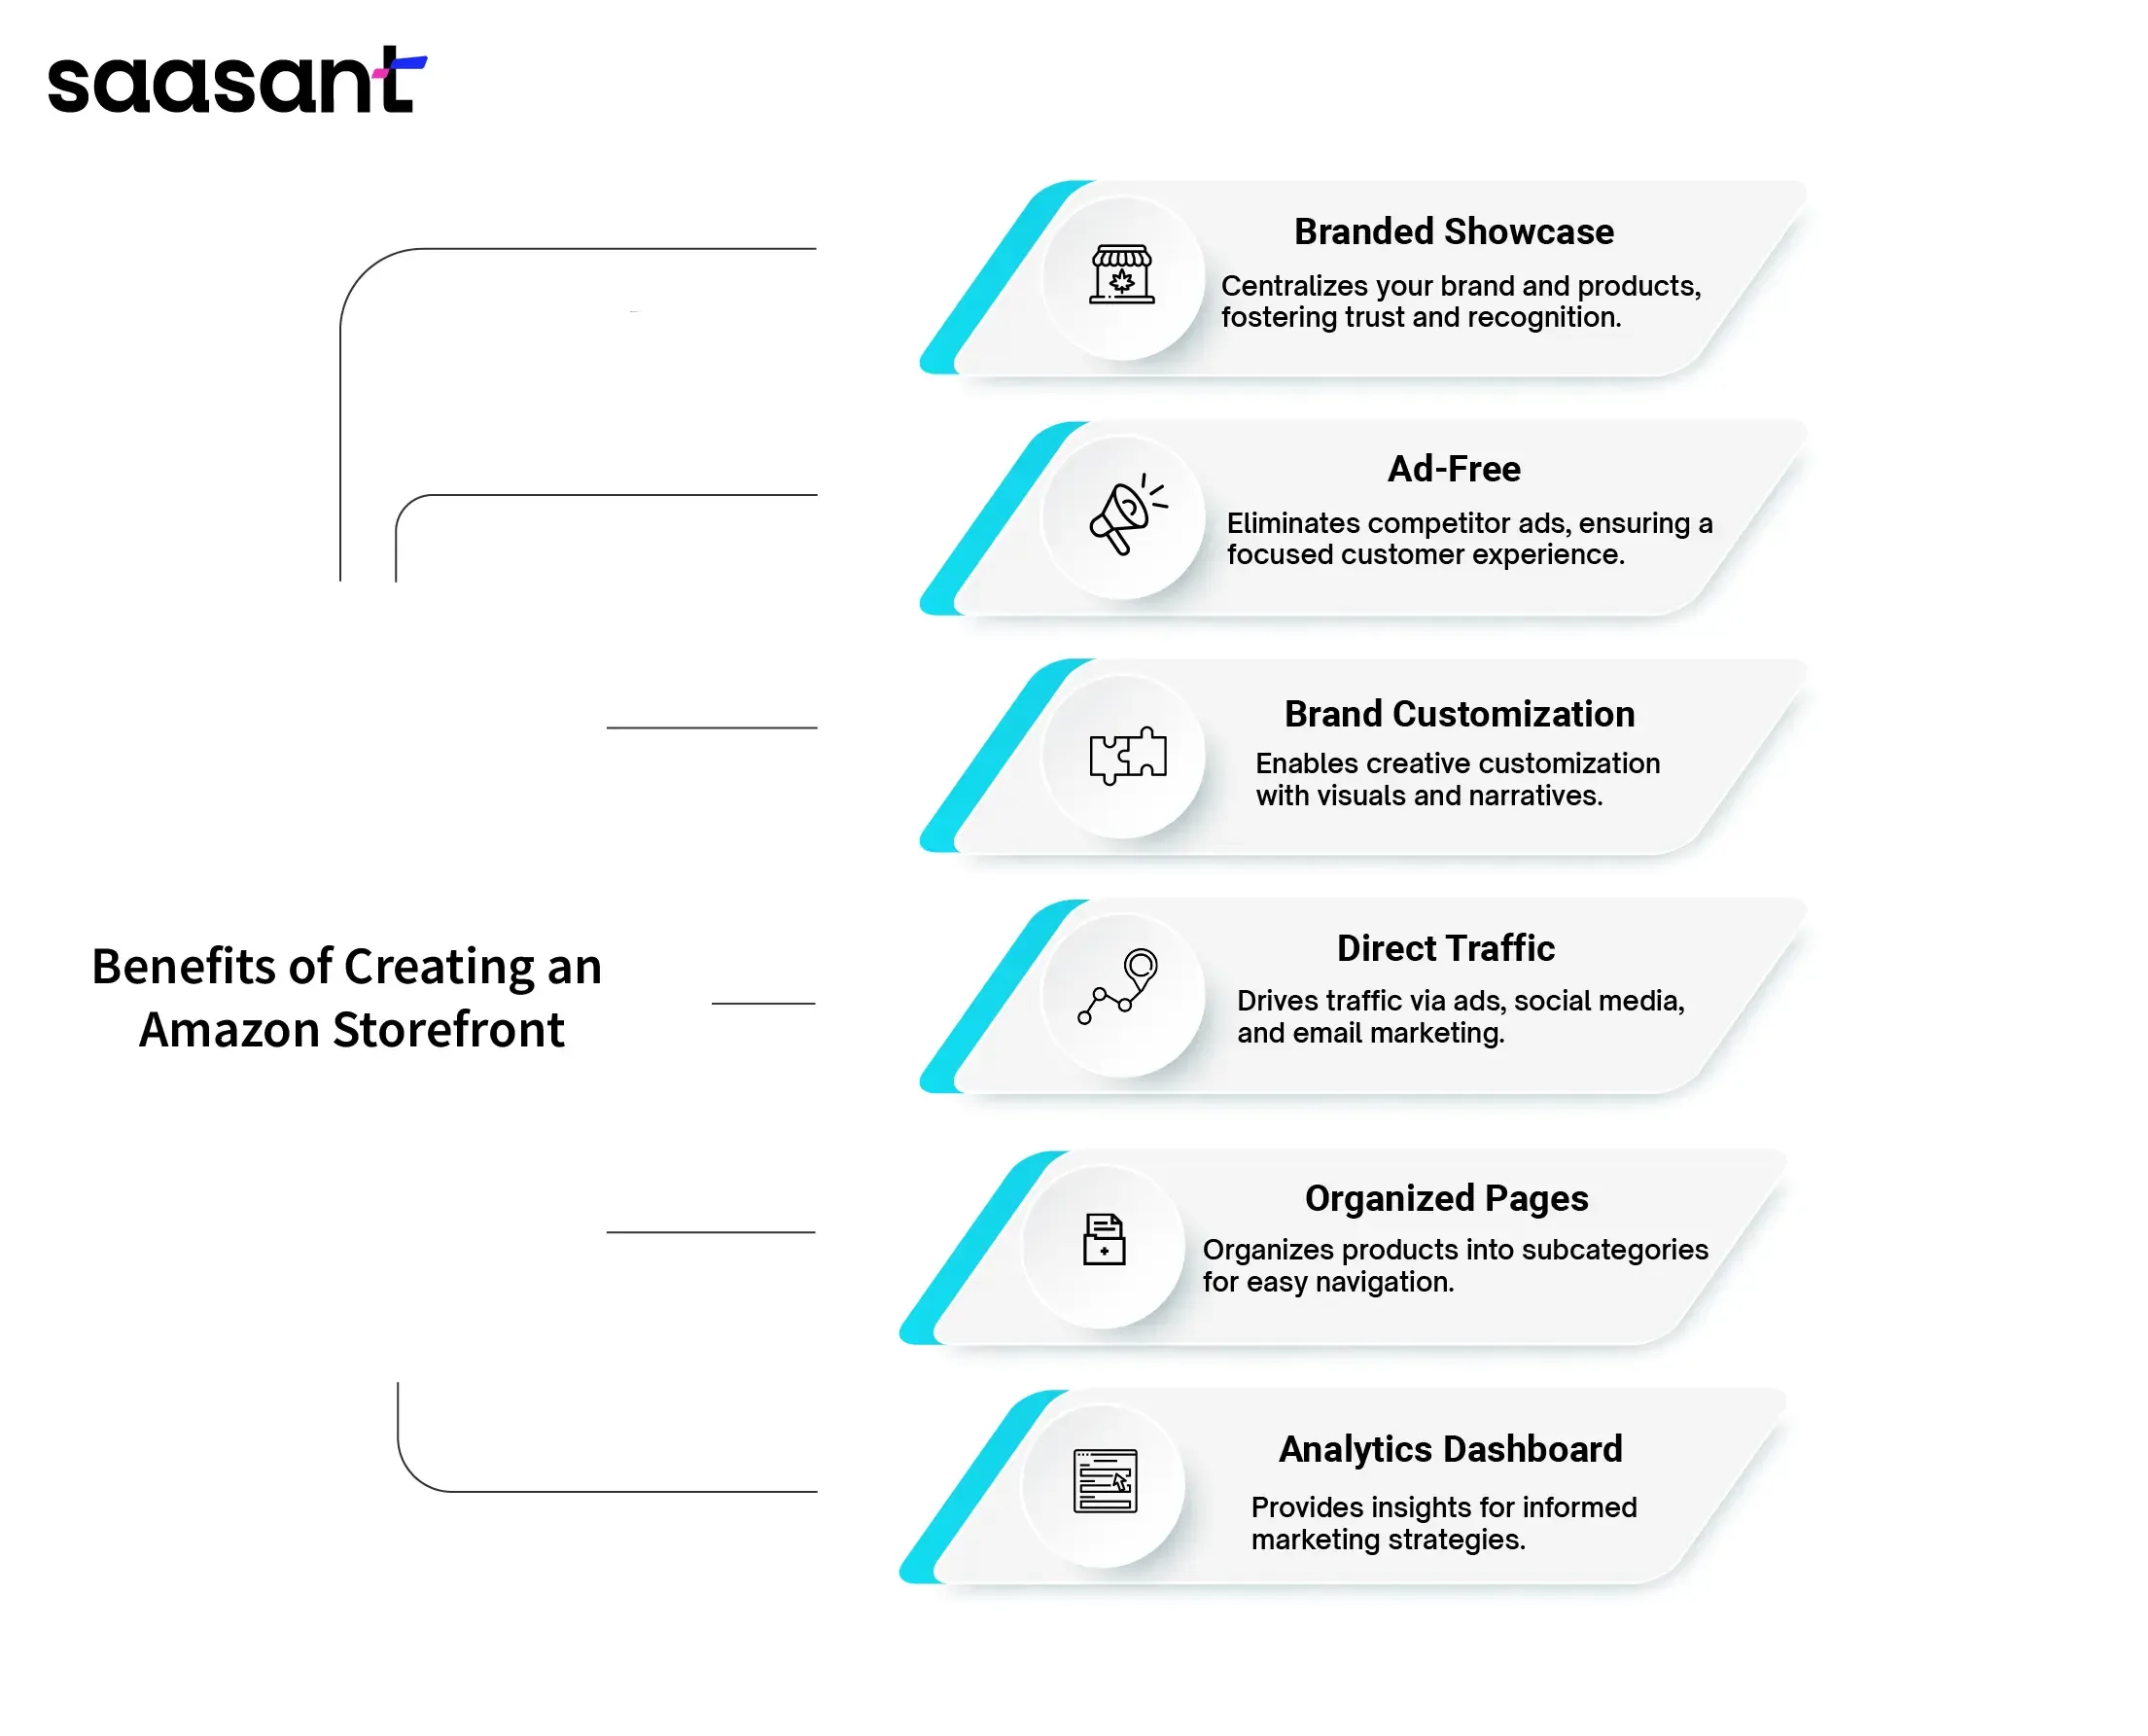
Branded Showcase
Your Amazon Store is a centralized hub for your brand, offering customers a comprehensive view of your products. Instead of searching for individual products, shoppers can easily navigate through your complete catalog within your Store. This platform also allows you to share your brand narrative, fostering brand recognition and customer trust.
Ad-Free
An Amazon Store provides an advantage by removing competitor advertisements. Unlike Amazon search results and product listings cluttered with sponsored ads, your Store offers an ad-free experience, ensuring that customers encounter your brand solely.
Brand Customization
Use your marketing creativity by customizing your store with compelling visuals like high-quality images, infographics, and videos showcasing your products. As we recognize the significance of primary product images and A+ content, your Store offers expanded space to tailor your brand's appearance and ambiance.
Direct Traffic to Your Storefront
Use Sponsored Brands or Display Ads to channel traffic directly to your Amazon Store, diverting customers from competitors' products. Use social media platforms like TikTok, Facebook ads, or email marketing to drive traffic to your Store.
Use Amazon Attribution to monitor the performance of off-Amazon traffic directed to your storefront. Customers can also discover your store by clicking 'Visit the [BRAND NAME] Store' below a listing's title.
Create Various Pages and Subcategories
Consider adding subpages for brands with various product categories and subcategories to organize them effectively. For instance, if your brand offers a variety of kitchen appliances, you can establish pages dedicated to coffee machines, toaster ovens, air fryers, and other product groups.
The dashboard provides insights into your Store's traffic sources, sales impact, page views, and more. These key performance indicators (KPIs) enable informed decisions regarding your product and store marketing strategies.
How to Create an Amazon Storefront?
Here’s a step-by-step guide on how to create an Amazon storefront:
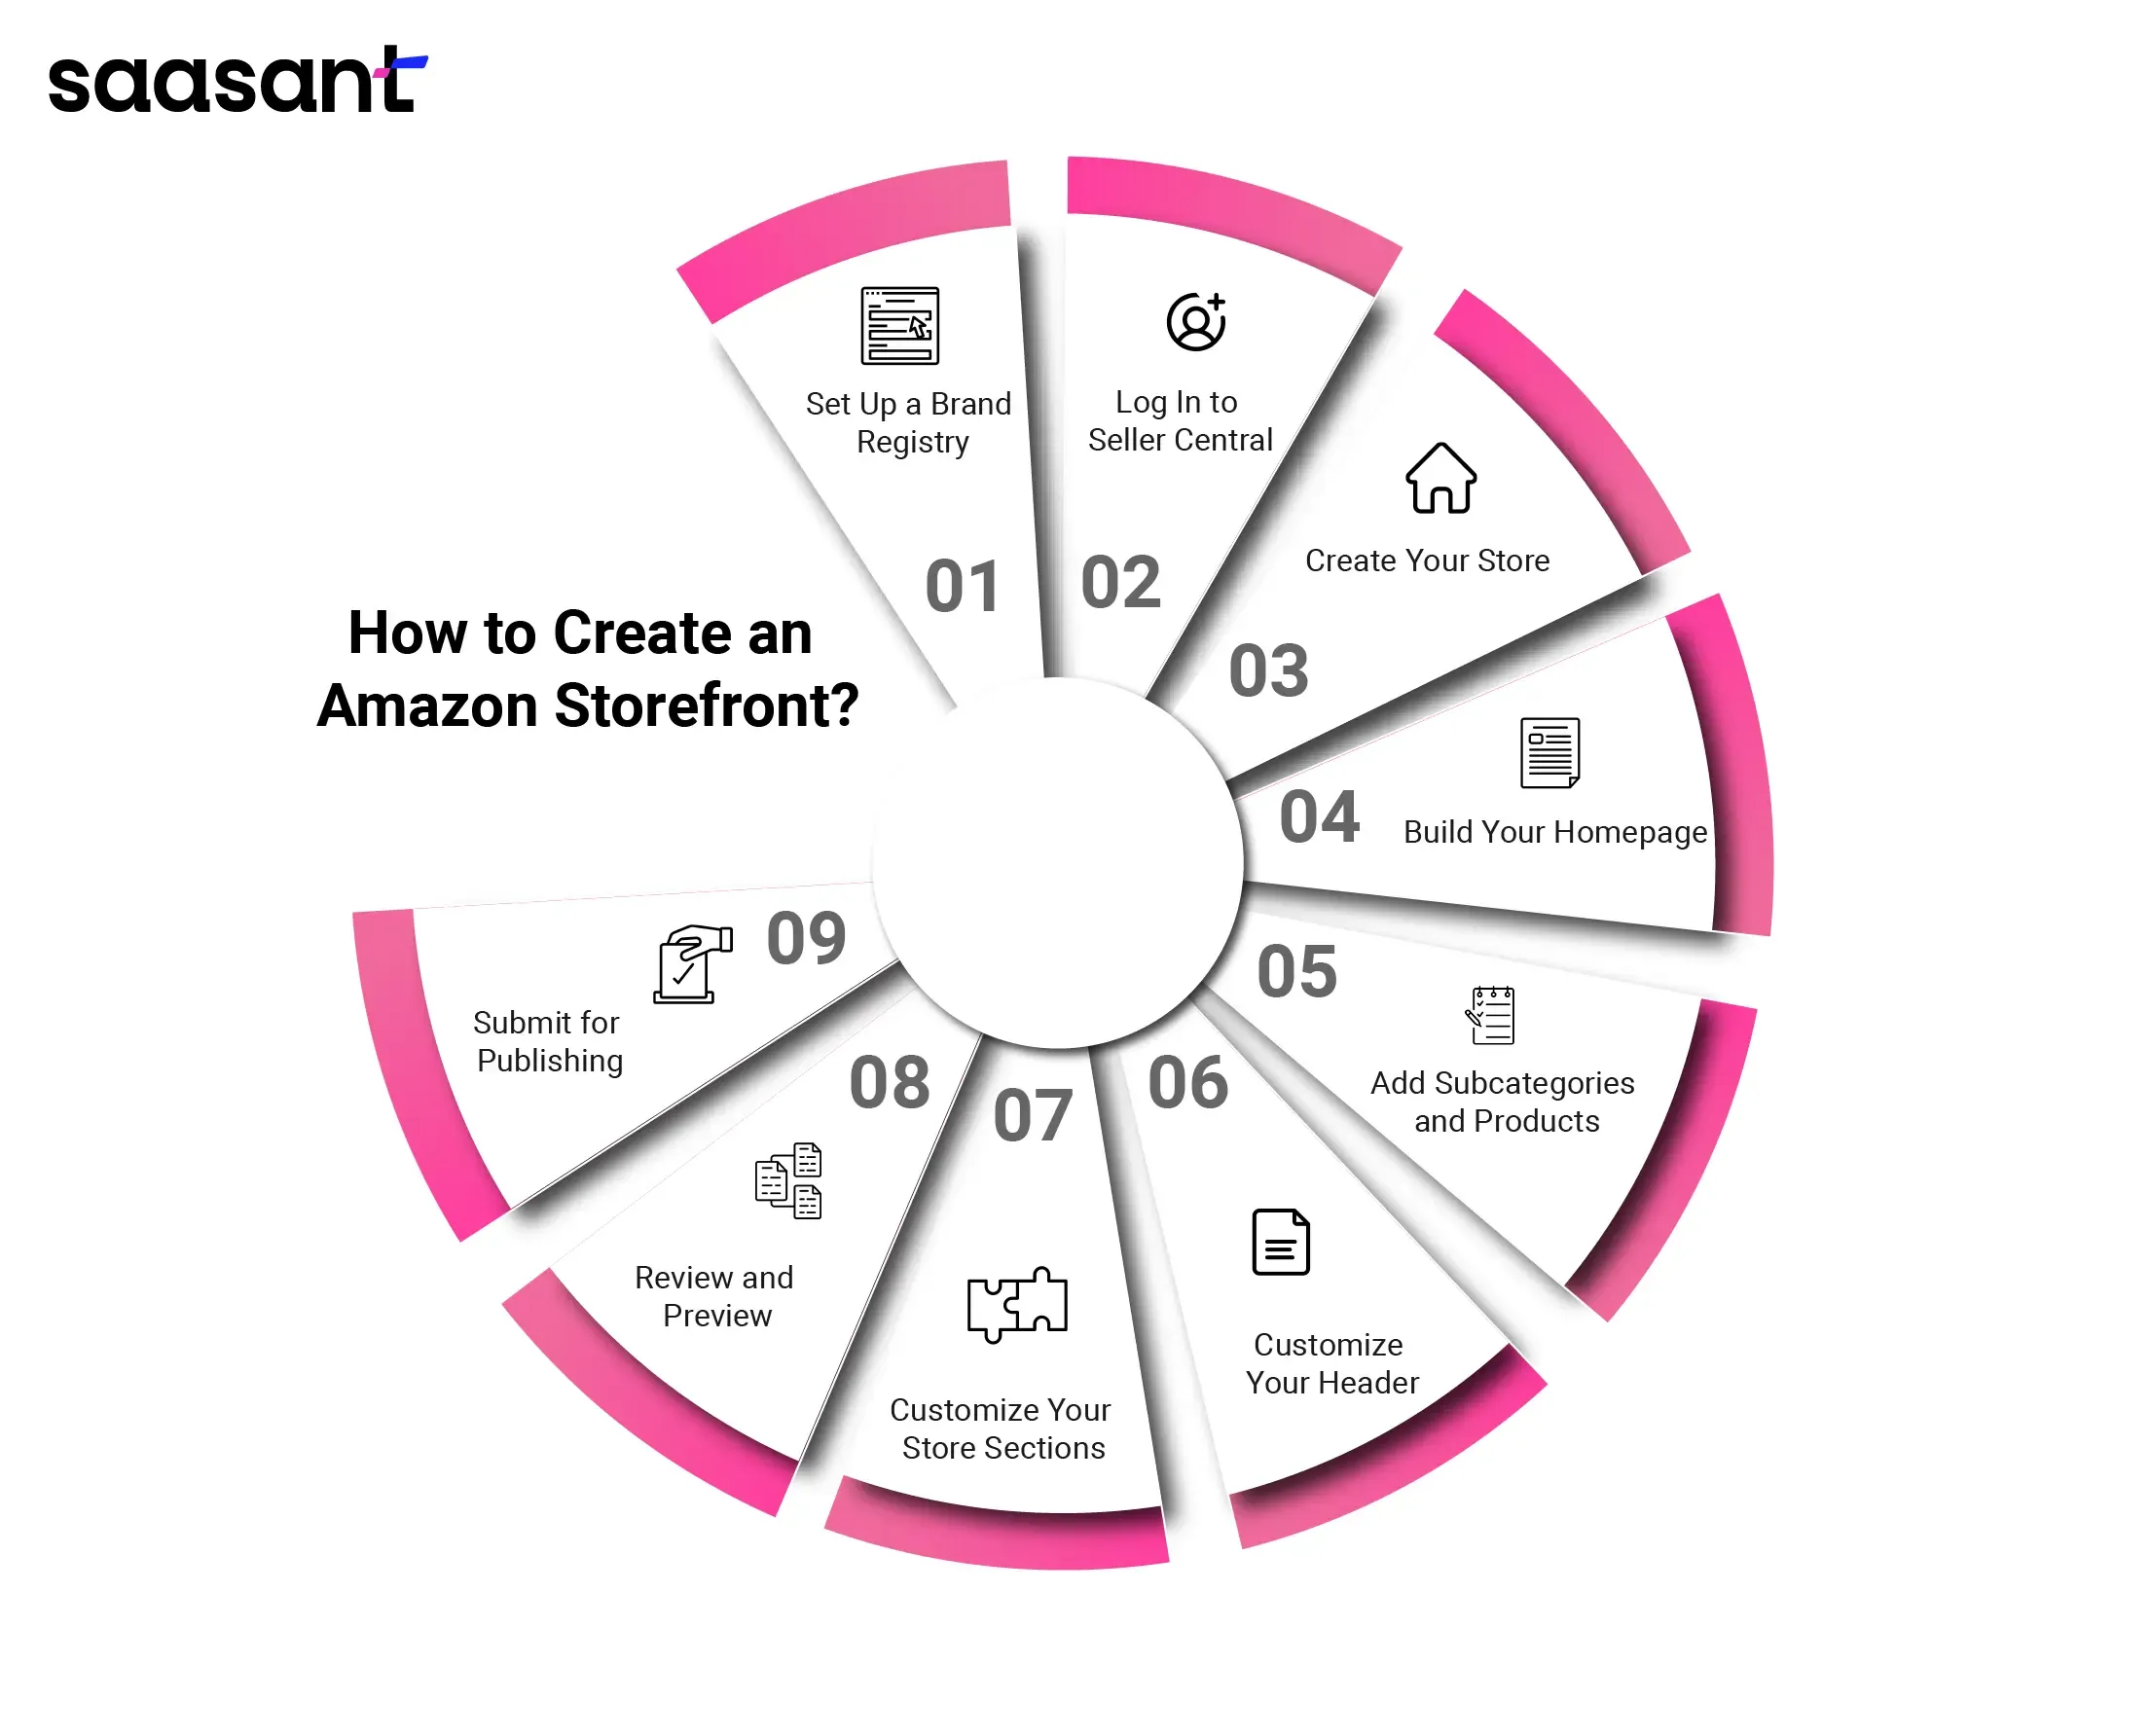
Step 1: Set Up a Brand Registry
Initially, confirm that your brand is registered with Amazon. If not, you must apply for the Amazon Brand Registry program. This program safeguards your brand on Amazon and boosts customer trust. You will need to provide the following details during the application:
Your brand name is registered with the United States Patent and Trademark Office.
Brand serial number (USPTO registered).
Countries where your products are manufactured and distributed.
An image of your brand name.
An image of your product label.
Images of your products.
Step 2: Log In to Seller Central
Once your brand is registered, access your Seller Central account. From there, proceed to the 'Stores' section. You will find a list of brands eligible for an Amazon storefront. Select your brand and click on 'Create a Store.'
Step 3: Create Your Store
You will be directed to Amazon's Store Builder page. Begin the Amazon storefront setup by entering your brand's display name—avoid including phrases like 'shop now' or any other unnecessary details. Also, upload your brand logo, ensuring it meets Amazon's recommended size of 400x400 pixels.
Step 4: Build Your Homepage
The homepage is the first point of interaction with your customers. Invest time in crafting an engaging and informative homepage for your Amazon storefront. Start by providing a meta description for your homepage to enhance visibility in Google search results. Ensure it is engaging and includes relevant keywords for SEO.
Next, choose a template for your homepage. Amazon provides various options, such as "Marquee" to highlight your brand story and best products or "Product Highlight" to focus on your top sellers. Alternatively, you can begin with a blank template if you prefer to start from scratch.
Step 5: Add Subcategories and Products
Create subcategories within your store to neatly organize your products during your Amazon storefront setup. You will need to add these subcategories as separate pages in your storefront. Each subcategory page will require a title, meta description, and template choice. Options like "Product Highlight" or "Product Grid" are ideal for displaying products within these subcategories.
Step 6: Customize Your Header
The header image is crucial in your Amazon storefront setup. It serves as a display area for your brand logo, image, or tagline. Adhere to Amazon's banner image size and quality specifications. You can upload this image in the header section.
Step 7: Customize Your Store Sections
This is where the creativity kicks in—customizing the sections of your Amazon store. You have various options, including tiles for product images, images with text, shoppable photos, text blocks, videos, and background videos. To add sections to your Amazon storefront, click "Add a new section" and select the type of content you wish to feature.
For instance, to showcase a range of products, you might choose "Product Grid" or "Gallery Tile." After selecting the desired section, add your products to it. Highlighting your best-selling products in these sections can help draw in more customers.
Step 8: Review and Preview
Before finalizing your Amazon storefront setup, performing a comprehensive review is essential. Check for grammatical errors, spelling mistakes, branding inconsistencies, image discrepancies, navigation issues, and content alignment. Ensure everything reflects your brand positively and perfectly aligns with your Amazon storefront.
You can see a preview of how your storefront will look to customers by choosing "Preview" from the dropdown menu. Be sure to check both the desktop and mobile views to confirm a smooth shopping experience.
Step 9: Submit for Publishing
After you've made all necessary adjustments and are happy with your Amazon storefront, submit it for publication. Amazon typically reviews submissions within 24 hours. Once approved, your storefront will go live, enabling you to enhance your brand presence and benefit from increased visibility on Amazon.
Conclusion
Creating an Amazon Storefront is a powerful way to improve your brand visibility, engage customers, and drive sales. You can build a compelling online presence by following the steps in the blog. Regularly updating your storefront and using data-driven insights to refine your strategy will help ensure continued growth and success.
FAQs
Can anyone create an Amazon storefront?
To set up an Amazon storefront, first, register for a Professional selling plan and join the Brand Registry. This will allow you to access the Amazon Stores builder via Seller Central. Navigate to 'Create Store' and choose a template that matches your desired storefront design. Then, proceed to 'Store Builder' to add pages to your store.
What qualifies you for an Amazon storefront?
To qualify for Store creation, brands must join the Amazon Brand Registry. Enrollment in the Amazon Brand Registry requires an active registered trademark displayed on your products or packaging and the capability to authenticate yourself as the trademark's rights owner.
How many followers do you need to have on an Amazon storefront?
To qualify as an Amazon Influencer, you generally need a significant and engaged audience on social media platforms such as YouTube, Instagram, Twitter, or Facebook. While the required number of followers can differ, having at least 1,000 may enhance your likelihood of being approved.
Do you have to pay for an Amazon storefront?
Amazon Stores, also known as Storefronts, is a free service Amazon offers to businesses approved for Brand Registry. This approval indicates that they are brand owners with a registered trademark who have completed the Brand Registry application process.
Is it worth it to start an Amazon storefront?
Starting an Amazon Storefront can be worthwhile, especially if you want to expand your online presence and reach a wider audience. Amazon sellers often achieve profitability faster than any other business. While these conventional businesses might not see profits for over two years, 22% of Amazon sellers have reported earning a profit in less than three months, and 58% find themselves profitable within their first year.