How to Delete a Sales Receipt in QuickBooks Online
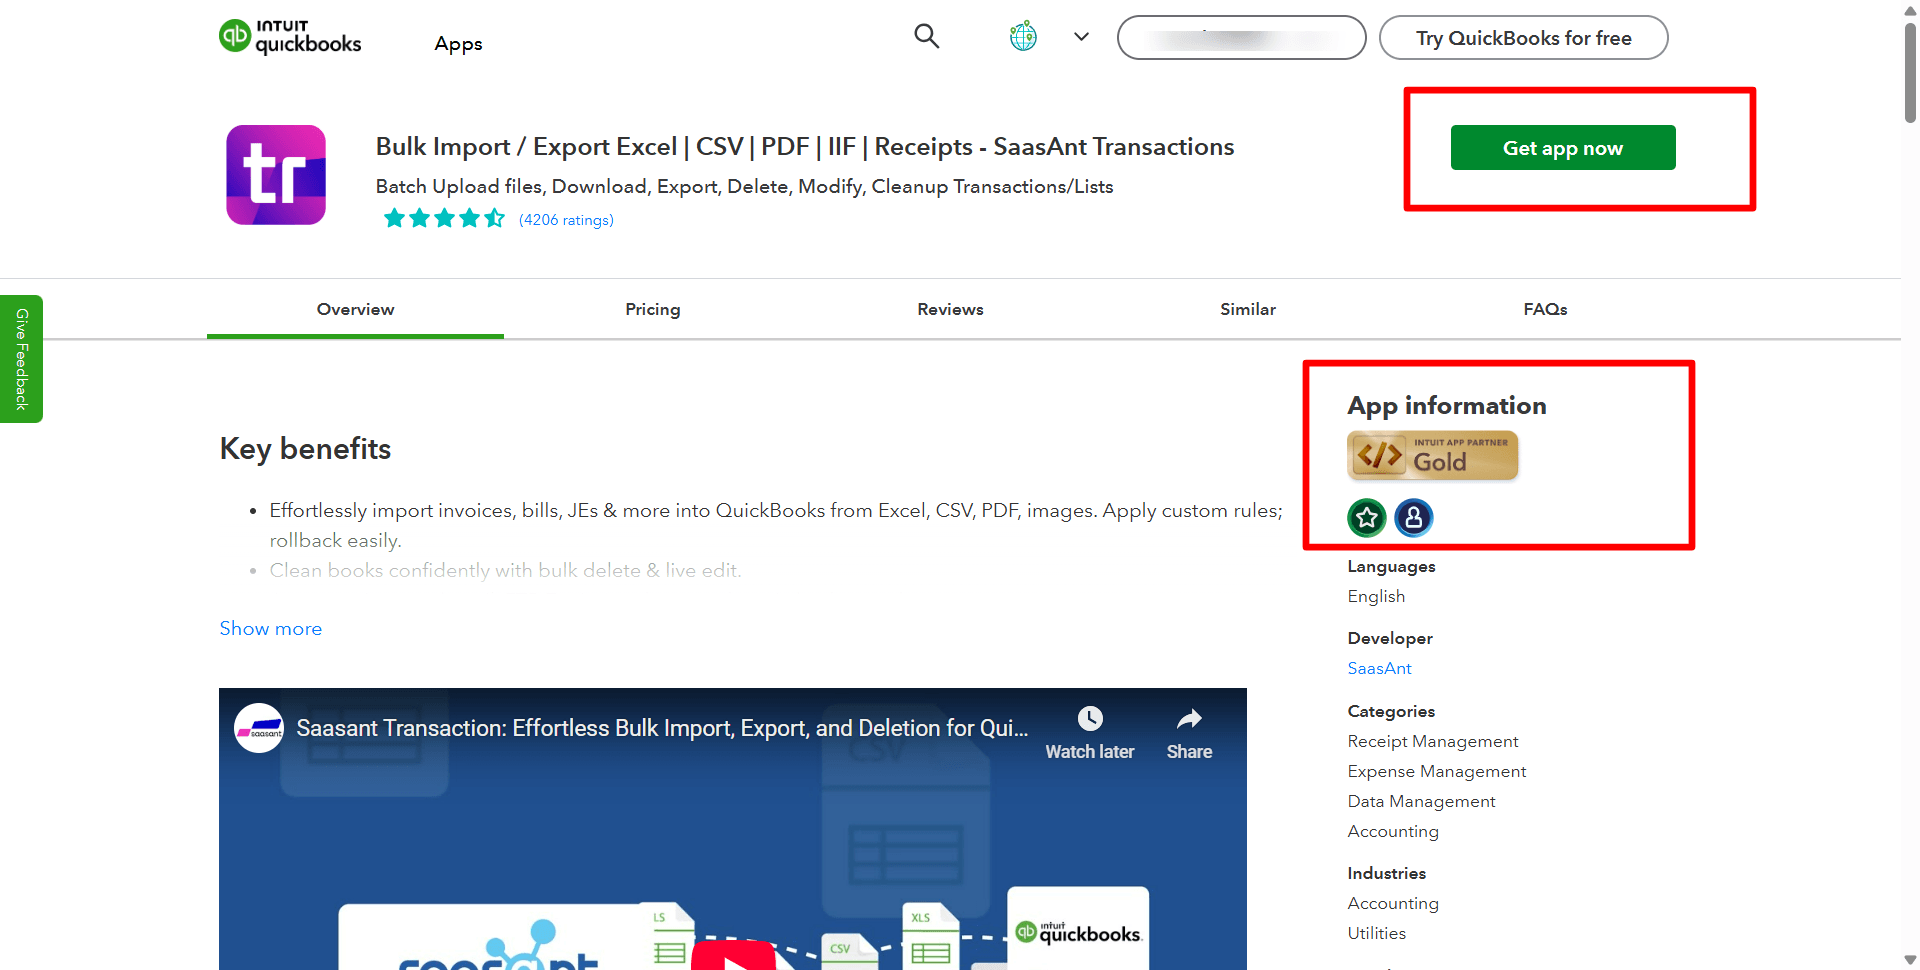
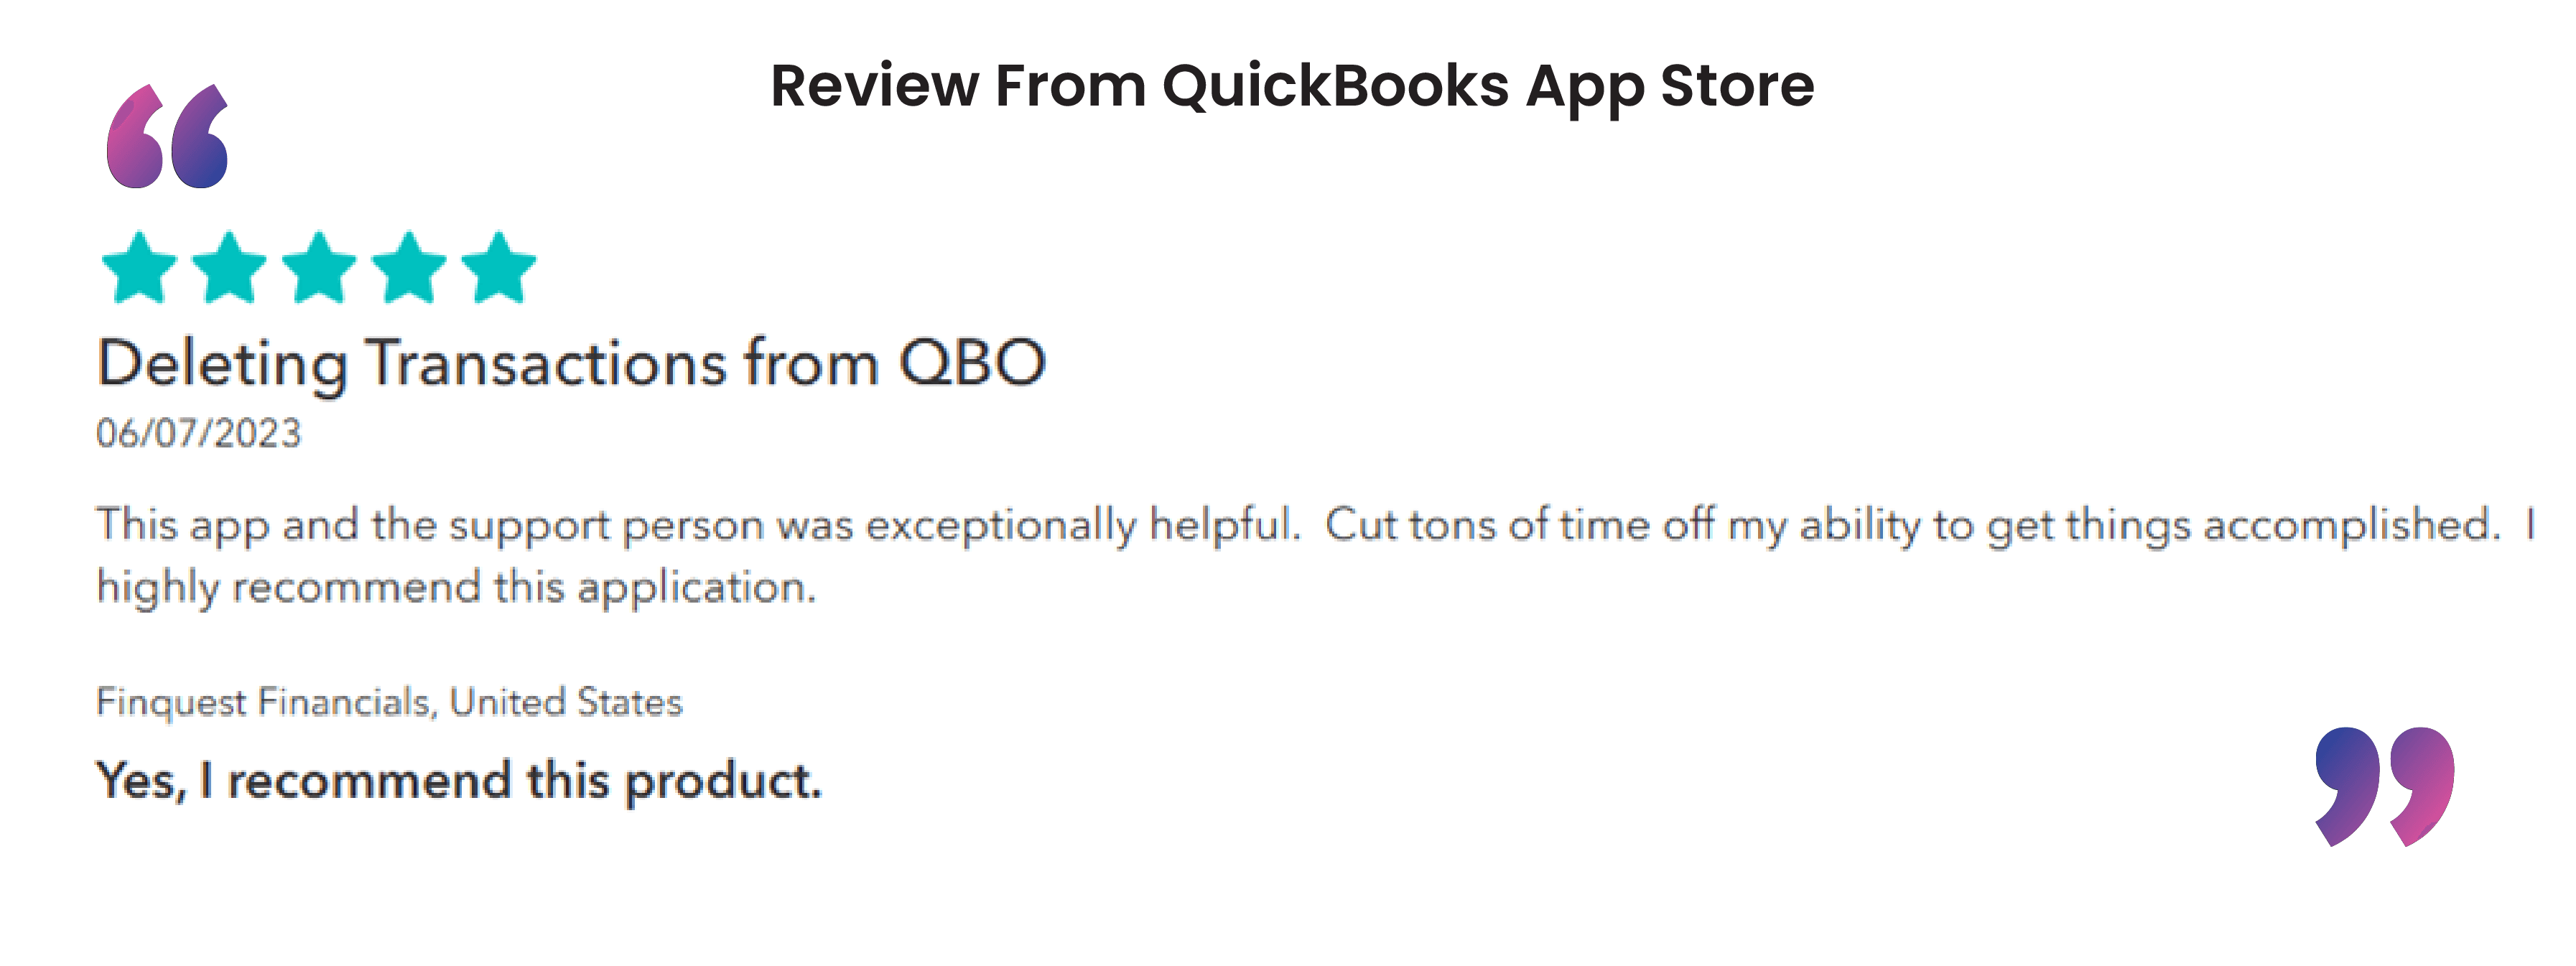
Deleting sales receipts in QuickBooks can be necessary to maintain accurate financial records. Doing this manually can be time-consuming, but applications like SaasAnt Transactions, an Accountant's Favorite and User's choice award-winning app, simplify the process by allowing you to delete receipts in bulk. With a 4.9- start rating from over 4000 users, SaasAnt Transactions offers an efficient and reliable way to manage sales receipts data, ensuring your records stay clean and precise.
This guide will show you how to clean up sales receipts in QuickBooks Online.
How to Delete a Sales Receipt in QuickBooks Online- Quick Instructions
Connect SaasAnt Transactions with QuickBooks
Select the entity as the sales receipt.
Use the advanced filter to search.
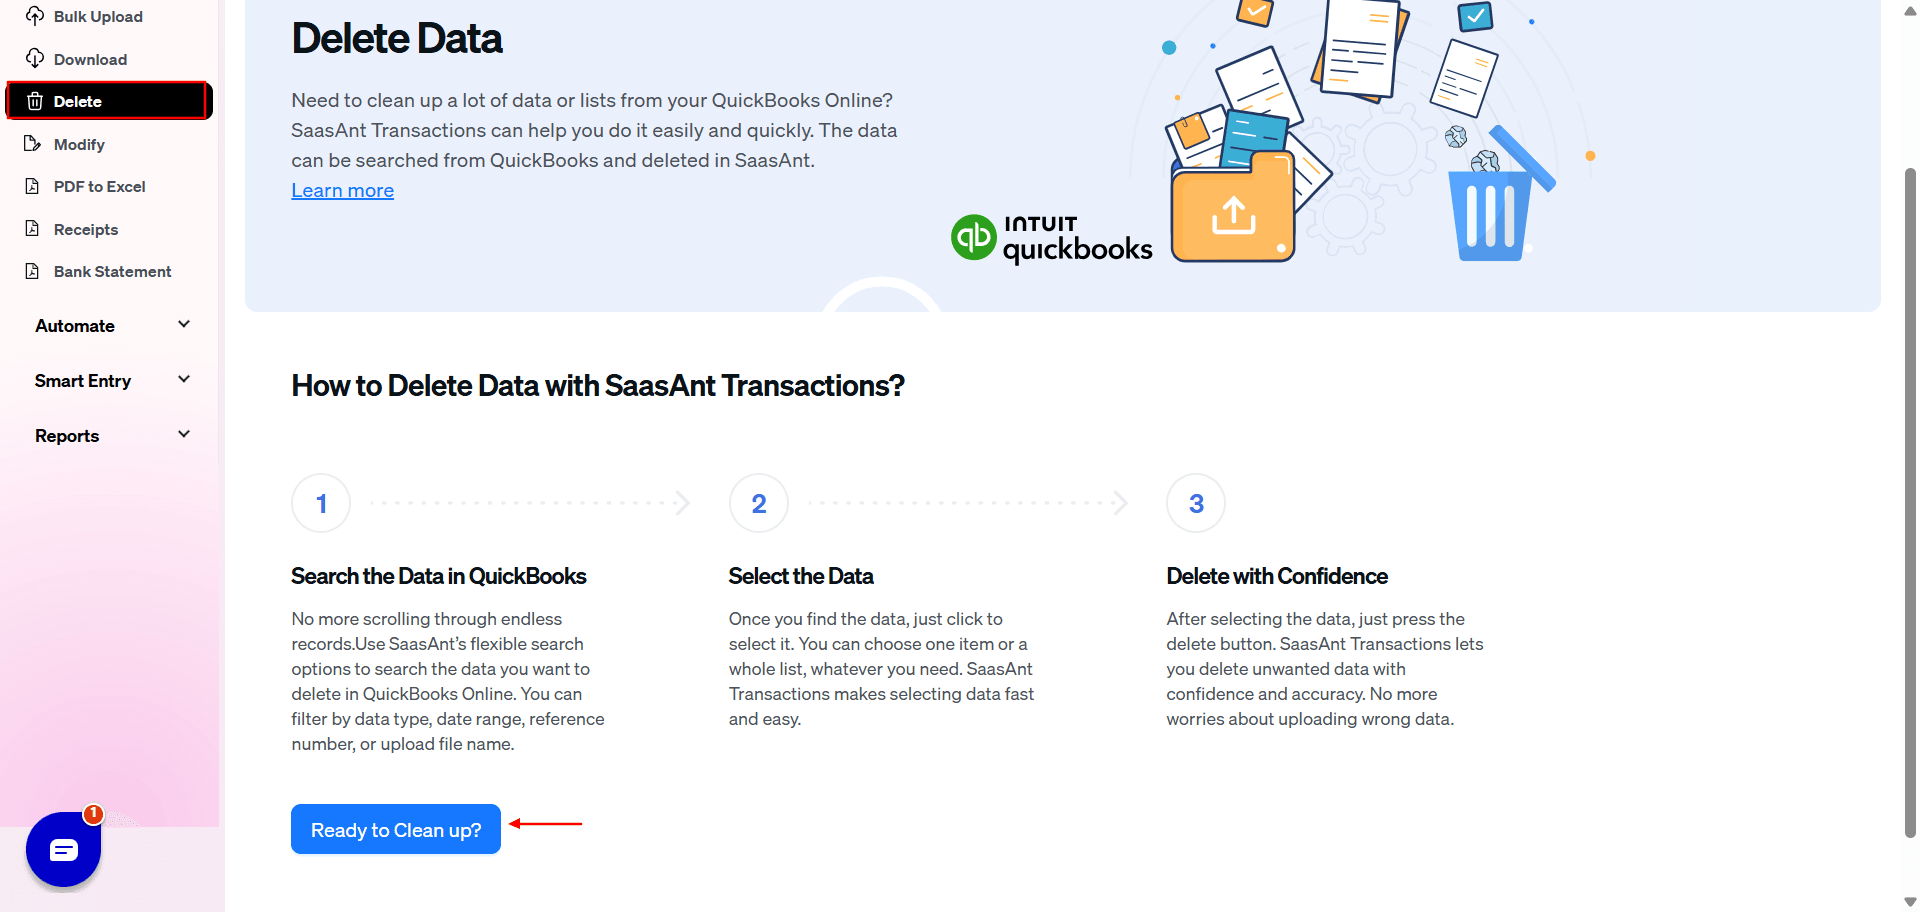
Bulk delete
How to Delete Sales Receipts in QuickBooks Online: Step-by-Step Guide
Step 1: Connect with SaasAnt Transactions
Find SaasAnt Transactions in the QuickBooks App Store and connect it to your QuickBooks account. This certified, secure app keeps your data safe and well-managed.
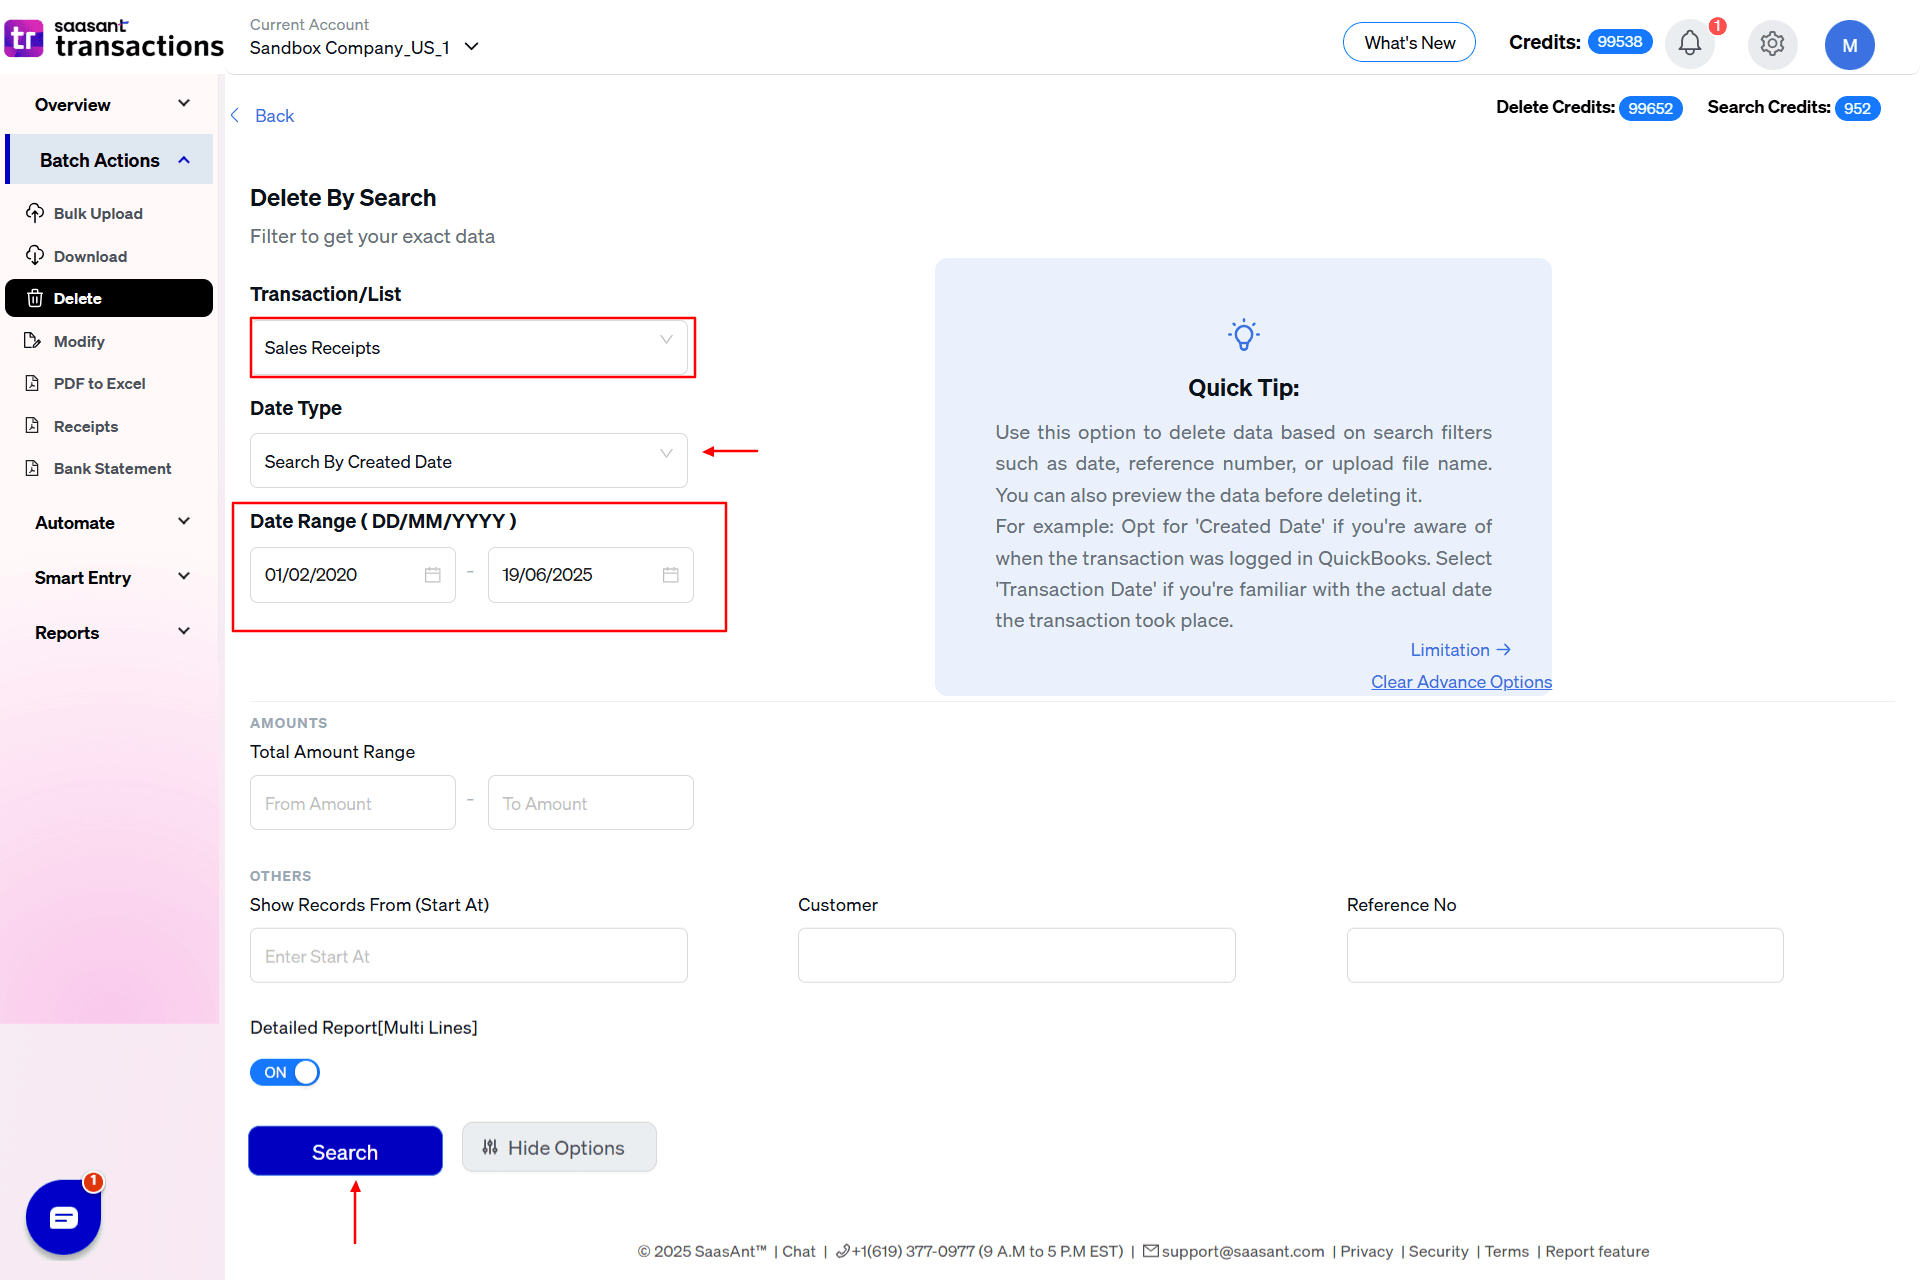
Step 2: Filter by Date
Go to SaasAnt Transactions Dashboard -> Delete.
Select Delete by Searching if you want to delete using date type and date range. Select whether you want to delete based on the created date, transaction date, or last updated date, and select a date range.
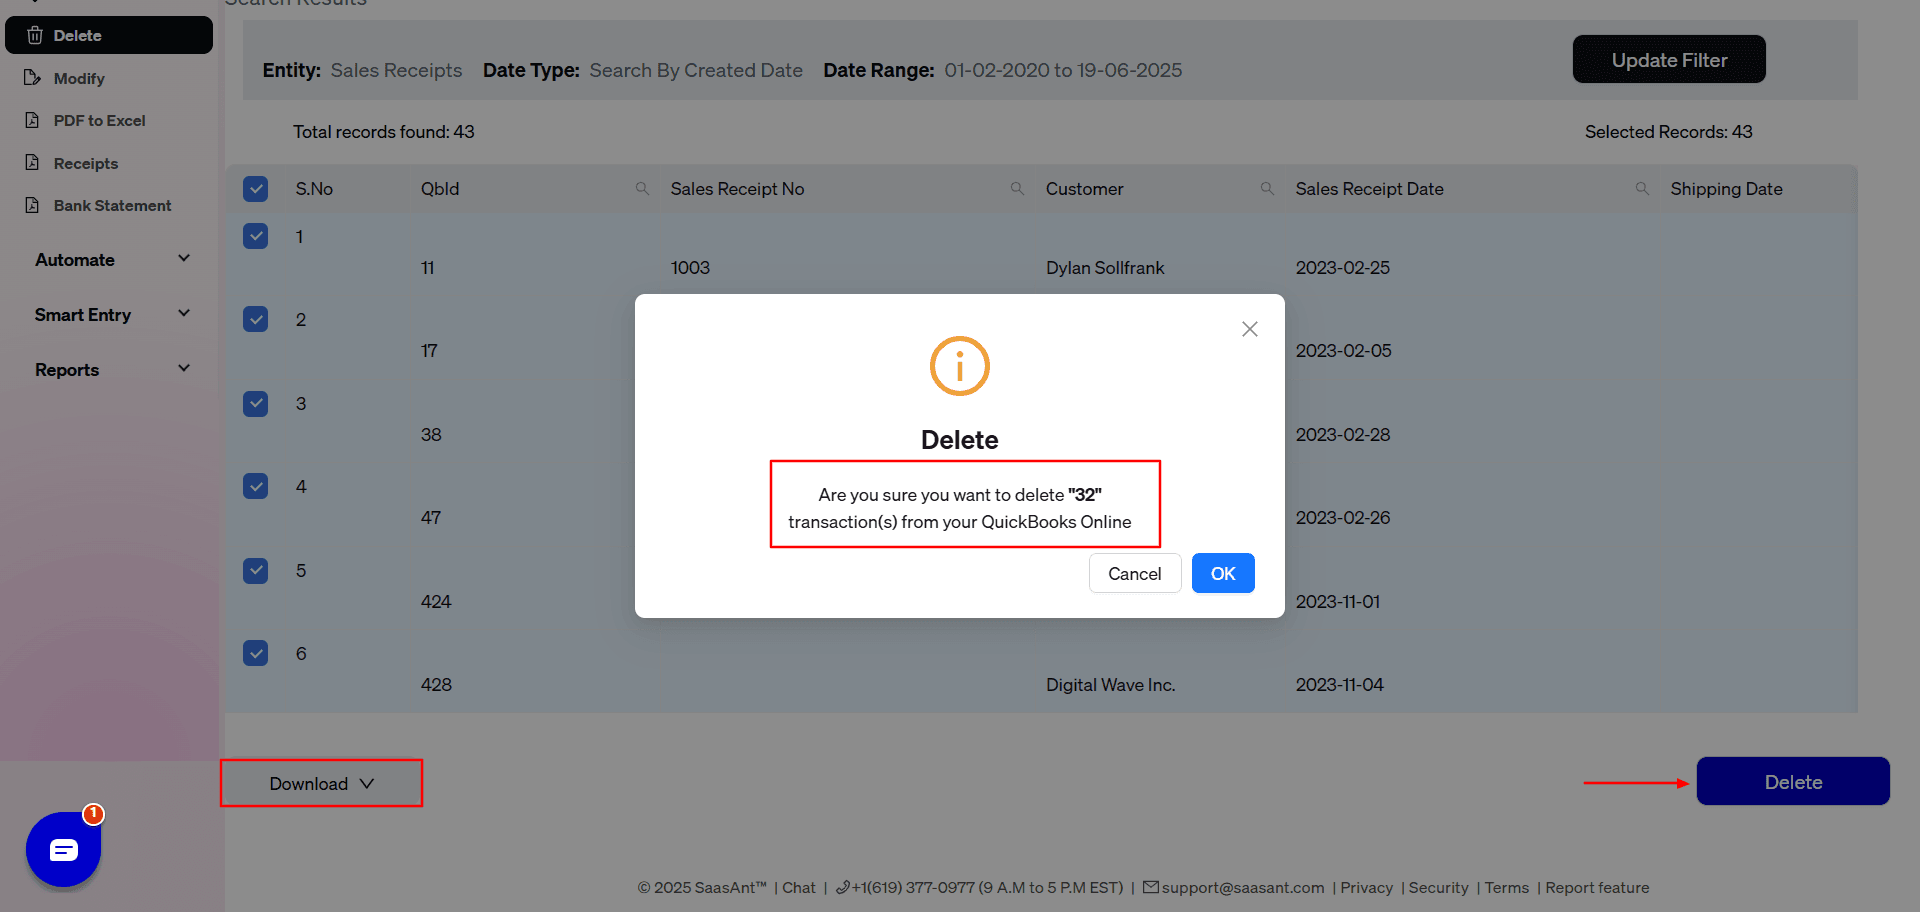
Step 3: Bulk Delete
A list of Sales Receipts for the chosen date type and range will be displayed. Click on delete. You can also uncheck the check box of a particular Sales Receipt if you wish not to delete it.
Important: Always back up your sales receipts before deleting them. You can use the export function in SaasAnt Transactions to create a backup copy.
Here is a video on How to Bulk Delete Sales Receipts in QuickBooks Using SaasAnt Transactions Online
Alternatives to Deleting a Sales Receipt
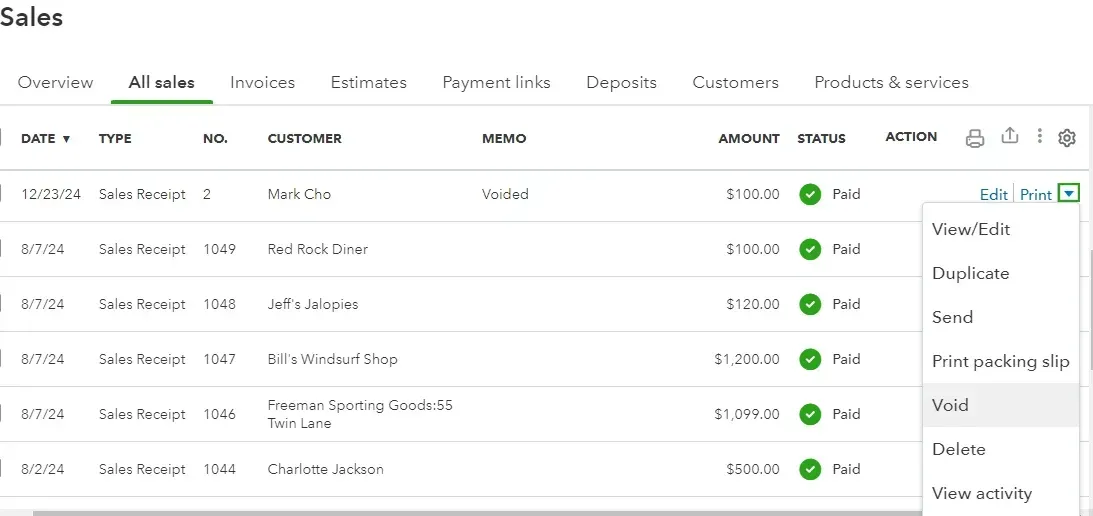
You can void or bulk edit a sales receipts instead of deleting it in QuickBooks. To see the void option, click on the more option of the Sales receipt. You can void a sales receipt with errors, and voiding allows you to nullify the sales receipt without losing the original entry so you can keep track of it. Also, voiding maintains a transaction record, which is essential for auditing. It shows that the transaction existed but was canceled, providing a clear history of actions taken.
You can also bulk edit sales receipts by exporting them, making changes, and then overwriting the existing sales receipts.
Best Practices to Follow When Deleting a Sales Receipt
Double-check the receipt to ensure that deleting it is necessary and won't cause discrepancies in your records.
Always create a backup of your QuickBooks data before deleting receipts to prevent accidental data loss. Easily create a backup by downloading using the export feature in SaasAnt Transactions.
Verify if the receipt is linked to other transactions and understand the impact of deletion on these linked records.
Double-check each receipt to avoid accidental deletion of vital records when deleting in bulk.
Why Delete Sales Receipts in QuickBooks Online
Reddit users report several practical reasons for removing sales receipts to keep their books accurate and their workflows running smoothly:
Prevent Duplicate Revenue
If both an invoice and a sales receipt exist for the same sale, deleting one stops revenue from being counted twice.Fix Payment Application Issues
Because sales receipts can’t handle multiple check or fee entries, deleting a problematic receipt lets you recreate payments correctly via undeposited funds or a clearing account.Resolve Class or Tax Mismatches
When new tax calculations or class assignments change a receipt’s deposit amount, deleting and rebuilding the receipt corrects mismatched totals.Correct Misapplied Deposits
Receipts posted to the wrong account sometimes need deletion before you can reassign them to Undeposited Funds or the proper bank account.Remove Auto-Generated Duplicates
QuickBooks Payments and other integrations often auto-create receipts; deleting extras keeps your sales journal clean.Bulk Cleanup of Erroneous Entries
When hundreds of receipts are wrong, some users leverage third-party tools to batch-delete them and start fresh.Convert to Different Transaction Types
To switch from posting receipts to non-posting documents (like sales orders), deleting existing receipts is the first step before recreating the correct transaction type.
How SaasAnt Can Help
Isolate and bulk‐delete duplicate receipts with advanced filters
Preview and safely remove misposted payments before reimporting
Apply reusable rules to fix class or tax code mismatches in bulk
Filter by deposit account, batch‐delete, then reimport corrected entries
Remove auto-generated payment receipts with one-click cleanup
Export filtered receipts to CSV and convert them to invoices or credit memos
Conclusion
This guide has outlined the steps for deleting receipts individually and in bulk, providing you with the necessary applications to simplify your process. You can ensure data integrity and compliance by following best practices—such as reviewing receipts, backing up data, and considering voiding instead of deleting. Using applications like SaasAnt Transactions for bulk deletions can further enhance efficiency. Implementing these techniques will save you time, reduce errors, and support the financial health of your business.
SaasAnt also has advanced automation and customization features that cater to the specific needs of your business.
FAQs
How to Delete a Sales Receipt in QuickBooks?
Go to QuickBooks dashboard -> Sales -> All sales -> select sales receipt from the drop-down menu. The list of sales receipts will appear. Click on the more option to find the delete option.
How to Edit a Sales Receipt in QuickBooks?
To edit a sales receipt in QuickBooks online, go to QuickBooks dashboard -> sales -> all sales -> select sales receipts, and you will see the list. Click on the edit option next to the sales receipt you wish to edit.
How do I undo a Sales receipt in QuickBooks?
You can use the void option to show that the transaction existed but was canceled, providing a clear history of actions taken. Voiding allows you to correct the mistake without losing the original entry, which can help track and review errors.
How do I delete multiple Sales receipts in QuickBooks?
Connect SaasAnt Transactions with QuickBooks. Go to SaasAnt Transactions Dashboard -> delete -> sales receipt -> search by date range -> delete.
How do I correct a Sales receipt in QuickBooks?
You can use the edit option in QuickBooks to correct a sales receipt. You can also bulk edit by integrating SaasAnt Transactions with QuickBooks. It allows you to bulk export your sales receipts, make changes, and overwrite the existing sales receipts.
What are some alternatives to deleting a sales receipt?
You can void a sales receipt to keep the transaction or bulk edit sales receipts instead of deleting them.
How to Import a Sales Receipt in QuickBooks?
Integrate SaasAnt Transactions with QuickBooks. Go to SaasAnt Transactions dashboard -> New Import -> Sales Receipts -> Browse and select the file (All formats supported, PDF, Images, IIF, CSV, Excel) -> Map the fields in the file to QuickBooks fields -> Upload the file to import sales receipts into QuickBooks.
How to Export Sales Receipts from QuickBooks?
You can export sales receipts from QuickBooks using SaasAnt Transactions. Integrate SaasAnt Transactions with QuickBooks -> select the entity as sales receipts to export -> search for sales receipts based on the created date or transaction date -> enter a date range and select a sales receipt. Select whether you want to download it in .XLSX or .CSV format.
Read also
How to Create a Sales Receipt in QuickBooks Online
Workflow Automation for Bookkeeping and Accounting Professionals
Import Invoices into QuickBooks Online: Step-by-Step Guide
How to Export Transactions from QuickBooks Online