How to Export Expenses from QuickBooks to Excel
QuickBooks Online stands out as a top choice for accounting software, offering robust tools to track and manage expenses with precision. Learning how to export expense data from QuickBooks Online streamlines financial analysis and aids in tax preparation, budget management, and compliance with financial regulations.
This blog will walk you through how to export expenses from QuickBooks using SaasAnt Transactions, the reasons for exporting expenses, and much more.
Contents
How to Export Expenses from QuickBooks to Excel - Quick Instructions
How to Export Expenses from QuickBooks to Excel: Step-by-Step Guide
Conclusion
FAQ’s
How to Export Expenses from QuickBooks to Excel - Quick Instructions
Find and connect SaasAnt Transactions in the QuickBooks App Store.
In SaasAnt, click ‘Export’ and select ‘Exports’ from the dropdown.
Choose the date type and range, select a mapping template, and click 'Search.'
Click ‘Download,’ select the format (.xlsx or CSV), and save the file.
Check your downloads folder to view the exported file.
How to Export Expenses from QuickBooks to Excel: Step-by-Step Guide
To export expenses from QuickBooks Online, follow these steps:
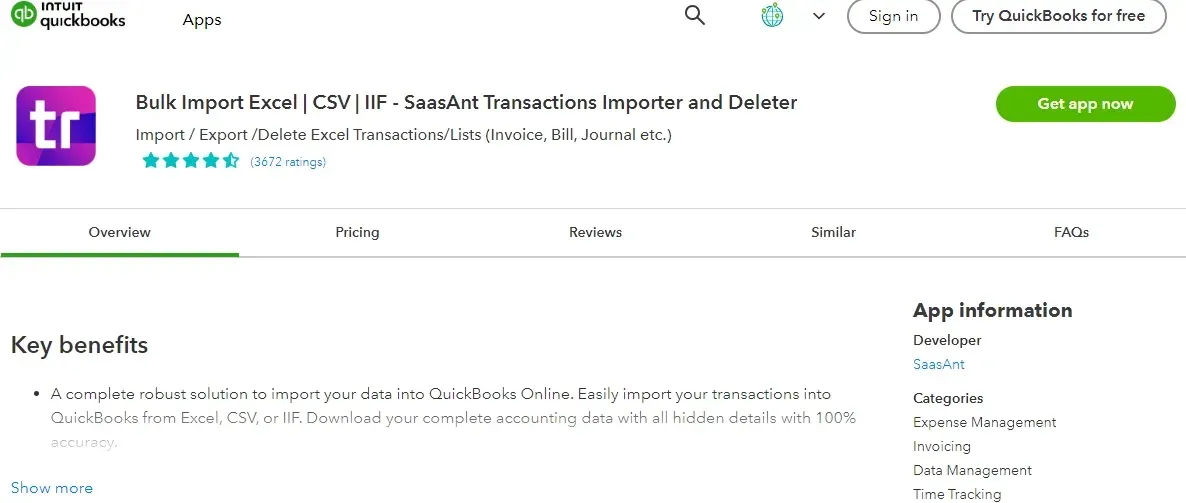
Step 1: Install SaasAnt Transactions
Find SaasAnt Transactions in the QuickBooks App Store and link it to your QuickBooks account. SaasAnt is a certified and secure app that ensures your data remains safe and well-organized.
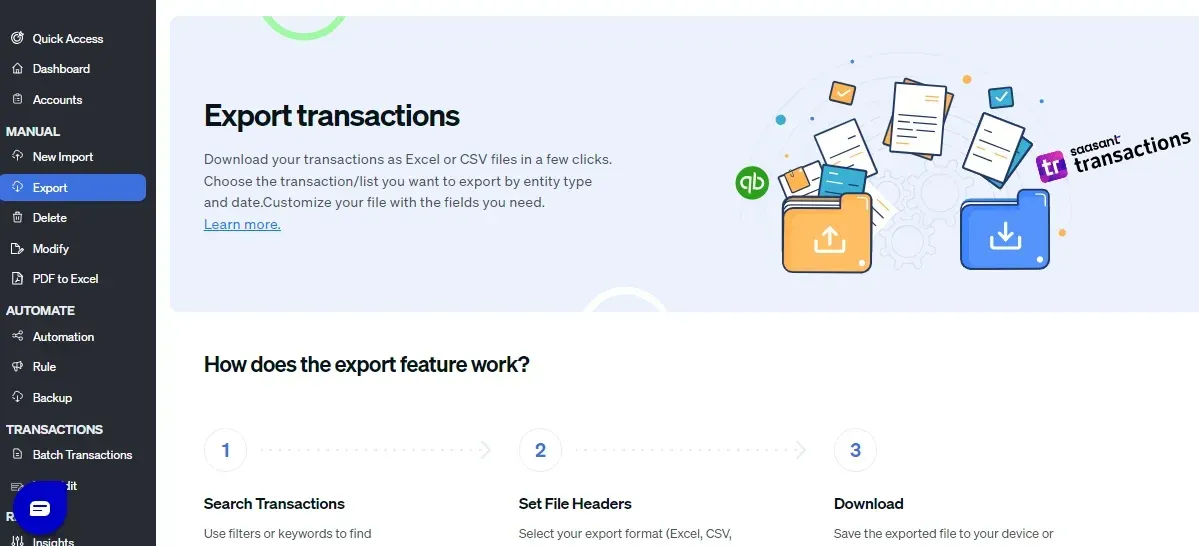
Step 2: Navigate to Export Tools
Go to SaasAnt Transactions Dashboard, click ‘Export,’ and select ‘Exports’ in the transaction list drop-down menu.
Step 3: Set Export Criteria
Choose a date type, such as search by transaction date, created date, or last updated date. Select the date range and mapping template and click on search. You can also export expenses based on the total amount or reference number.
Step 4: Download Expenses
A list of expenses for the chosen date type and range will be displayed. Click ‘Download’ and select whether you want to download it in .xlsx or CSV format.
Step 5: Retrieve File
Check your downloads folder to view the downloaded file.
Reasons for Exporting Expenses
Exporting expenses from QuickBooks is crucial for businesses for multiple reasons:
Detailed expense data helps analyze spending patterns and budgets and forecast future expenses.
Ensuring all financial records, including expenses, are accurately recorded and readily available simplifies the tax filing process.
Maintaining detailed records of expenses is essential for compliance with financial regulations and facilitates internal or external audits.
Efficiently managing employee reimbursements requires a clear record of incurred expenses.
Regularly exporting and backing up expense data ensures data integrity and continuity.
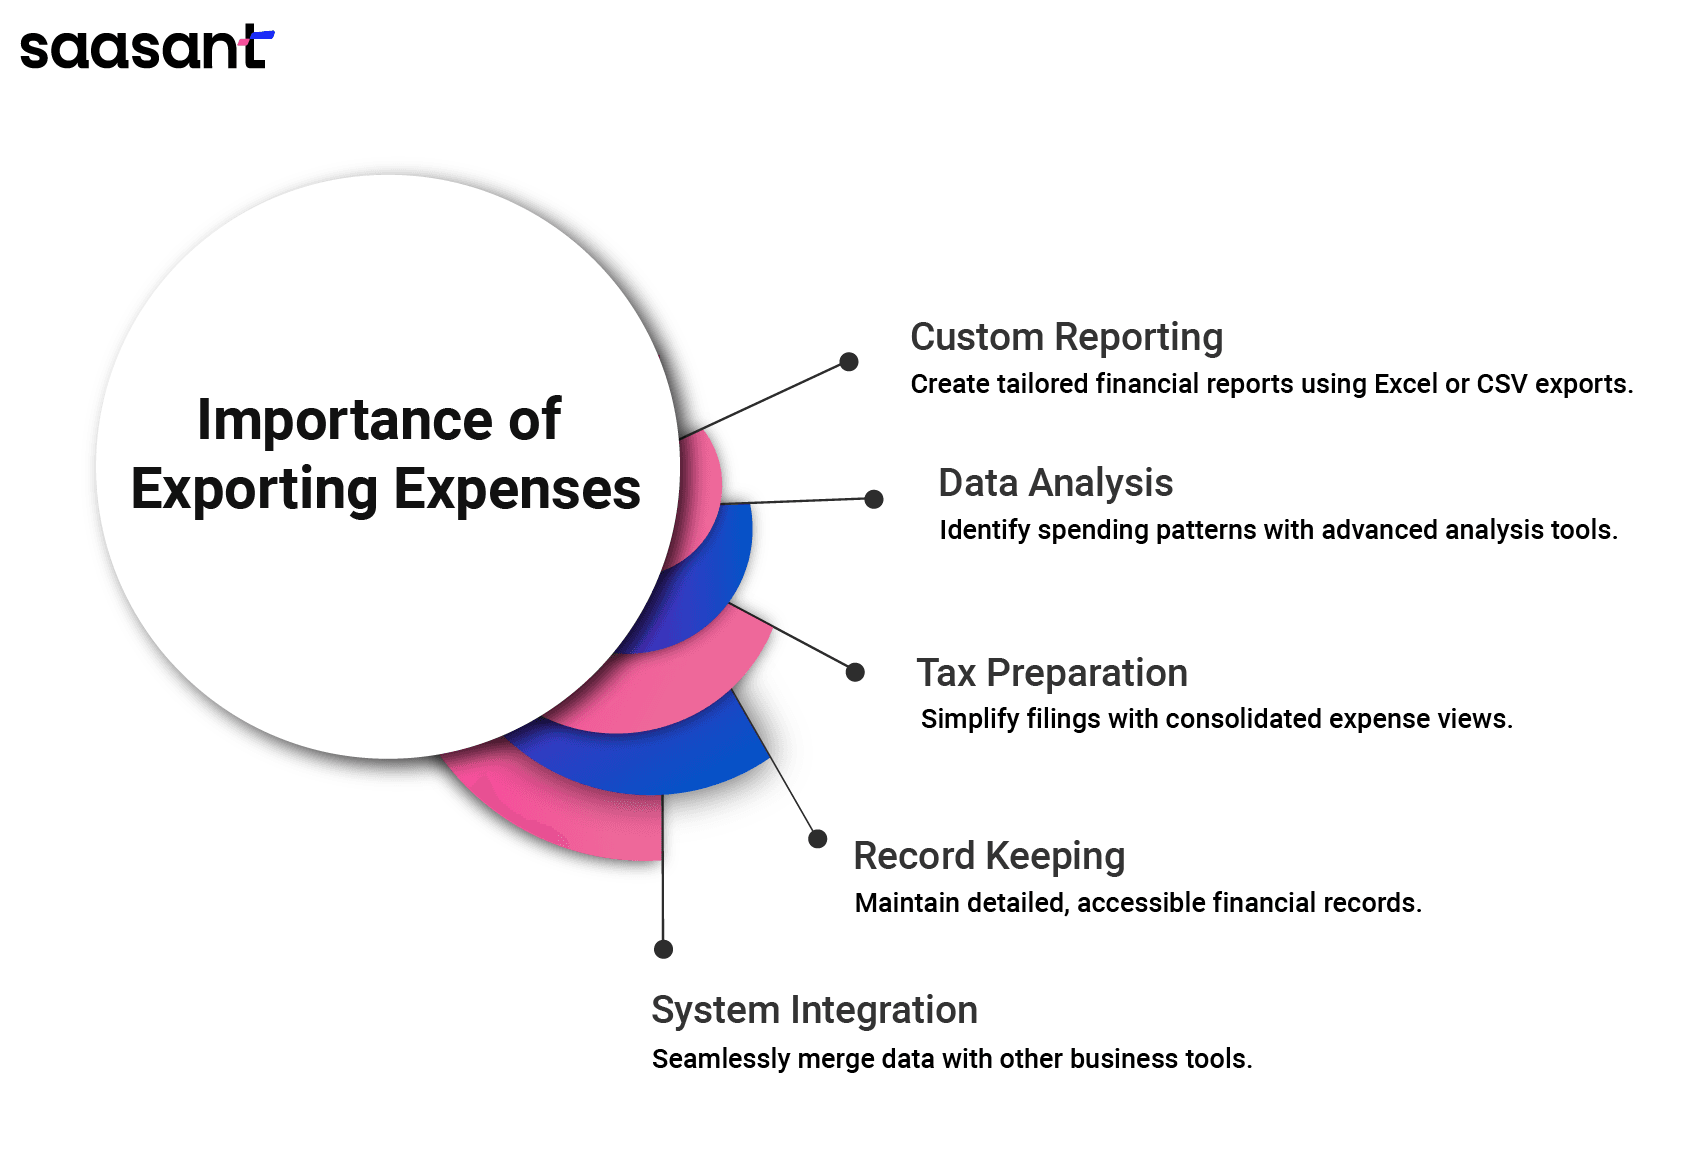
Importance of Exporting Expenses
Exporting expenses from QuickBooks offers numerous advantages that contribute to effective financial management. Here are some key benefits:
Enhanced Reporting
Benefit: Exporting expenses allows for comprehensive reporting beyond the standard QuickBooks reports. By exporting data to formats like Excel or CSV, users can create customized reports tailored to specific needs.
Use Case: Businesses can generate detailed expense reports for internal review, performance analysis, or financial presentations.
In-Depth Analysis
Benefit: Exported expense data can be analyzed more thoroughly using advanced data analysis tools. This helps in identifying trends, patterns, and anomalies in spending.
Use Case: Financial analysts or accountants can use exported data to perform variance, cost-benefit analyses, and other financial assessments.
Efficient Tax Preparation
Benefit: Exporting expenses simplifies tax return preparation by providing a consolidated view of all expenses. This is particularly useful for tax filing and audit preparation.
Use Case: Accountants can use exported expense reports to ensure accurate tax deductions and to prepare necessary documentation for tax authorities.
Improved Record Keeping:
Benefit: Exporting expenses ensures that financial data is preserved in an accessible format for backup and long-term record keeping.
Use Case: Businesses can maintain historical records of expenses for compliance, audits, and future reference.
Integration with Other Systems:
Benefit: Exported data can be integrated with other financial systems or software for further processing and analysis.
Use Case: Integration with budgeting tools, financial planning software, or ERP systems can enhance financial management and decision-making processes.
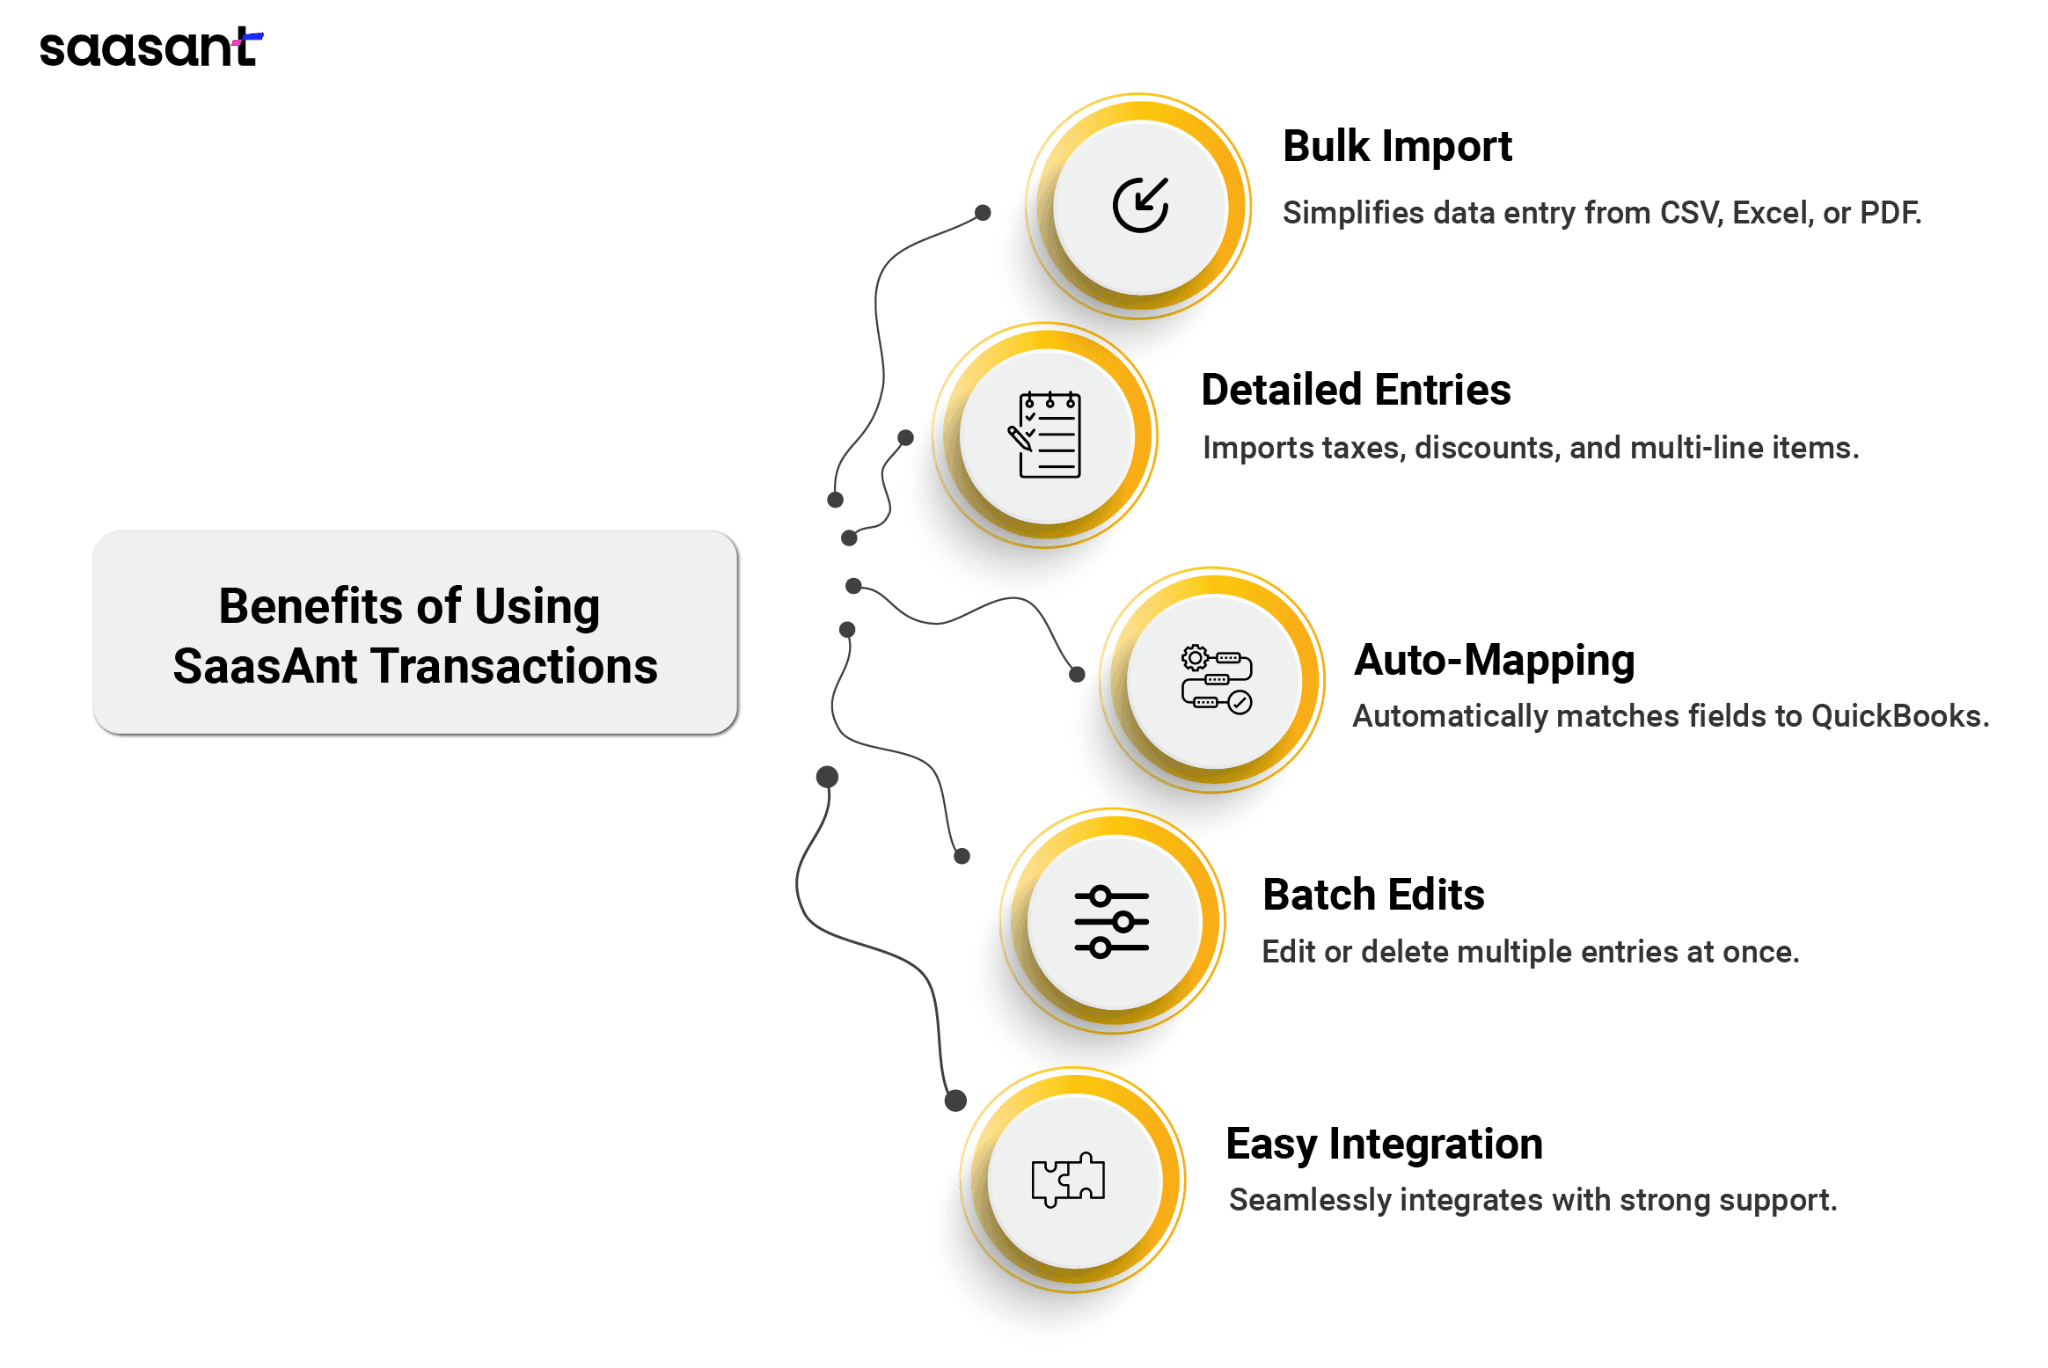
Benefits of Using SaasAnt Transactions for Exporting Expenses
Using SaasAnt Transactions to export expenses from QuickBooks enhances efficiency and allows you to focus on providing more value-added services.
Advanced Filtering Capabilities: SaasAnt Transactions enables users to use filtering options to target specific expense data. This feature allows detailed analysis of spending patterns and budgets, enhancing financial insight and decision-making.
Accessibility in Preferred Formats: With SaasAnt Transactions, financial records are accurate and exported in user-friendly formats that are easy to access and interpret. This simplifies data analysis and reporting.
Intuitive User Interface: SaasAnt Transactions' intuitive interface simplifies navigation and operation, making financial management more efficient. Users can quickly find the needed features, reducing the time spent managing data exports.
Seamless Software Integration: For businesses migrating from QuickBooks Desktop to Online, SaasAnt Transactions simplifies migration by automatically transferring expense data to other software solutions. This eliminates the need for manual data entry, reducing errors and saving time.
Customizable Reporting Templates: SaasAnt Transactions offers customizable templates for exporting expenses. Businesses can customize their templates to meet specific audit requirements or to align with internal financial analysis frameworks, ensuring compliance and facilitating comprehensive audits.
What are the Uses of Exported Expenses?
Once expenses are exported, they can be used in various ways to support business operations:
Reporting: Businesses often generate financial reports that include detailed expense data to give stakeholders insights into financial health and spending patterns.
Auditing: Auditors use exported expenses to verify the accuracy of financial records and ensure compliance with applicable laws and regulations.
Budget Management: By analyzing exported expense data, companies can better manage their budgets by identifying areas where spending can be reduced or needs to be increased.
Strategic Planning: Expense data helps in strategic decision-making by highlighting financial strengths and weaknesses influencing where resources should be allocated.
Conclusion
Exporting expenses from QuickBooks Online is a simplified process that allows businesses to manage and analyze their financial data effectively. By following the simple steps to download expense reports using SaasAnt Transactions, users can use this data for various needs, such as compliance, auditing, and strategic planning.
FAQ’s
How to Export Expenses from QuickBooks Online?
To export expenses from QuickBooks Online, follow these steps:
Log into your QuickBooks Online account and connect with SaasAnt Transactions
To download the data, use the Export feature. Click on the Export button, select Expenses from the list of transactions, and specify the desired date range.
Click Search to generate the list of expenses. Click Download to save the file in .xlsx or CSV format. This file can then be modified as needed before re-importing if required.
How Do I See All Expenses in QuickBooks?
To view all expenses in QuickBooks Online:
Log into your QuickBooks Online account.
From the left-hand navigation panel, click on Expenses.
You will see a summary of your expenses. Use the Filter options to specify date ranges, expense categories, or vendors to narrow down the list if needed.
For a detailed view, you can also export the expense data by following the steps to export expenses.
How to Create a New Expense in QuickBooks Online?
To create a new expense in QuickBooks Online, follow these steps:
Log In: Access QuickBooks Online and sign in.
Access Expenses: Select the ‘Expenses’ tab.
Initiate Expense Entry: Click ‘New Transaction’ and choose ‘Expense’.
Complete the Form: Provide all necessary details, such as the payee, amount, date, and payment method.
Confirm the Entry: Click ‘Save and Close’ to record the expense.
How to Import Expenses into QuickBooks Online from Excel?
To import expenses from Excel into QuickBooks Online:
Prepare your expense data in an Excel file, ensuring it is formatted correctly according to QuickBooks Online's requirements.
Log into QuickBooks Online and go to the Apps section.
Search for and connect with SaasAnt Transactions Online from the QuickBooks App Store.
In SaasAnt Transactions, select Import, choose Expenses, and upload the modified Excel file. (All formats supported, PDF, Images, IIF, CSV, Excel)
Map the columns in your file to the corresponding fields in QuickBooks Online and verify the data.
Click Update QuickBooks to complete the import process.
How to Delete Expenses in QuickBooks Online?
To delete expenses in QuickBooks Online:
Access SaasAnt: Connect SaasAnt to your QuickBooks Online account.
Prepare for Deletion: Navigate to the ‘Delete’ option and select ‘Initiate Clean Up’.
Select Expenses: Use the ‘Date by Searching’ feature to find expenses within a specific date range.
Confirm Deletion: Click ‘Ok’ to permanently remove the selected expenses.
How to Edit Expenses in QuickBooks Online?
To edit expenses in QuickBooks Online:
Log Into QuickBooks: Access your QuickBooks Online account.
Find Expenses: Go to the ‘Expenses’ section, choose the expense you want to edit and click ‘Edit.’
Update Information: Modify details such as the vendor name, date, or amount.
Save Updates: Click ‘Save’ to confirm the changes and update the record.