Import Expenses into QuickBooks Online from Excel
Managing financial records accurately is vital for any business, and QuickBooks Online is a primary tool for many. However, importing expenses from Excel into QuickBooks can often present challenges. These include navigating complex data formats and dealing with error-prone uploads, which can significantly slow down business processes.
SaasAnt Transactions offers a solution that many users have found invaluable. It simplifies these complexities by facilitating bulk uploads and improving data accuracy with advanced validation features. Using SaasAnt Transactions, businesses have enhanced their productivity and simplified their financial workflows, making importing expenses from Excel into QuickBooks seamless and efficient.
Contents
Import Expenses into QuickBooks Online from Excel: Quick Instructions
How to Import Expenses from Excel into QuickBooks Online: A Step-by-Step Guide
Conclusion
Frequently Asked Questions (FAQs)
Import Expenses into QuickBooks Online from Excel: Quick Instructions
For those looking for a quick start, here are straightforward steps to import expenses into QuickBooks Online using SaasAnt Transactions.
Connect SaasAnt Transactions from the QuickBooks app store
Upload your Expense file (All formats supported: PDF, Images, IIF, CSV, Excel) containing the transactions into SaasAnt Transactions.
Click on import to start importing your transactions into QuickBooks
Click on rollback/ undo if needed.
Getting Started with Expense Imports
Manual import of expenses into QuickBooks can be time-consuming and prone to errors, and it is where SaasAnt Transactions Online comes to the rescue. It's an application designed to simplify importing expenses into QuickBooks Online and a safe, certified app to handle your data. It helps you avoid errors, saves time, and empowers you to handle expenses in various formats efficiently. Whether transitioning from another software or moving data from another system or report, SaasAnt Transactions ensures that your expense data flows smoothly into QuickBooks Online.
Now, let's explore the detailed step-by-step process of using SaasAnt Transactions to streamline the import of expenses.
How to Import Expenses from Excel into QuickBooks Online: A Step-by-Step Guide
Let’s look into the detailed step-by-step process of importing expenses from Excel into QuickBooks Online using SaasAnt Transactions. SaasAnt offers a user-friendly interface and makes the process straightforward.
Step 1: Log in to QuickBooks Online & Connect SaasAnt Transactions
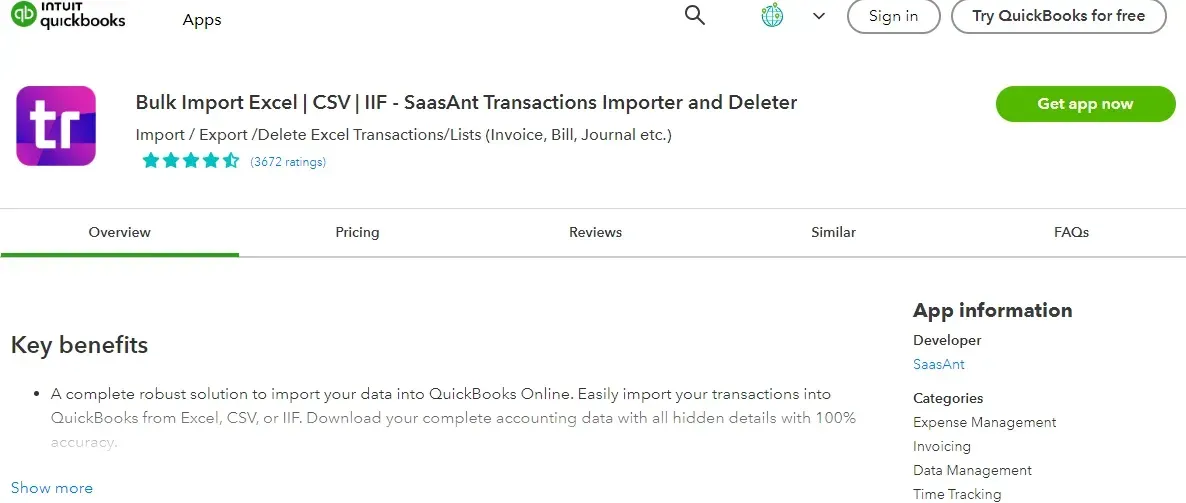
Access QuickBooks Online by visiting the login page and entering your credentials. Click 'Apps' from the left navigation pane in QuickBooks Online. Search for and select 'SaasAnt Transactions.'
Step 2: Prepare Your Excel Sheet
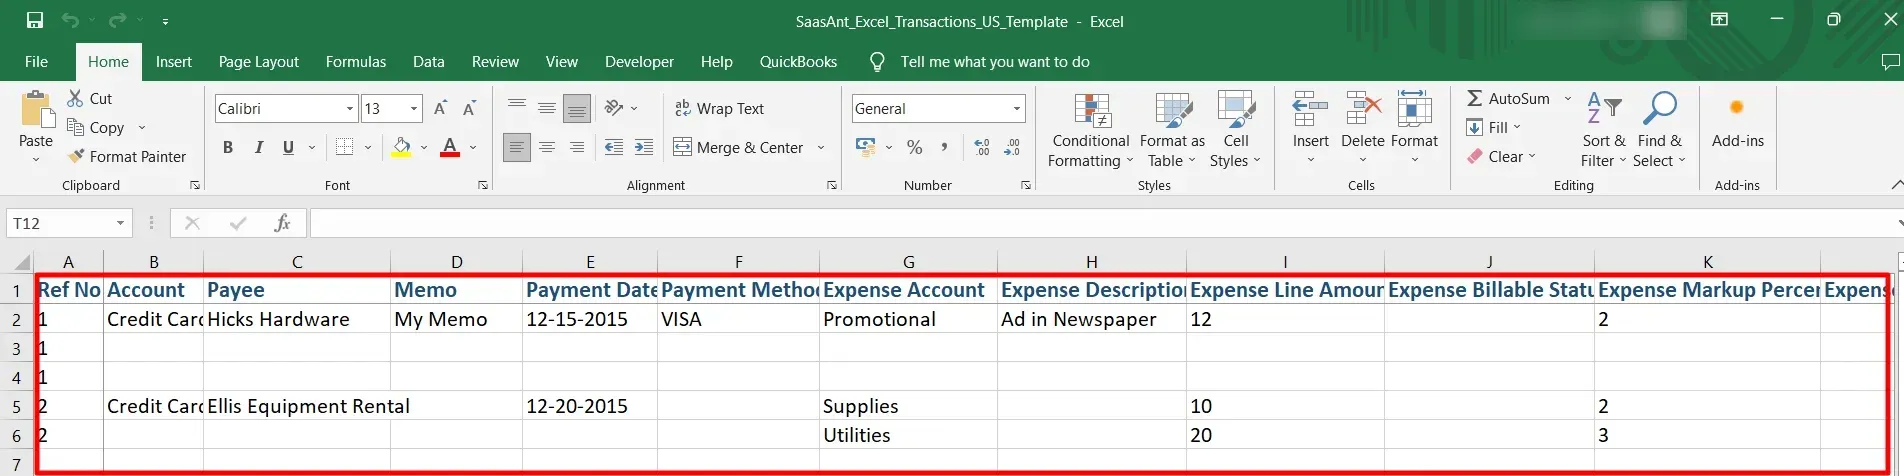
Before you begin the import process, it's crucial to have your expense data well-organized and ready in a supported format. Organize your Excel sheet with clear column headers like Date, Vendor, Amount, Description, and Account.
Step 3: Initiate the Import Process
Click 'New Import' within SaasAnt Transactions.
In ‘Transactions,’ choose 'Expenses' from the list of available options.
Step 4: Start the Upload Process
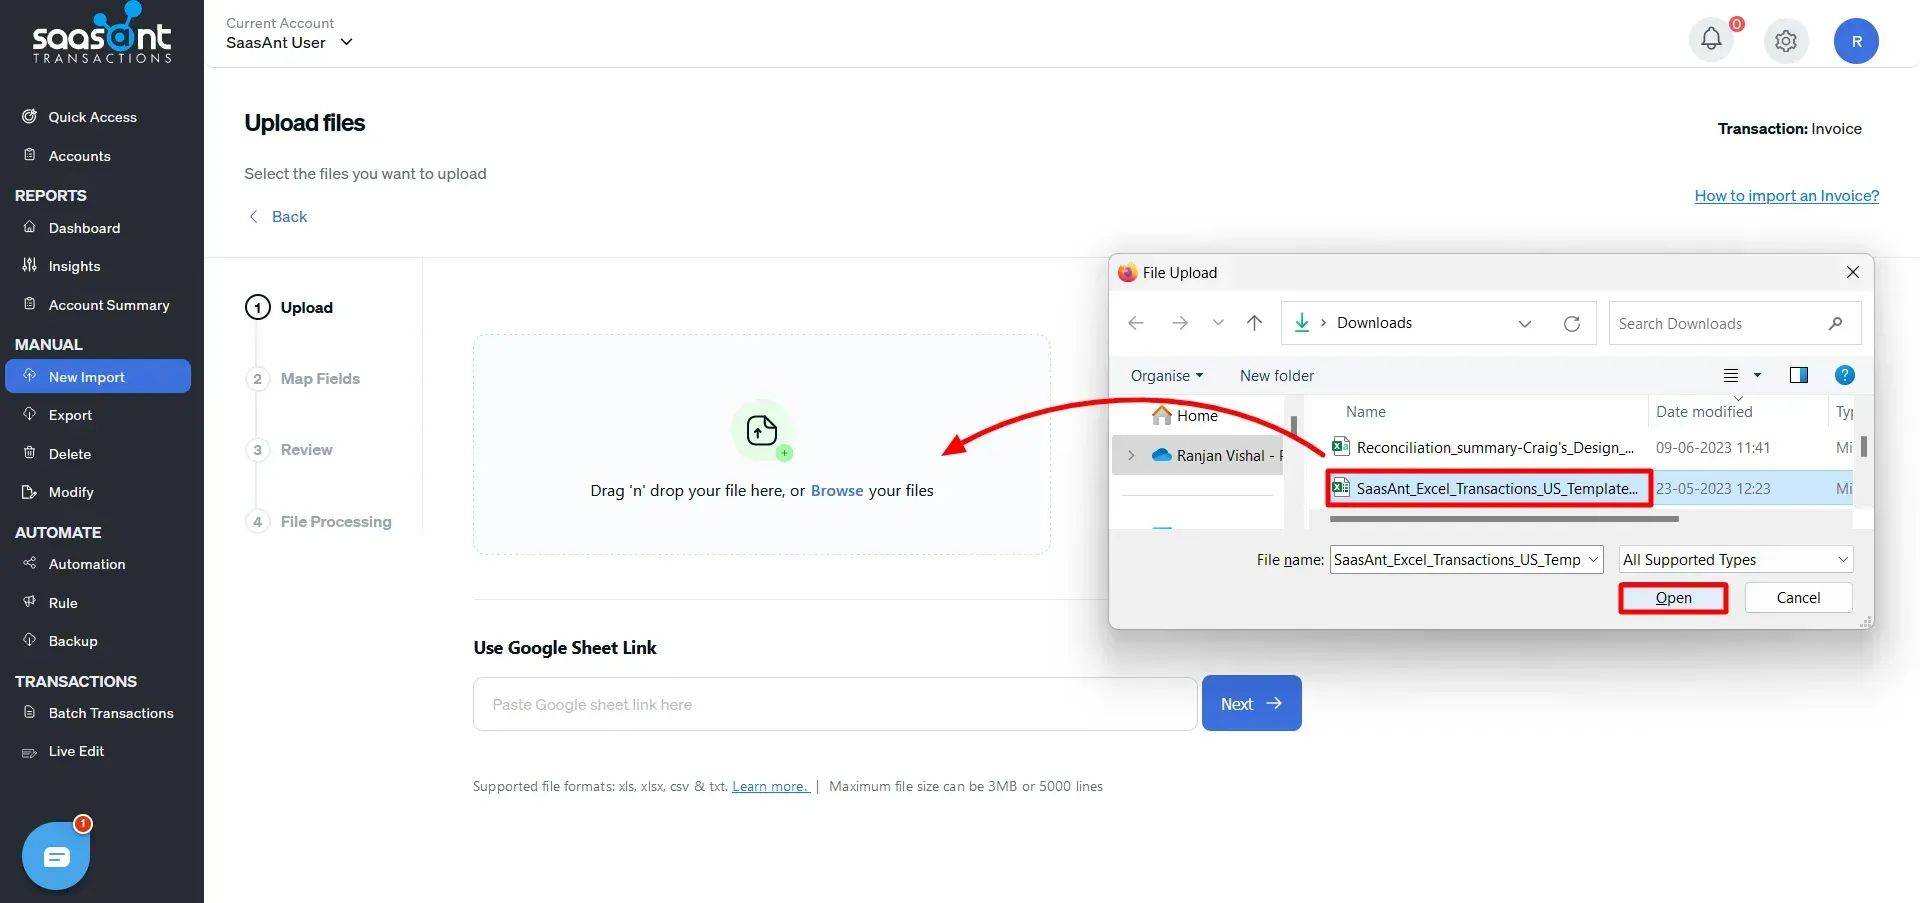
In SaasAnt Transactions, choose the 'Upload File' option. Browse your computer and select the file containing your expense data. The file can be in any format: XlS, XLSX, CSV, IIF, PDF, or Images.
Note: If you have a PDF file, you can also convert it using SaasAnt Transactions to a supported format.
Step 5: Map Fields Using SaasAnt
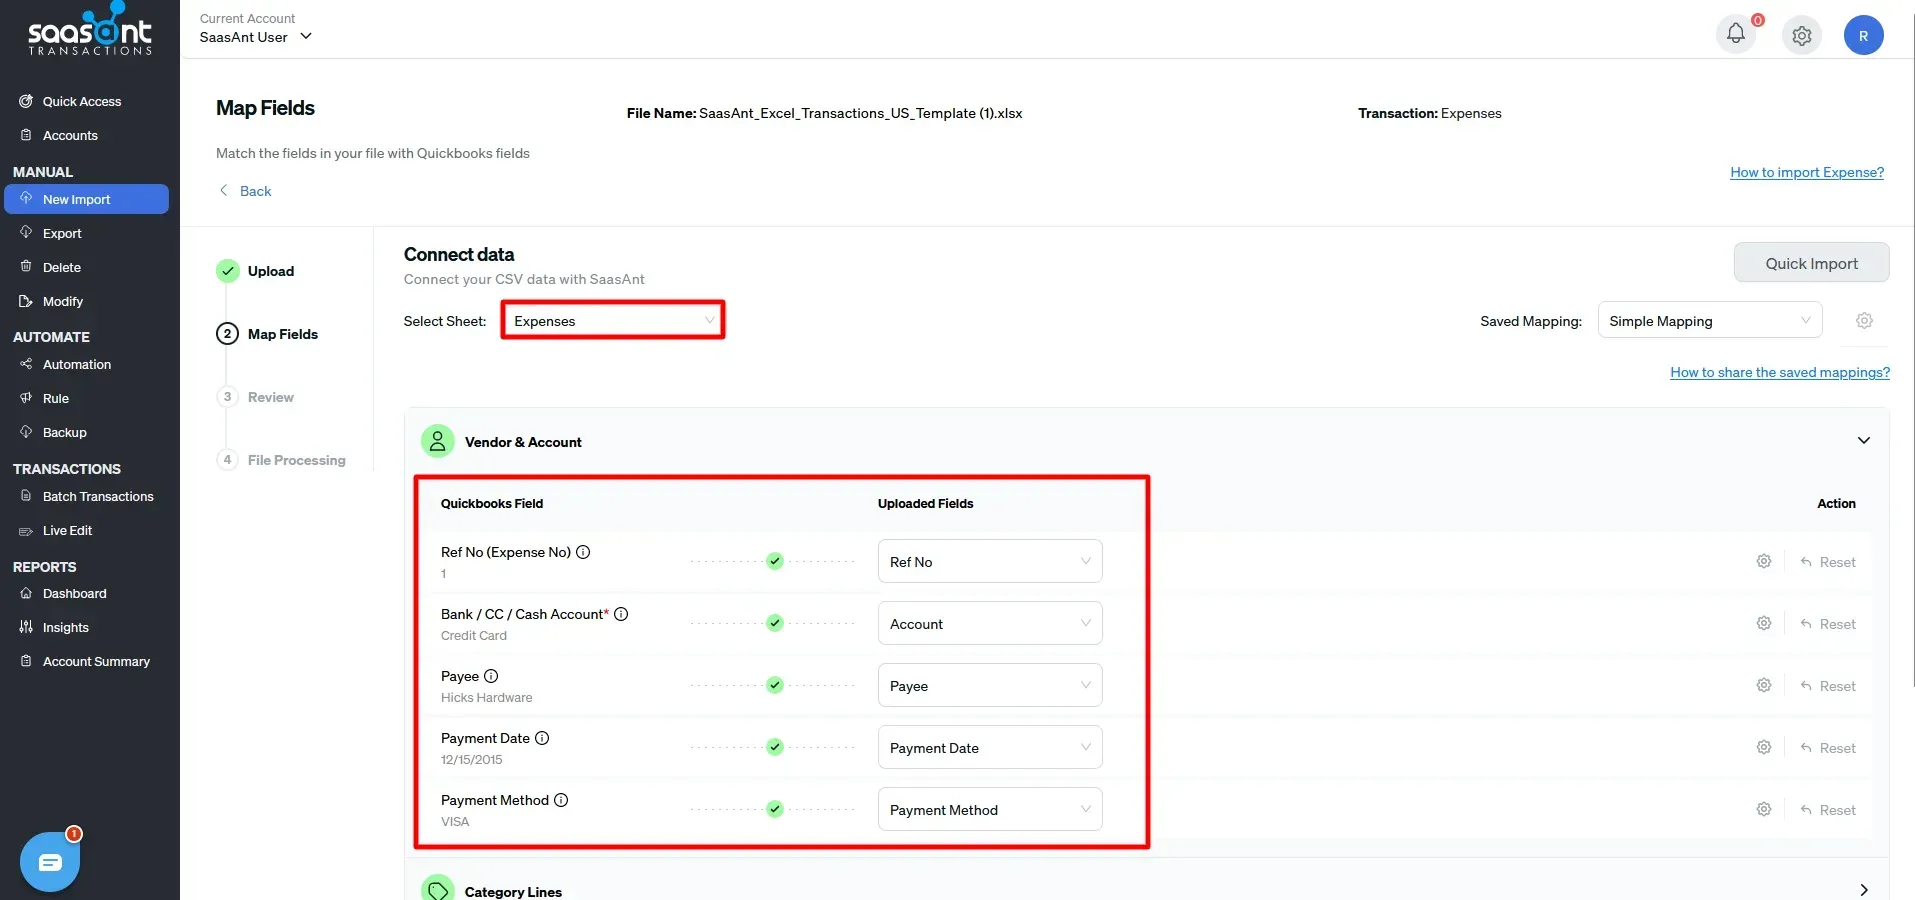
SaasAnt Transactions provides an intuitive mapping interface. Match the header columns in your file with the corresponding fields in QuickBooks Online. Look for auto-mapping features that can recognize standard headers. To make the process even easier, SaasAnt has an import template. So, all you have to do is enter your transaction details into the template and start uploading.
Before the import process, ensure mandatory fields like account, Payee, Payment Date, Expense Account, etc., are correctly mapped.
Step 6: Import to QuickBooks Online
Once satisfied with the mapping and data validation, import your expenses into QuickBooks Online. SaasAnt Transactions will summarize the import, highlighting successful imports and any issues encountered.
Step 7: Review Imported Transactions in QuickBooks Online
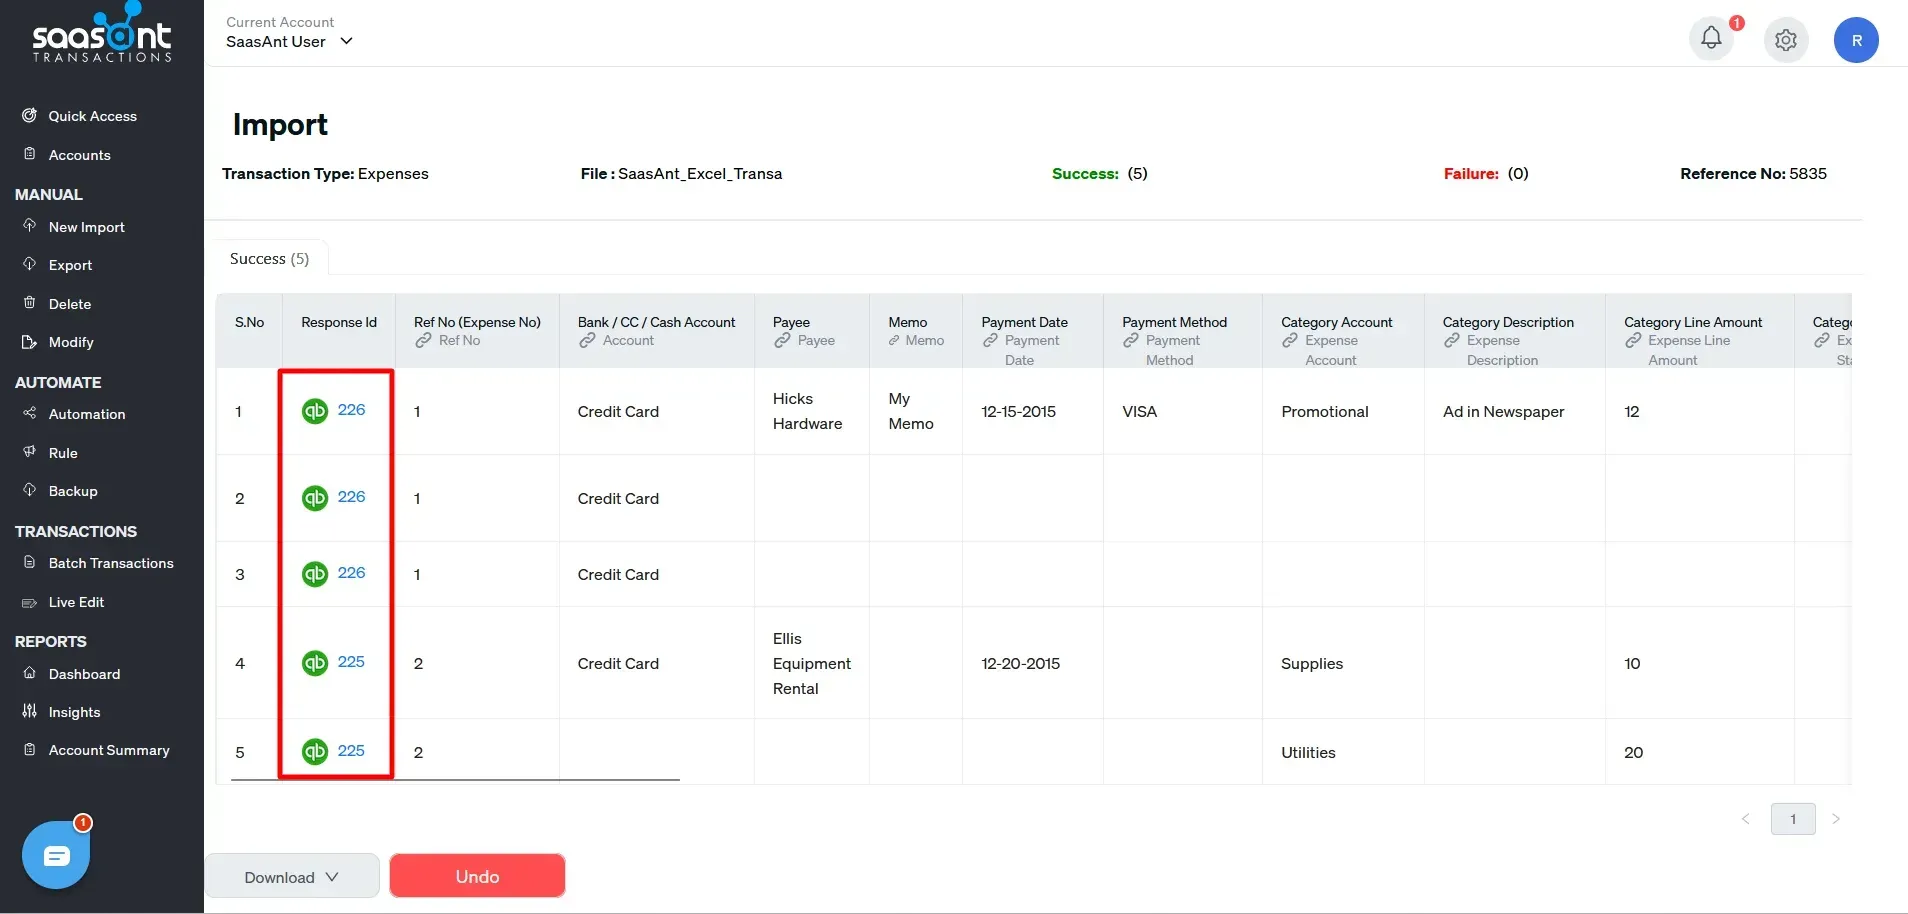
Click on the ‘QuickBooks’ icon in the ‘Response ID’ section to navigate directly to the imported Expense transaction in QuickBooks, thereby validating the data accuracy of the imported expenses. Additionally, if you mistakenly imported data into QuickBooks, you can use the rollback/ undo feature to delete the imported data.
Step 8: Review and Validate Data
SaasAnt Transactions will validate the data for errors or inconsistencies. Before proceeding, address any issues or warnings. SaasAnt will primarily identify and help address the issues, ensuring an accurate transaction process.
Benefits of Importing Expenses from Excel into QuickBooks Online using SaasAnt Transactions
Using SaasAnt Transactions streamlines the process of importing expense data into QuickBooks Online, making it an attractive solution for business owners, accountants, and bookkeepers who want to save time and reduce errors. Here’s how it meets your needs:
Time-Saving Automation:
By automating the expense import process, SaasAnt Transactions eliminates the need for manual data entry. Users can upload a file (Excel, CSV, IIF, Images or even PDF files for receipts and other data) and let the tool handle the bulk upload, freeing up valuable time for more strategic tasks.Minimized Errors:
Manual data entry often leads to mistakes like incorrect field mapping or typos. SaasAnt Transactions uses advanced data validation and intuitive field mapping to reduce human error, ensuring that your expense data is transferred accurately to QuickBooks Online.Effortless Handling of Large Data Volumes:
Whether you’re transitioning to QuickBooks Online or consolidating data from multiple sources, SaasAnt Transactions is built to efficiently process large sets of expense records. This capability is especially useful for businesses with extensive transaction histories.Customizable Import Templates:
Recognizing that every business has unique needs, SaasAnt Transactions allows you to customize import templates. This flexibility means you can map your Excel columns to the appropriate QuickBooks fields—whether you refer to them as “spending data,” “expenditures,” or “costs”—ensuring seamless integration.Improved Data Accuracy and Integrity:
With clear, step-by-step mapping and the ability to preview your data before finalizing the import, you maintain accurate records that are essential for reliable financial reporting and smooth audit processes.Easy Reconciliation and Rollback Options:
SaasAnt Transactions provides immediate feedback on imported data. If any issues arise, you can quickly roll back or adjust the transactions, ensuring your QuickBooks records remain clean and up to date.
For a more detailed explanation, here’s a video you can watch:
Conclusion
Importing expenses from Excel into QuickBooks Online using SaasAnt Transactions is an efficient process that can significantly improve your financial management capabilities. Following the step-by-step process outlined in this blog, you can easily transfer your expense data, ensuring accuracy and saving valuable time.
A great way to experience the benefits firsthand is by taking advantage of SaasAnt Transactions' 30-day free trial. No credit card is required, making it a risk-free opportunity to explore how this tool can simplify your bookkeeping tasks and improve your financial control.
Frequently Asked Questions (FAQs)
How do I Import Expenses from Excel to QuickBooks Online?
To import expenses from Excel to QuickBooks Online, follow these steps:
Connect QuickBooks with SaasAnt Transactions.
Open SaasAnt Transactions and click on ‘Delete.’
Select the transaction date to delete.
Click on ‘Delete’ to confirm your deletion.
Can I upload Expenses to QuickBooks Online?
To upload expenses to QuickBooks online, follow these steps:
Connect QuickBooks with SaasAnt Transactions
Click on ‘Import’ and upload your file (All formats supported: PDF, Images, IIF, CSV, Excel)
Click on ‘Import’ to upload your data into QuickBooks Online
Click on rollback/ undo if necessary.
How can I ensure my Excel data aligns correctly with QuickBooks fields?
When using SaasAnt Transactions, use the mapping step to align your Excel columns with corresponding QuickBooks fields. Carefully review this mapping to ensure data accuracy during the import.
What are the disadvantages of using QuickBooks for importing data directly?
Direct data import into QuickBooks is limited to certain file types like IIF and can be complex to set up, often leading to errors and data inconsistencies. QuickBooks struggles with bulk operations, which may necessitate manual interventions, increasing the risk of errors.
Why is there a need for an application like SaasAnt Transactions for importing data?
SaasAnt Transactions provides enhanced functionality, such as support for various file formats and advanced data validation. They also offer user-friendly interfaces, customization options, and efficient bulk processing capabilities, essential for effectively managing large data volumes.
Recommended reading
Online
How to Edit an Expense in QuickBooks Online