How to Manage Purchase Order in QuickBooks

Purchase orders are the foundation of your financial records, capturing essential purchase information from vendor details to item quantities. However, managing them can be challenging, especially for businesses with a high volume of transactions. This blog is your ultimate guide to efficiently managing purchase orders in your accounting system.
This blog will walk you through creating, editing, customizing, and deleting purchase orders and time-saving techniques like bulk import and export. Whether a small business owner or a financial professional, this guide will help you maintain accurate purchase order records.
Contents
How to Import Purchase Orders into QuickBooks
How to Export Purchase Orders from QuickBooks
How to Edit a Purchase Order in QuickBooks
Reasons for Needing to Edit a Purchase Order
How to Delete Purchase Order in Quickbooks
How to Add Purchase Order to Expense/Bill/Check: Quick Instructions
FAQ
What is a Purchase Order?
Purchase Orders are legally binding documents issued by a buyer to a seller detailing the specific items or services to be purchased, their quantity, price, and delivery terms. They serve as a formal request for goods or services and act as a contract between the two parties. Purchase orders are typically used in business-to-business transactions to establish clear expectations and protect the buyer and seller.
How to Create Purchase Orders in QuickBooks?
Create Purchase Orders in QuickBooks Online: Quick Instructions
+New -> Purchase Order
Enter the vendor details and date
Enter the shipping details if shipping directly to the customer
Enter item details and description
Save the purchase order or send it
The drawback of creating purchase orders in QuickBooks is that it's very time-consuming. You’ll need to enter every detail and double-check for accuracy. You can always opt for bulk import applications.
Check out the easy steps for bulk import of purchase orders.
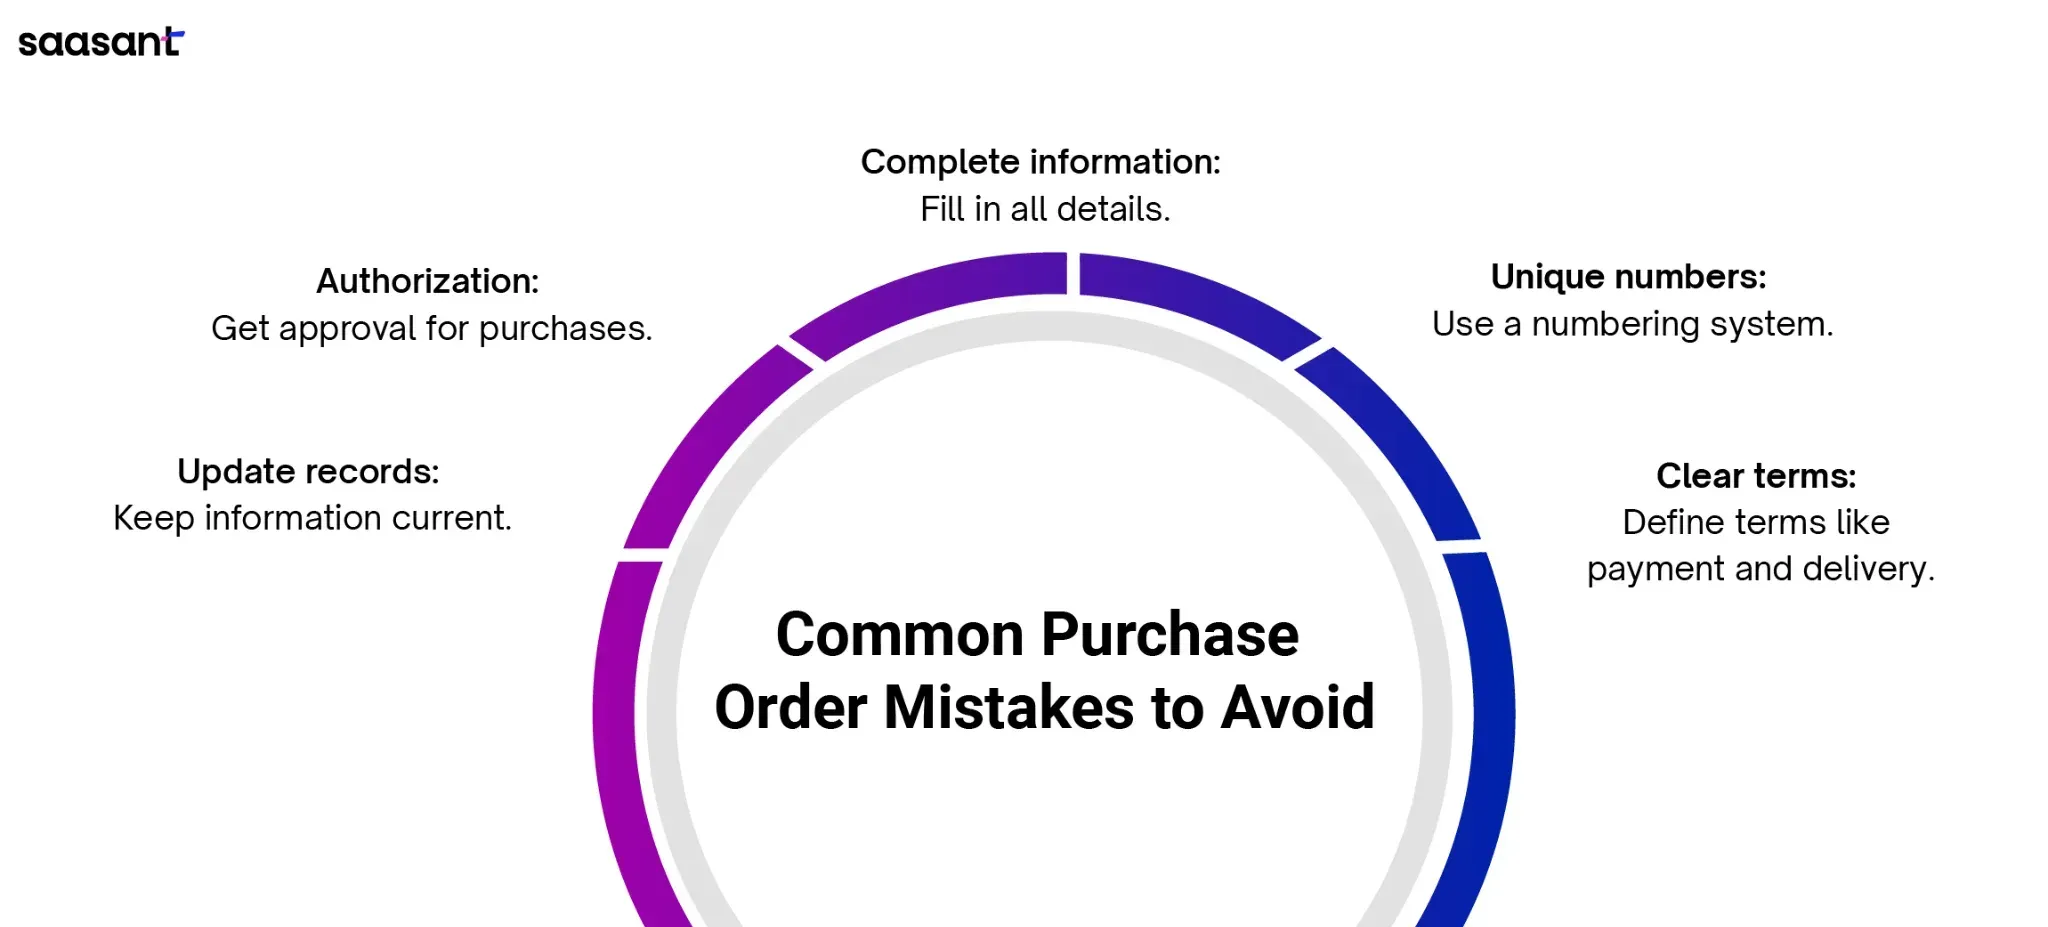
Common Mistakes to Avoid When Creating Purchase Orders

Ensure all fields are filled correctly, including vendor details, item descriptions, quantities, prices, and delivery dates.
Assign unique numbers to each purchase order for easy tracking and reference.
Clearly define payment terms, delivery dates, and dispute resolution procedures.
Ensure that authorized personnel approve purchase orders to prevent unauthorized spending.
Keep purchase order records up-to-date to reflect changes in quantities, prices, or delivery dates.
How to Import Purchase Orders into QuickBooks
Before we discuss how to bulk import purchase orders in QuickBooks, let’s walk through its benefits.
Time-saving: Significantly reduces manual data entry, freeing up time for other tasks.
Accuracy: Minimizes errors associated with manual input.
Scalability: Easily handles large volumes of purchase orders.
Automation: Can be automated for recurring tasks, further increasing efficiency.
Import Purchase Orders into QuickBooks Online: Quick Instructions
Integrate SaasAnt Transactions from the QuickBooks app store.
Go to SaasAnt Transactions dashboard -> New Import and select Purchase Orders.
Browse and upload the file. The file can be in any format, such as XlS, XLSX, CSV, or IIF. The application also lets you convert PDF into the desired format.
Use mapping to match the fields in QuickBooks to those in the imported file.
Review and upload
Once uploaded, confirm the successful import.
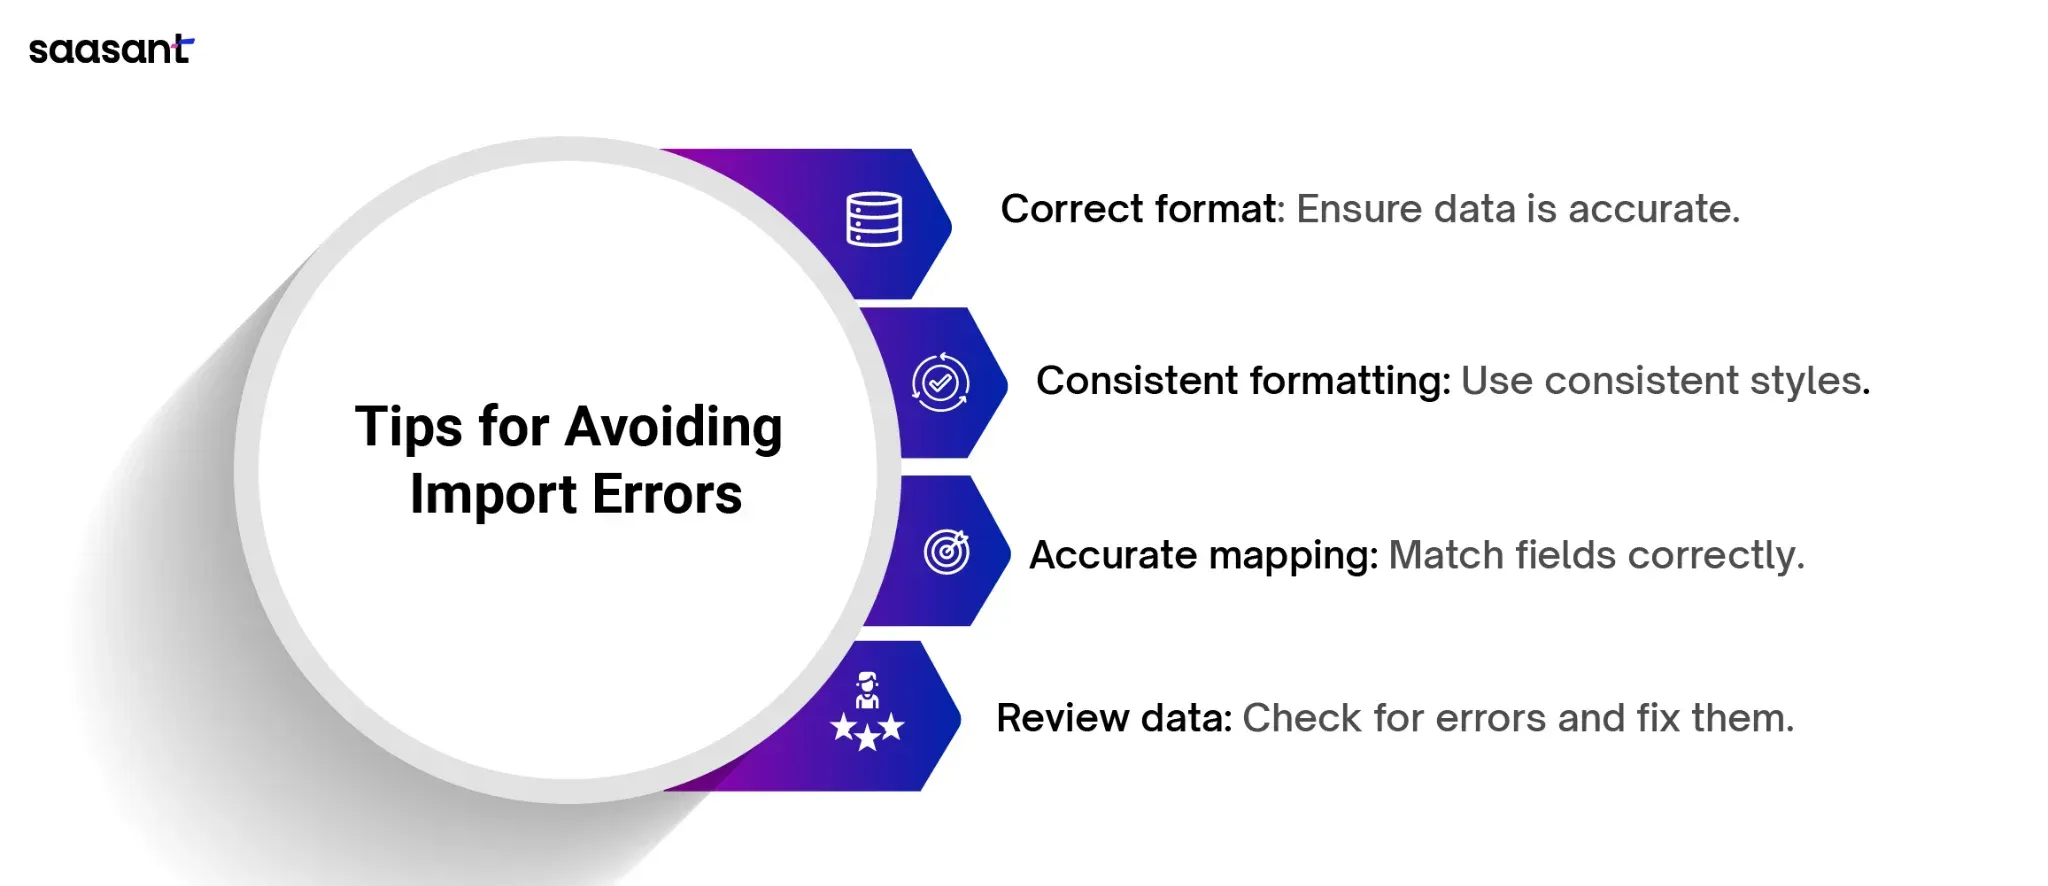
Tips for Avoiding Common Import Errors

Ensure data is in the correct format (e.g., numbers, dates, text) and free of errors.
Use consistent formatting throughout your data (e.g., date formats, currency symbols).
Accurately map fields in your import file to the corresponding fields in your destination system.
Review imported data and quickly correct errors with SaasAnt Transactions, if any.
How to Export Purchase Orders from QuickBooks
Before learning the export steps, let’s consider situations where bulk exporting purchase orders into QB might be useful.
Reasons for Exporting Purchase Orders
Data analysis: Create detailed reports and analyze purchasing trends.
Data backup: Create a local copy of purchase order data for security.
Integration: Transfer data to other accounting or financial software.
Audit purposes: Provide a detailed record of purchase transactions.
Vendor records: Generate vendor purchase history for analysis or negotiations.
Bulk editing: Modify multiple purchase orders efficiently by exporting, editing, and re-importing the data.
Export Purchase Orders into QuickBooks Online: Quick Instructions
Integrate SaasAnt Transactions from the QuickBooks app store.
Go to SaasAnt Transactions dashboard -> Export and select Purchase Orders.
Select Purchase Orders in the Transaction List drop-down menu.
You can search by using the advanced filter.
Select the date range and mapping template, or you can customize your template.
Select whether you want to download it in .XLSX or .CSV format.
Best Practices for Secure Storage and Sharing of Exported Purchase Orders
Use strong, unique passwords to secure access to exported files.
Implement granular access controls to limit who can view and edit exported purchase orders.
Store exported files in a secure location with robust security measures, such as a password-protected network drive or cloud storage.
When sharing exported purchase orders with external parties, use secure file-sharing services or encrypted email attachments.
Regularly review and update security measures to address emerging threats.
Educate employees about best practices for handling sensitive data, including exported purchase orders.
How to Edit a Purchase Order in QuickBooks
Before we discuss how to edit a purchase order in QuickBooks, let’s consider the common reasons why one might need to do so.
Reasons for Needing to Edit a Purchase Order
Here are the common reasons for editing a purchase order:
Data entry errors: Incorrect vendor information, item details, quantities, prices, or delivery terms.
Payment adjustments: Correcting payment amounts, methods, or dates.
Price changes: Adjusting prices due to vendor price increases or discounts.
Quantity adjustments: Changing the quantity of items ordered or received.
Delivery date changes: Modifying the delivery date or terms.
Compliance issues: Correcting errors related to import duties, taxes, or other regulatory requirements.
Edit a Purchase Order in QuickBooks Online: Quick Instructions
Go to QuickBooks DashBoard -> Expenses -> Expenses
Choose purchase order from the dropdown menu.
Click on the view/edit option next to the purchase order you want to edit
After making the necessary changes, save or send it.
Drawback in Editing Purchase Orders in QuickBooks
The above-given steps are for editing purchase orders one by one. You'll need to open each purchase order individually to make changes, save it, and open the next one. This is very time-consuming and is where you should consider a bulk editing application.
Tips for Tracking Changes and Maintaining Purchase Orders Integrity
Create regular backups of purchase order data to prevent data loss.
Create regular backups of your QuickBooks data to protect against data loss in case of errors or accidental changes.
Maintain open communication with vendors to address discrepancies or changes to purchase orders.
Regularly review purchase order records to identify and correct any errors or inconsistencies.
How to Delete Purchase Order in Quickbooks
Before we discuss how to delete a purchase order in QuickBooks, let’s consider the common situations in which one might need to do so.
Situations Where Deleting a Purchase Order Is Necessary
If a purchase order is created in error or if a duplicate is accidentally created, it can be deleted to avoid confusion and ensure accurate records.
If the vendor or the buyer cancels a purchase order, it can be deleted to remove it from the active list of orders.
If a purchase order contains significant errors or inaccuracies that cannot be corrected, it may be necessary to delete it and create a new one.
A purchase order can be deleted if it is no longer relevant due to changes in requirements or circumstances.
Delete a Purchase Order in Quickbooks Online: Quick Instructions
Go to QuickBooks DashBoard -> Expenses -> Expenses
Choose purchase order from the dropdown menu.
Click the dropdown arrow next to the view/edit to view the delete option.
QuickBooks will prompt you to confirm the deletion.
Drawbacks in Deleting Purchase Orders
The above steps are for deleting purchase orders one by one. You'll need to select each receipt individually to delete it. You can always opt for a bulk deleting application, which will save you much time.
Common Mistakes to Avoid When Deleting a Purchase Order
Carefully review the purchase order before deleting it to ensure it is correct.
Be aware that deleting a purchase order is generally irreversible. Once deleted, it cannot be recovered.
Deleting a purchase order without proper communication with the vendor can damage the relationship.
Deleting a purchase order without considering compliance requirements can lead to legal or financial penalties.
How to Add Purchase Order to Expense/Bill/Check: Quick Instructions
QuickBooks dashboard -> +new -> expense/bill/check
Select the vendor or payee name
Select add on the purchase order for the selected vendor
Check off the billable checkbox if billing a customer for it
Select save or save and new
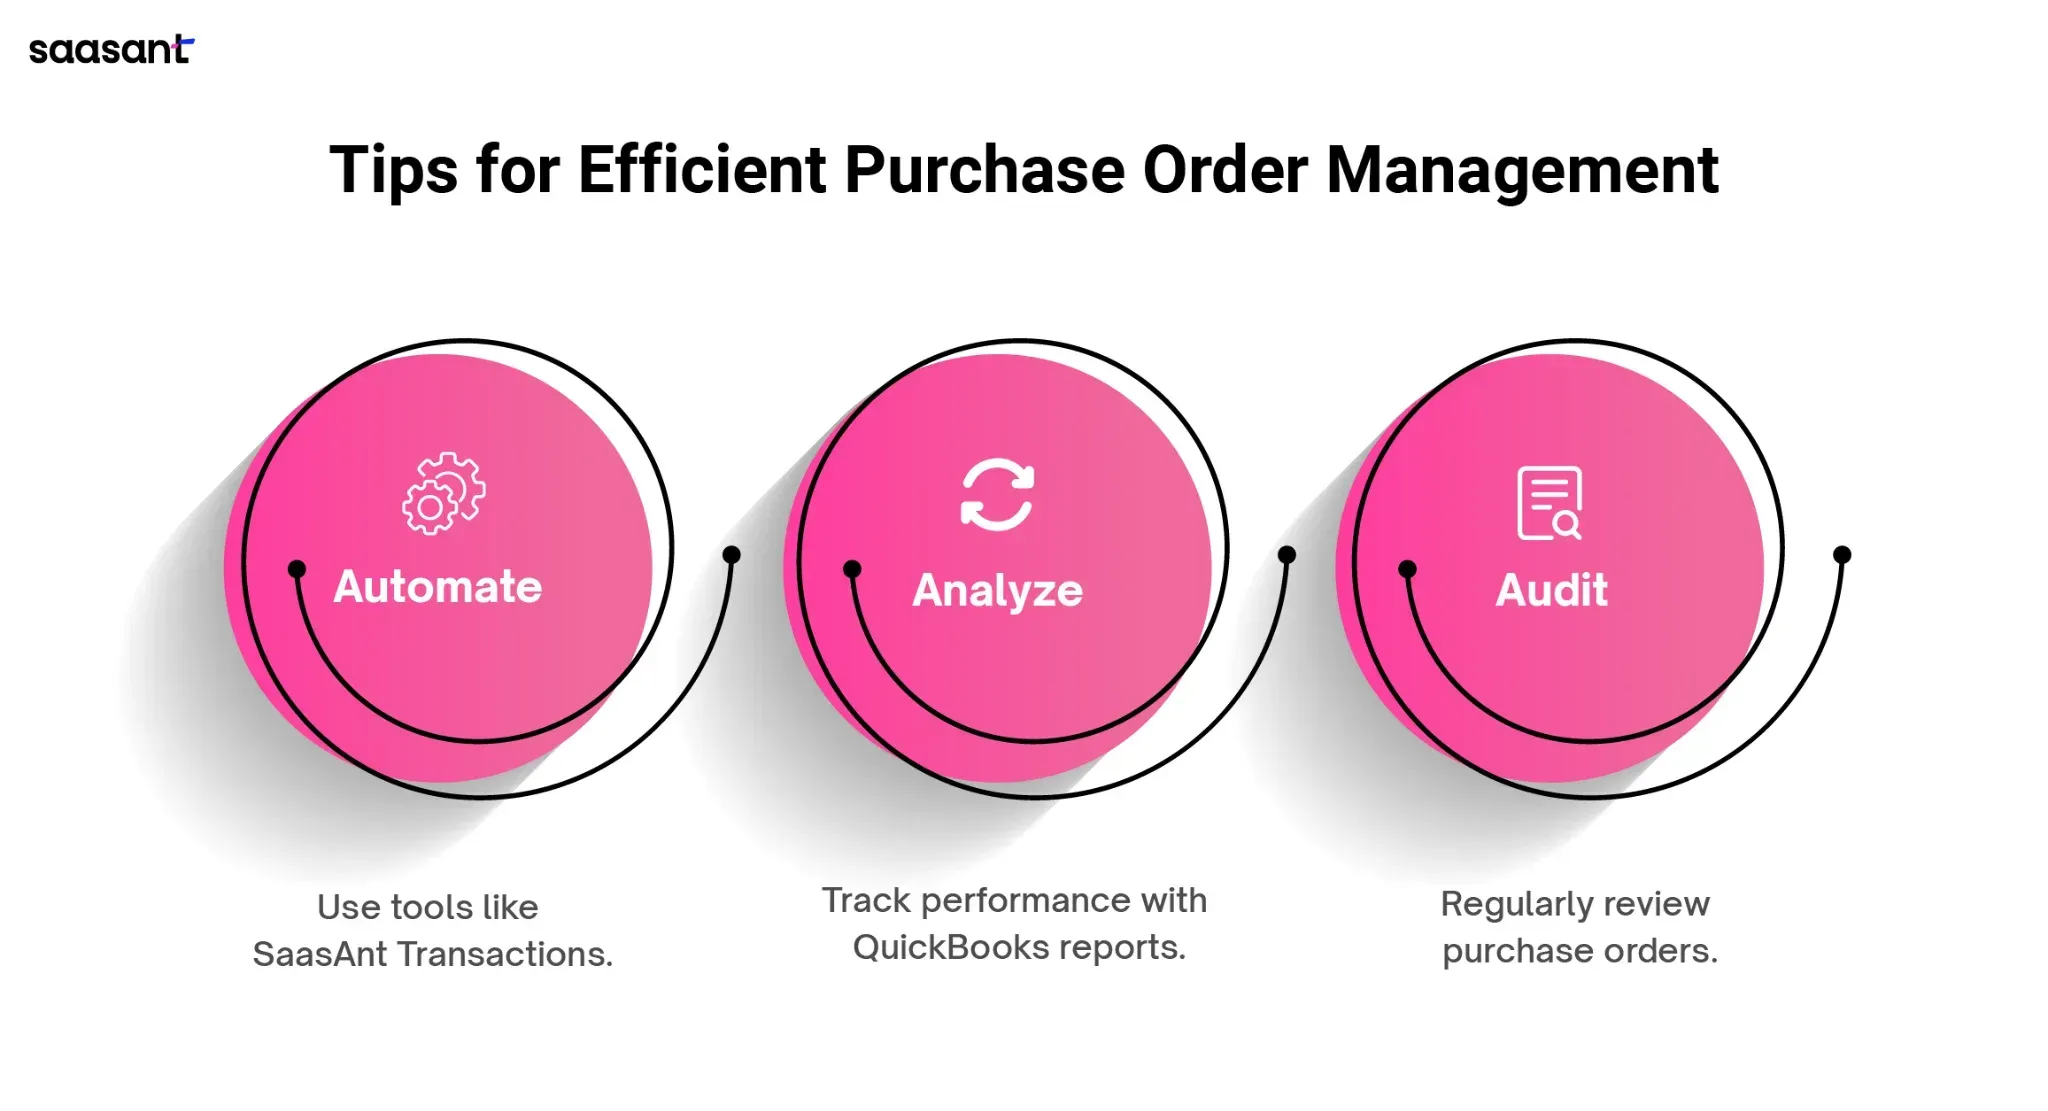
Advanced Purchase Order Management Tips

Automate the process: Applications like Saasant Transactions can simplify your data import through automation. Utilize their FTP, email, and Zapier integration to automate recurring purchase orders, saving you precious time.
Data-driven decisions: Use QuickBooks reports and analytics to track purchase order performance. Identify trends, top-performing vendors, and cost-saving opportunities.
Regular audits: Schedule routine audits of your purchase orders to catch discrepancies early and ensure accurate financial reporting.
Conclusion
Here's the lowdown: Handling purchase orders doesn't need to be stressful. Once you grasp how to create, adjust, and remove them, you're set to maintain your financial records effectively. Precision matters greatly, as minor mistakes can escalate. For those managing numerous orders, think about using bulk import and export features to streamline processes and minimize mistakes. By staying organized and meticulous, you'll master purchase orders and free up time to expand your business.
FAQ
How to create a purchase order in QuickBooks?
To create a purchase order in QuickBooks, Go to the QuickBooks Dashboard. Click the ‘+New’ button, then select ‘Purchase Order.’ Fill in the vendor’s details and date. Pick the right category and item. Enter the customer’s shipping address if you send the order directly to them. Finally, save the purchase order.
How do I edit a purchase order in QuickBooks?
To edit a purchase order in QuickBooks, go to the dashboard. Click ‘Expenses,’ then choose ‘Purchase Orders.’ Find the order you want to edit. Click the arrow beside it, then select ‘Edit’ to make your changes.
Can I delete a purchase order in QuickBooks?
You can delete purchase orders in QuickBooks. Go to the dashboard and click ‘Expenses.’ Find the purchase order you want to delete. Click the arrow beside it, then choose ‘Delete.’ You can also use SaasAnt Transactions to bulk delete with advanced filters instead of doing them one by one.
How to export purchase orders from QuickBooks?
You can export purchase orders from QuickBooks using SaasAnt Transactions. Connect SaasAnt Transactions to QuickBooks, then choose to export purchase orders. Find purchase orders by when they were made or when the transaction happened. Enter the dates you want, then choose if you want the file as XLSX or CSV.
How to import purchase orders into QuickBooks?
To add many purchase orders to QuickBooks, connect SaasAnt Transactions to QuickBooks. In SaasAnt Transactions, click ‘New Import,’ then choose ‘Purchase Orders.’ Find and choose your file. Match the information in the file to the right places in QuickBooks, then upload the file.
How to add purchase orders to expenses/bills/checks in QuickBooks?
To add purchase orders to expenses/bills/checks in QuickBooks, go to the dashboard, click on "New," select "Expenses/Bills/Checks," enter the name of the person you're paying, click on "Add" in the purchase order that appears, and save.