How to Merge Vendors in QuickBooks Desktop?
Managing vendor information in QuickBooks Desktop can sometimes get tricky, especially when duplicate entries are created. Whether due to human error or importing data, duplicate vendor profiles can clutter your records, making it harder to manage your accounts efficiently. Learning to merge vendors in QuickBooks Desktop will help you eliminate duplicate entries, maintain clean records, and streamline vendor management.
This blog will walk you through the step-by-step process of merging vendors in QuickBooks Desktop and highlight best practices for ensuring data accuracy.
Merge Vendors in QuickBooks Desktop: Quick Instructions
Navigate to the “Vendors” menu and select “Vendor Center.”
Identify the duplicate vendor profiles you want to merge.
Click on the vendor to merge and open the details.
Change the vendor name to match the one you want to keep.
Save changes and select “Yes” when prompted to merge.
Check the Vendor Center to confirm only one vendor entry remains.
How to Merge Vendors in QuickBooks Desktop? Step-by-Step Guide
Merging vendors in QuickBooks Desktop is a straightforward process. However, it’s important to note that this action is permanent and cannot be undone. Follow these steps carefully:
Step 1: Access the Vendor Center
Open QuickBooks Desktop, navigate to the “Vendors” menu and select “Vendor Center” to view your vendor list.
Step 2: Locate Duplicate Vendors
Review the vendor list and identify the duplicate entries you want to merge. Make a note of the vendors you plan to combine.
Step 3: Select Vendor to Edit
Click on the vendor entry you want to merge, which will bring up the vendor details.
Step 4: Update Vendor Name
In the vendor details screen, modify the vendor’s name to match the one you intend to keep. Ensure consistency in spelling and formatting.
Step 5: Confirm the Merge
Save your changes. QuickBooks Desktop will prompt you to confirm the merge. Select “Yes” to proceed.
Step 6: Verify the Changes
Return to the Vendor Center to confirm that only one vendor entry exists. This merged entry will now include all transactions and records from both original vendors.
How QuickBooks Desktop Data Import Tools Help with Merging Vendors?
Managing vendor data manually can be time-consuming and prone to errors. A reliable data import application, such as SaasAnt Transactions Desktop, can simplify your data management and help you avoid duplicate vendor entries in QuickBooks Desktop.
Here’s how these applications make vendor management easier:
Bulk Data Import: Import vendor lists in bulk without creating duplicate profiles.
Data Validation: Automatically identify and flag potential duplicate entries during imports, ensuring data accuracy.
Seamless Integration: Sync data easily with QuickBooks Desktop, saving time and effort.
Error Reduction: Reduce manual errors associated with large data entries and repetitive tasks.
Best Practices for Merging Vendors
To ensure a smooth merging process and maintain data integrity, follow these best practices:
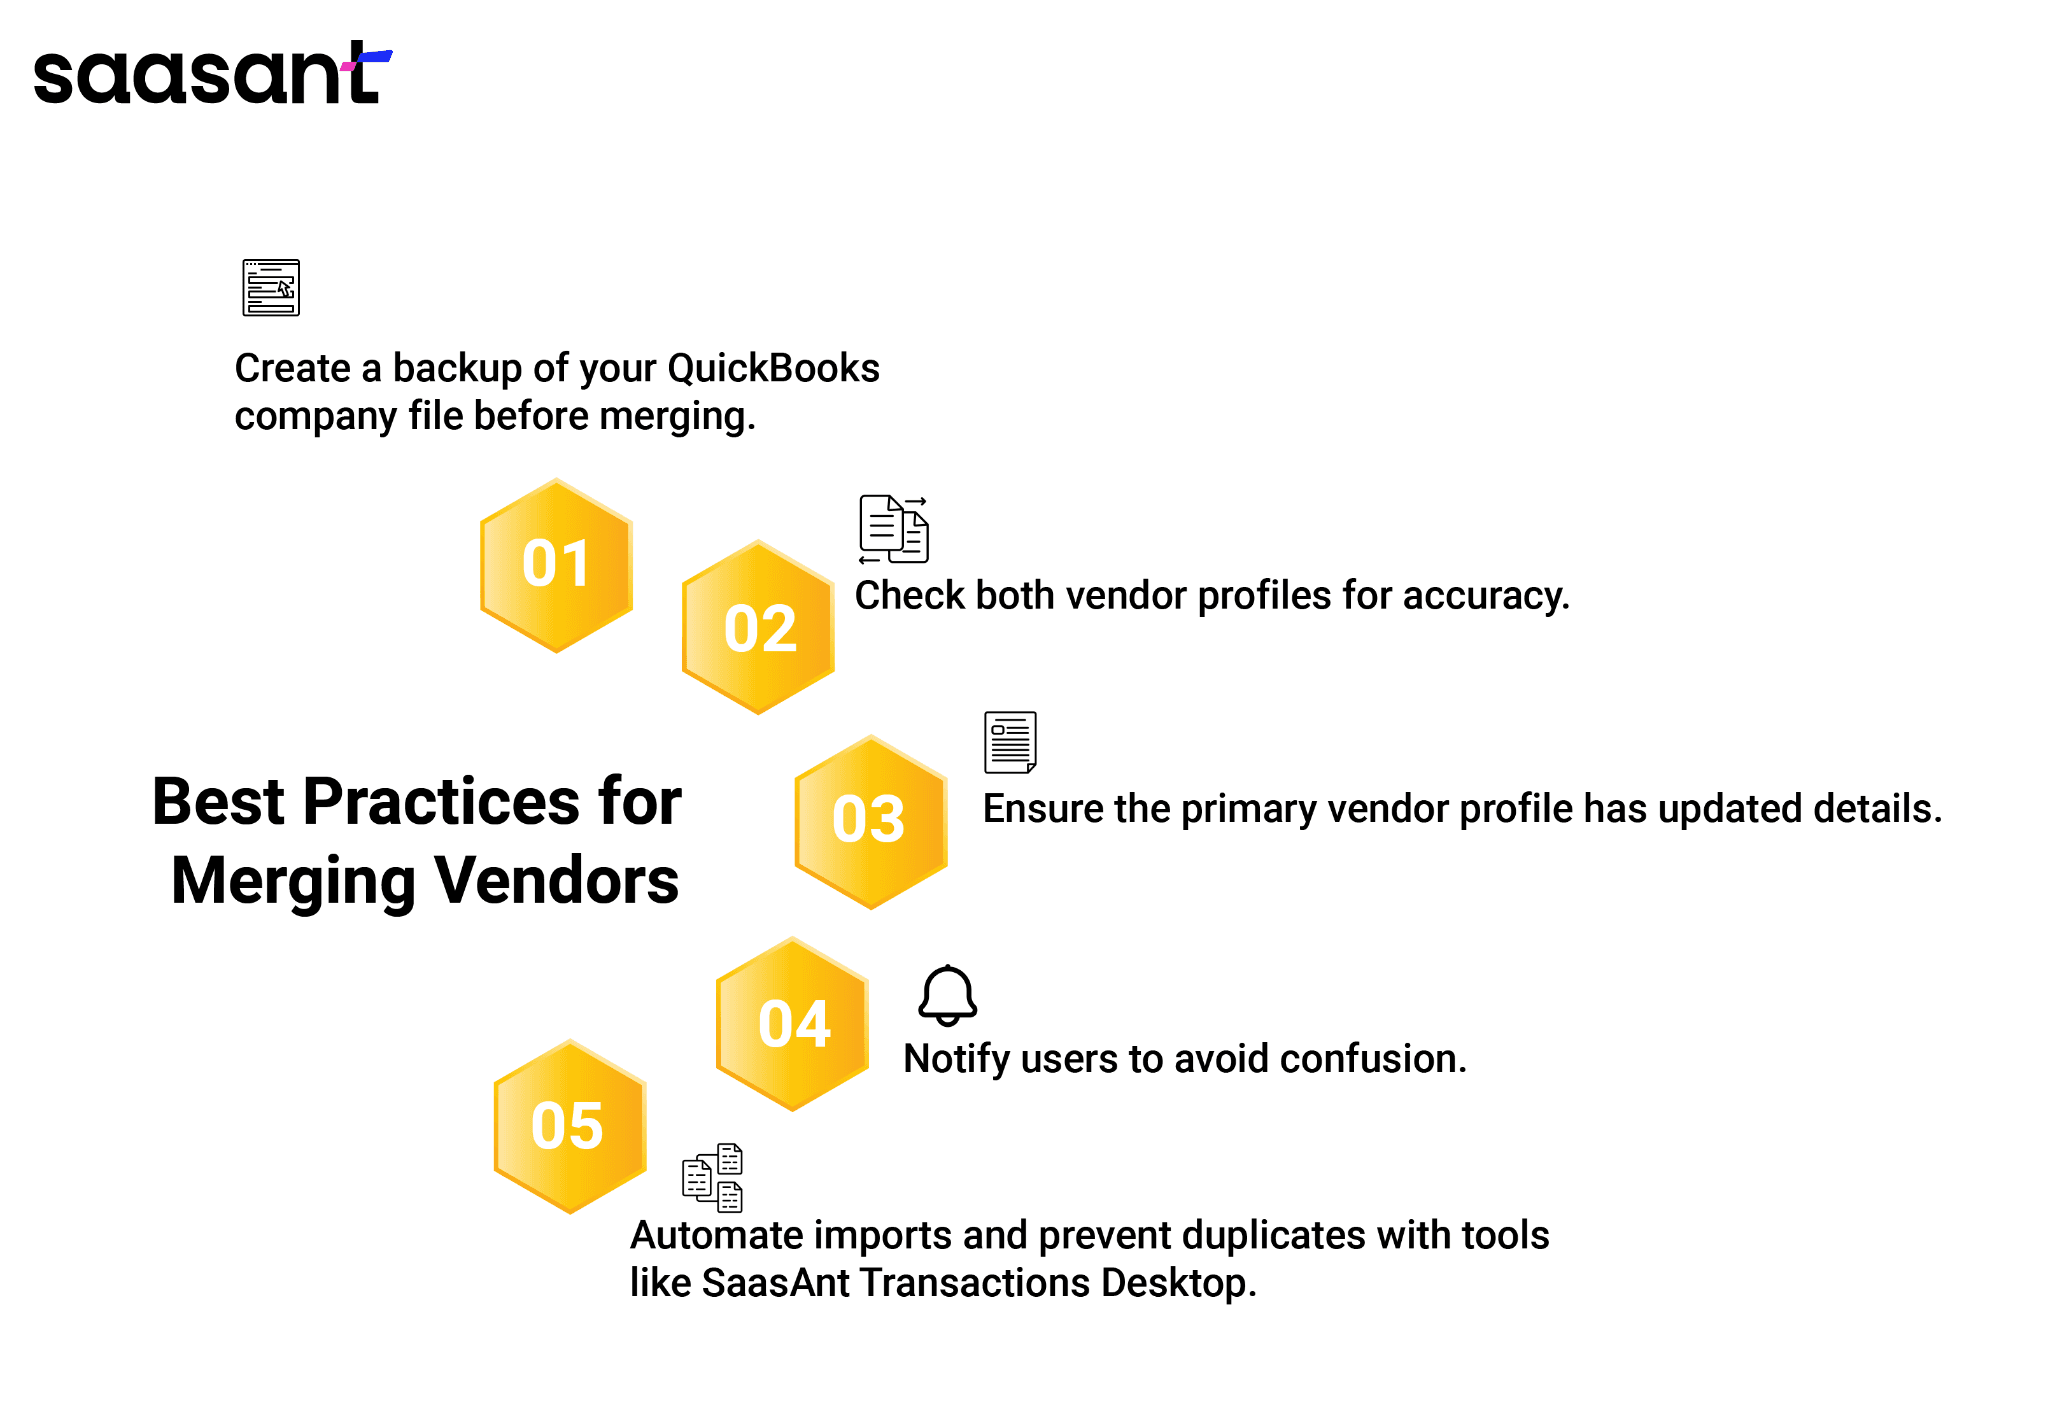
Backup Your Company File: Always create a backup of your QuickBooks Desktop company file before changing vendor records. This protects your data in case of errors.
Review Transactions: Carefully review the transactions associated with both vendor profiles to ensure accuracy after the merge.
Verify Vendor Details: Make sure the primary vendor profile contains the most accurate and updated information.
Communicate with Your Team: If multiple users access your QuickBooks Desktop, inform them about the merge to prevent confusion.
Use Data Management Tools: Consider using tools like SaasAnt Transactions Desktop to automate bulk data imports, prevent duplicate entries, and enhance data accuracy.
Recommended reading:
Conclusion
Merging vendors in QuickBooks Desktop is a practical way to maintain an organized and accurate vendor list. Following the steps outlined in this blog, you can eliminate duplicate entries, simplify vendor management, and improve your overall financial reporting.
Before you begin, back up your data and verify all vendor details to avoid issues. Additionally, consider using SaasAnt Transactions Desktop to simplify your bulk imports and reduce errors, helping you maintain clean and accurate records.
FAQs
Can I unmerge vendors in QuickBooks Desktop after merging?
No, merging vendors in QuickBooks Desktop is a permanent action. Once merged, the two profiles cannot be separated.
Will merging vendors affect previous transactions?
No, all transactions associated with the duplicate vendor will automatically transfer to the primary vendor. Your financial records will remain intact and accurate.
Can I merge vendors in QuickBooks Desktop across multiple company files?
No, merging vendors is only possible within the same company file. Manual adjustments are required to consolidate vendor information across different files.
What happens to the inactive vendor profile after the merge?
The duplicate vendor profile is removed, and all transactions are transferred to the primary vendor.