QuickBooks Sales Receipt: Step-by-Step Guide to Creating and Managing Sales Receipts
QuickBooks Online provides a simplified way to record and manage sales through sales receipts, which are crucial for businesses that receive immediate customer payments. This blog will further walk you through the importance of sales receipts in QuickBooks Online, detailing their features and benefits and how to create and upload them efficiently.
Additionally, we will explore how integrating QuickBooks Online with SaasAnt Transactions Online can further enhance your ability to handle high sales receipts, saving time and reducing errors. Whether you are a small business owner or a financial manager, understanding and using sales receipts can significantly improve your cash flow management and overall financial reporting.
Contents
Steps to Create a Sales Receipt in QuickBooks Online
How to Upload Multiple Sales Receipts into QuickBooks Online?
How to Send a Sales Receipt in QuickBooks Online?
Why You Should Use Sales Receipts in QuickBooks?
Conclusion
FAQs
Steps to Create a Sales Receipt in QuickBooks Online
Below are the steps to create sales receipts in QuickBooks Online:
Log In: Sign in to your QuickBooks Online account.
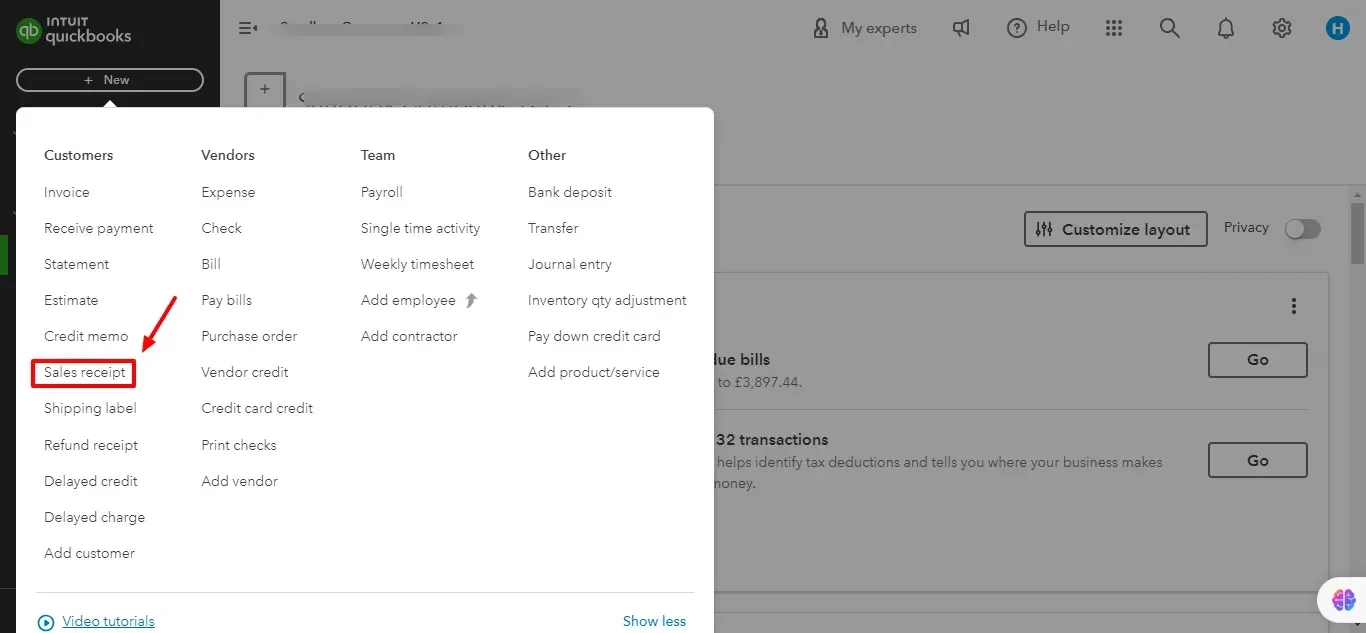
Navigate to Sales Receipts:
Click the '+ New' button or the 'Sales' menu.
Select 'Sales Receipt.'
Enter Customer Information:
Fill in the customer’s name and any other relevant details.
Add Items or Services:
Enter the items or services sold, including quantities and prices.
If applicable, QuickBooks will automatically calculate the total amount, including sales tax.
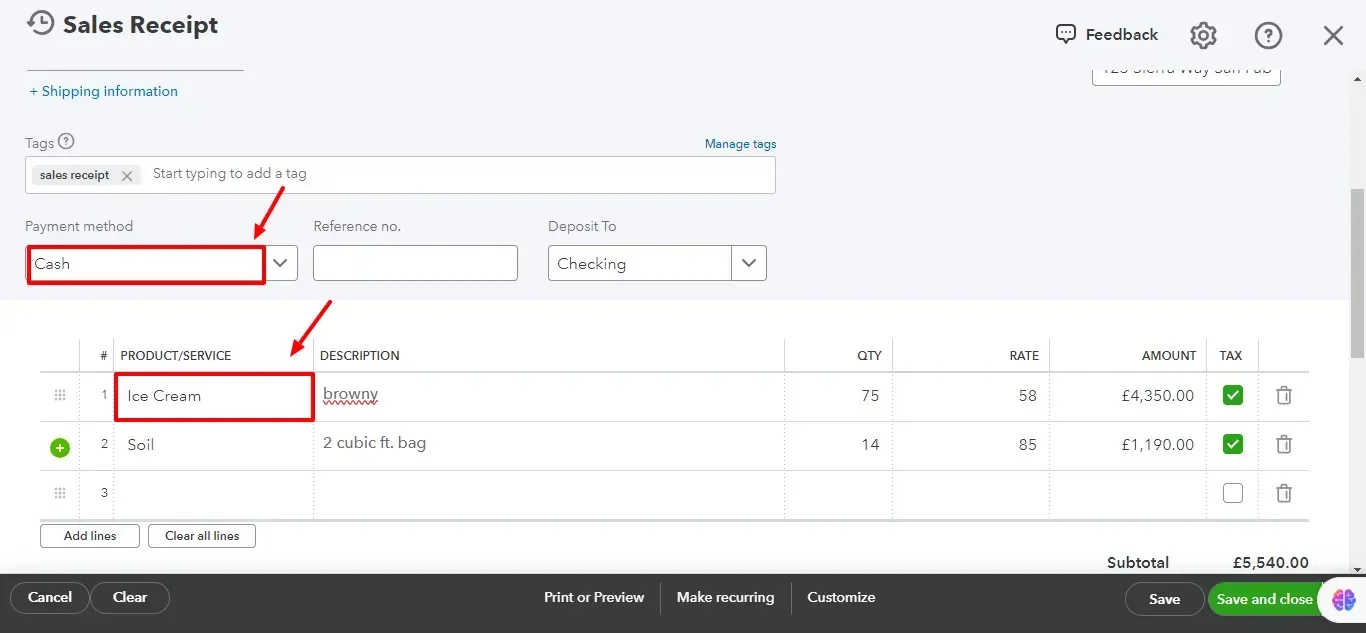
Record Payment:
Select the payment method (cash, check, credit card, etc.).
Enter any necessary payment details.
Save and Send:
Save the sales receipt.
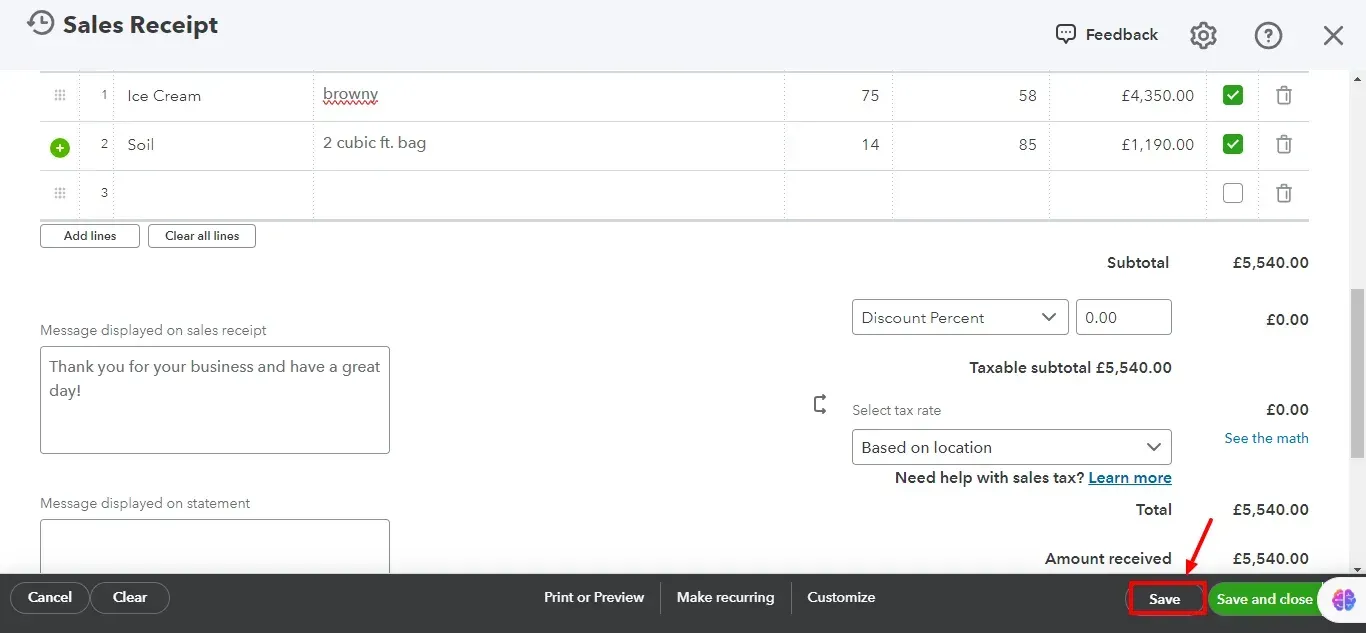
Print or email a copy to the customer if needed.
How to Upload Multiple Sales Receipts into QuickBooks Online?
If you have multiple sales receipts and you’re thinking of manually adding them to QuickBooks Online, consider using Saasant Transactions to import them. This will save you time and effort and improve accuracy overall.
Follow the below steps to upload bulk sales receipts in QuickBooks Online:
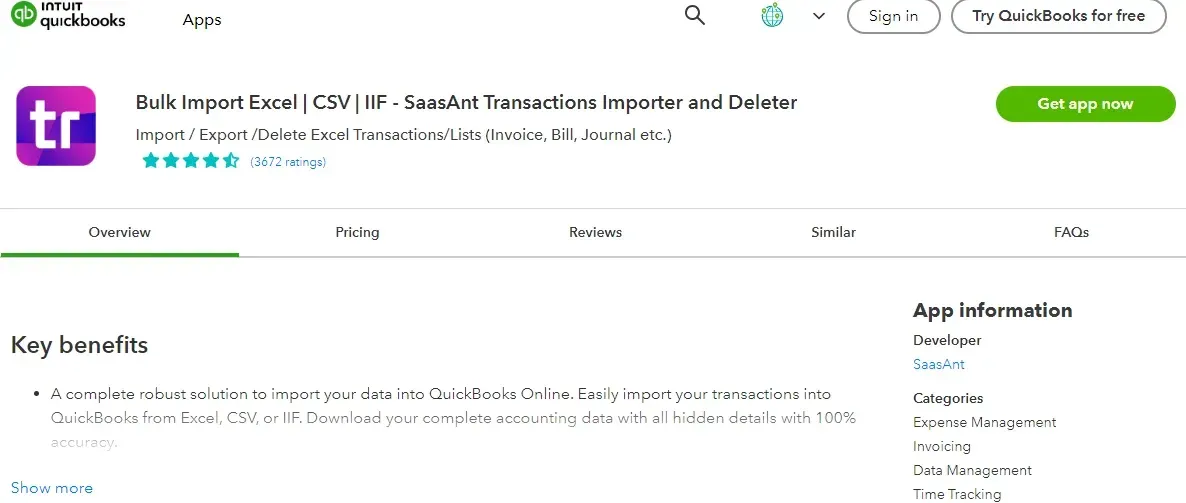
Step 1: Install SaasAnt Transactions
Download and install SaasAnt Transactions from the QuickBooks App Store. Connect it to your QuickBooks Online account for seamless integration with your accounting data.
Step 2: Open the Import Tool
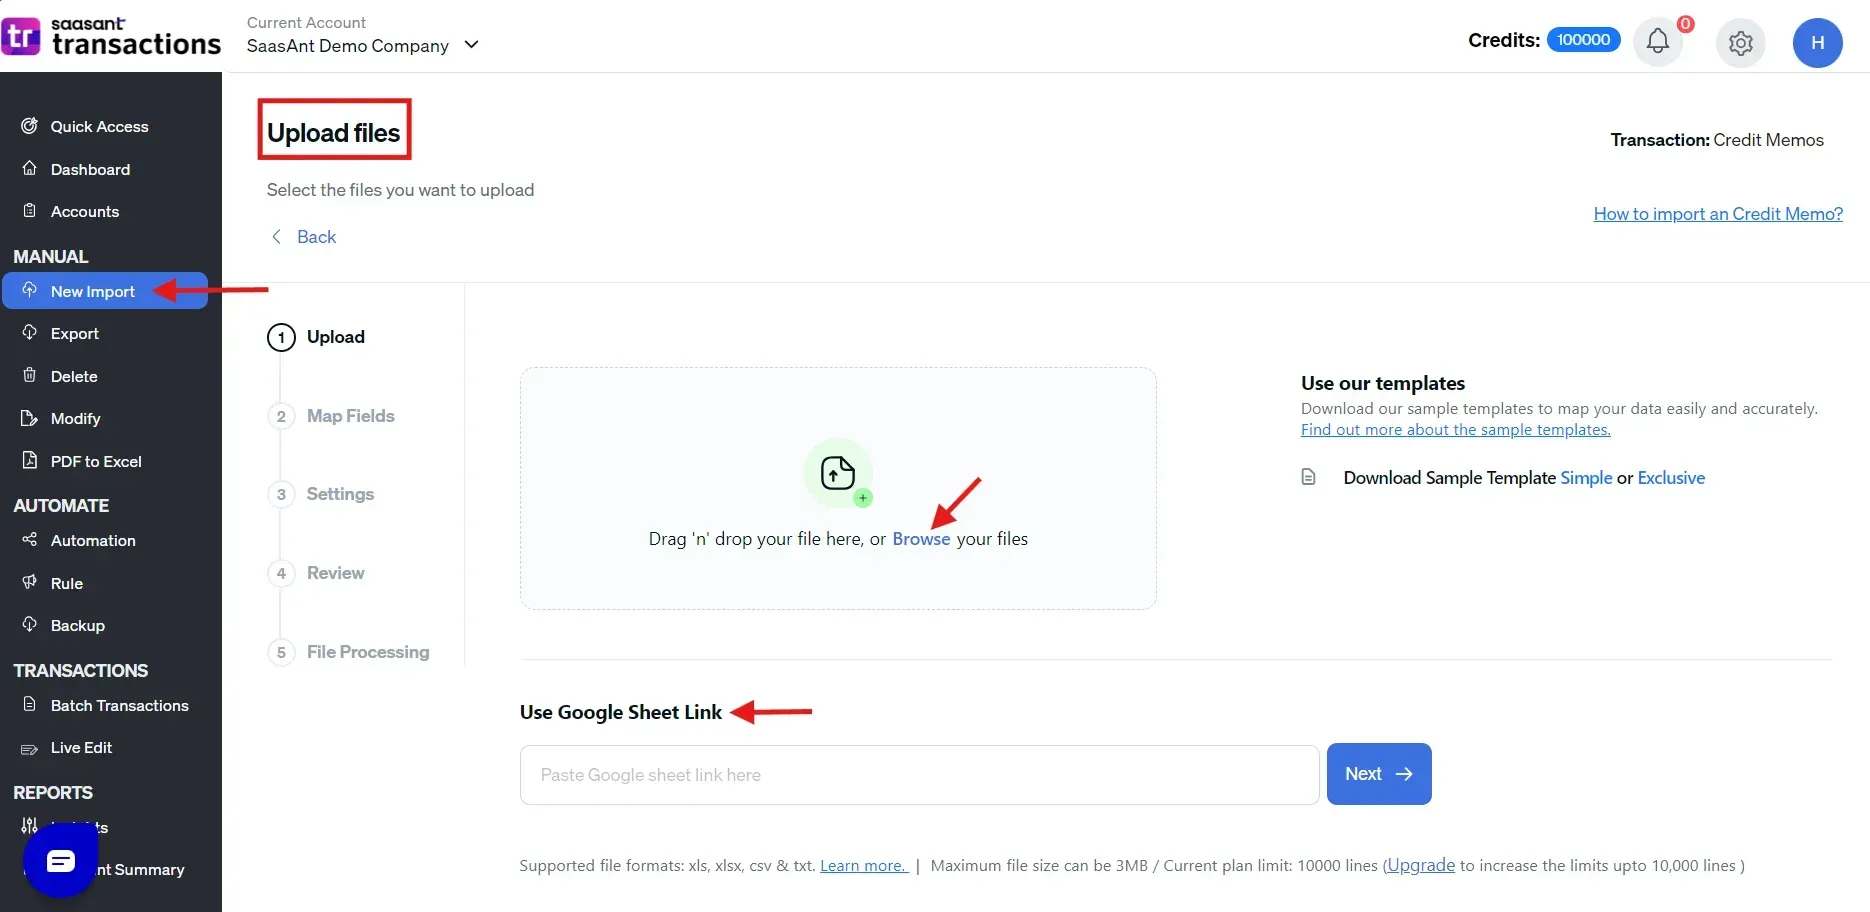
Log in to SaasAnt Transactions and go to the Dashboard. Click on the ‘Import’ option from the menu and choose ‘Sales Receipts’ as the transaction type.
Step 3: Prepare Your Sales Receipts Data
Create or export a data file containing your sales receipt details. Ensure the file is formatted correctly (CSV, Excel, or Google Sheets link) to meet SaasAnt Transactions’ requirements. This step is critical to avoid errors during the upload.
Step 4: Upload and Map Fields
Click on the ‘Upload File’ button to add your data file. After uploading, map the columns from your file to the corresponding QuickBooks Online fields. Accurate mapping ensures that every detail, such as dates, amounts, and customer names, is correctly placed.
Step 5: Review and Import
Carefully review the uploaded data for accuracy. Make any corrections if necessary. Once everything looks good, confirm the import to add the sales receipts to QuickBooks Online.
Step 6: Verify Imported Data
Once the import is complete, verify that all sales receipts have been uploaded correctly. Cross-check your records in QuickBooks Online to ensure the data matches, and there are no discrepancies.
How to Send a Sales Receipt in QuickBooks Online?
Log In: Sign in to your QuickBooks Online account.
Create Sales Receipt: Click the '+ New' button and select 'Sales Receipt' from the dropdown menu.
Enter Details: Fill in the customer’s information, items or services sold, quantities, prices, and payment method.
Save the Sales Receipt: Click 'Save and Send' at the bottom of the form.
Send via Email: In the pop-up window, review the email message and recipient's address, make any necessary adjustments, and click 'Send and Close.'
Why You Should Use Sales Receipts in QuickBooks?
Here are four significant benefits of using sales receipts in QuickBooks.
Efficiency: Quickly record sales and payments in one step, saving time and reducing the need for multiple entries.
Accuracy: Ensures accurate record-keeping and reduces the likelihood of errors in financial data.
Real-Time Updates: Instantly updates financial records and inventory levels, providing real-time insights into business performance.
Customer Records: This department maintains detailed customer transaction histories, which can be helpful in future sales, customer service, and marketing efforts.
Conclusion
Sales receipts in QuickBooks Online are essential for accurately recording immediate payments and maintaining up-to-date financial records. They help businesses track sales, manage inventory, and ensure precise financial reporting.
By using applications like SaasAnt Transactions Online, businesses can further streamline the management of sales receipts, enhancing overall efficiency and accuracy. QuickBooks Online's help center and customer support are always available for detailed guidance and support, ensuring you can effectively manage your business's financial health.
FAQs
What is a Sales Receipt in QuickBooks?
A sales receipt in QuickBooks is a document that records a sale where payment is received at the time of the transaction. It captures customer information, items sold, payment method, and the total amount received, helping businesses track immediate sales and manage cash flow effectively.
How do I create a sales receipt in QuickBooks Online?
To create a sales receipt in QuickBooks Online:
Sign in to your account.
Click on the '+ New' button.
Select 'Sales Receipt.'
Enter customer details, items sold, payment method, and other relevant information.
Save and send the receipt.
Can I delete a sales receipt in QuickBooks Online?
Yes, you can delete a sales receipt in QuickBooks Online. Navigate to the 'Sales' menu, select 'All Sales,' find the sales receipt you wish to delete, click on it to open the details, and choose the 'Delete' option.
How do I edit a sales receipt in QuickBooks Online?
To edit a sales receipt in QuickBooks Online:
Go to the 'Sales' menu.
Select 'All Sales.'
Find and click on the sales receipt you want to edit.
Make changes to the customer information, items, or payment details.
Save the updated receipt.
How do I send a sales receipt via email in QuickBooks Online?
To send a sales receipt via email in QuickBooks Online:
Create or open an existing sales receipt.
Ensure all necessary information is filled out.
Click on the 'Save and Send' button.
Enter the customer’s email address.
Click 'Send' to email the sales receipt directly to the customer.
What is the difference between a sales receipt and an invoice?
A sales receipt is used when payment is received at the time of the transaction, recording the sale and payment simultaneously. On the other hand, an invoice is issued when goods or services are provided, but payment is expected later. Invoices are used for credit sales, while sales receipts are for immediate payments. If you have multiple invoices to add to QuickBooks, you can use Saasant Transactions to import invoices into QuickBooks Online.